Melissa Jo’s Halloween Buffalo Chicken Pizza Skulls

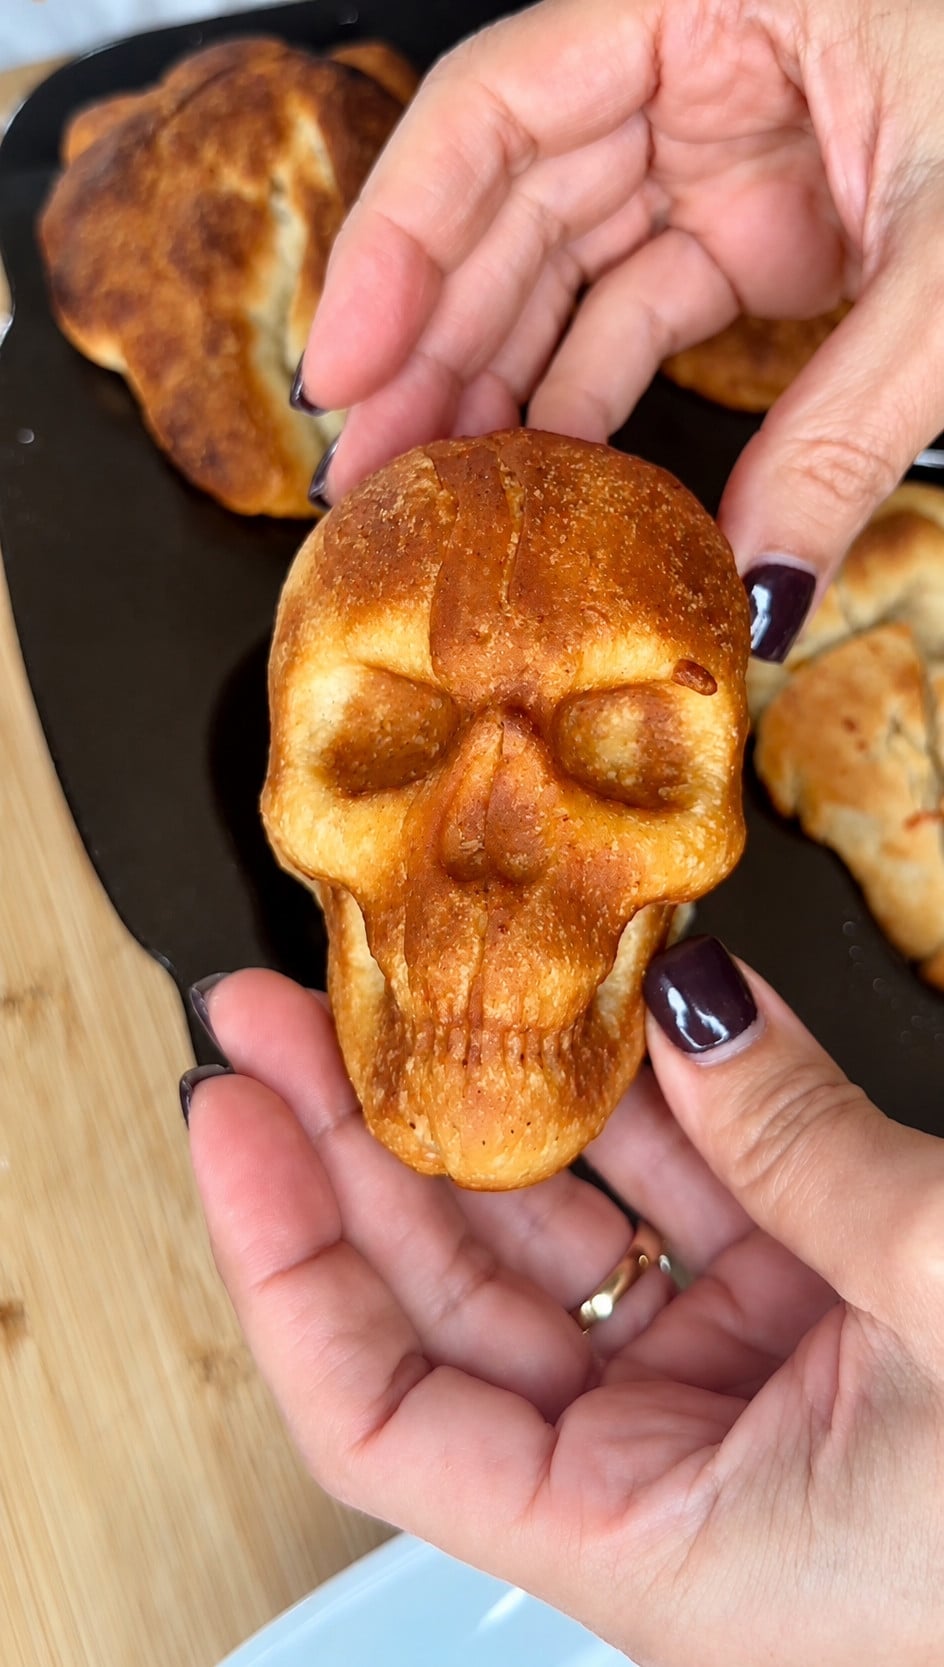
Halloween isn’t just about candy, people! Sometimes you need something savory, cheesy, and downright delicious before you start digging into all those Halloween treats! And these Buffalo Chicken Pizza Skulls are just the thing!
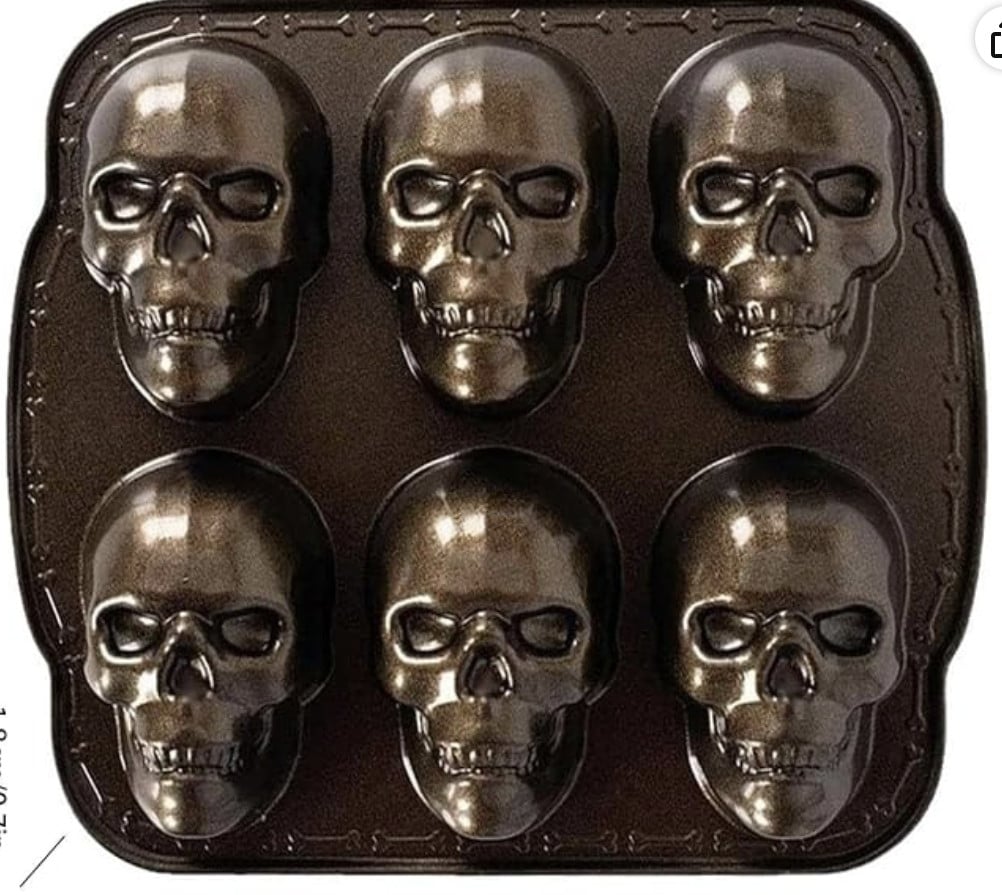
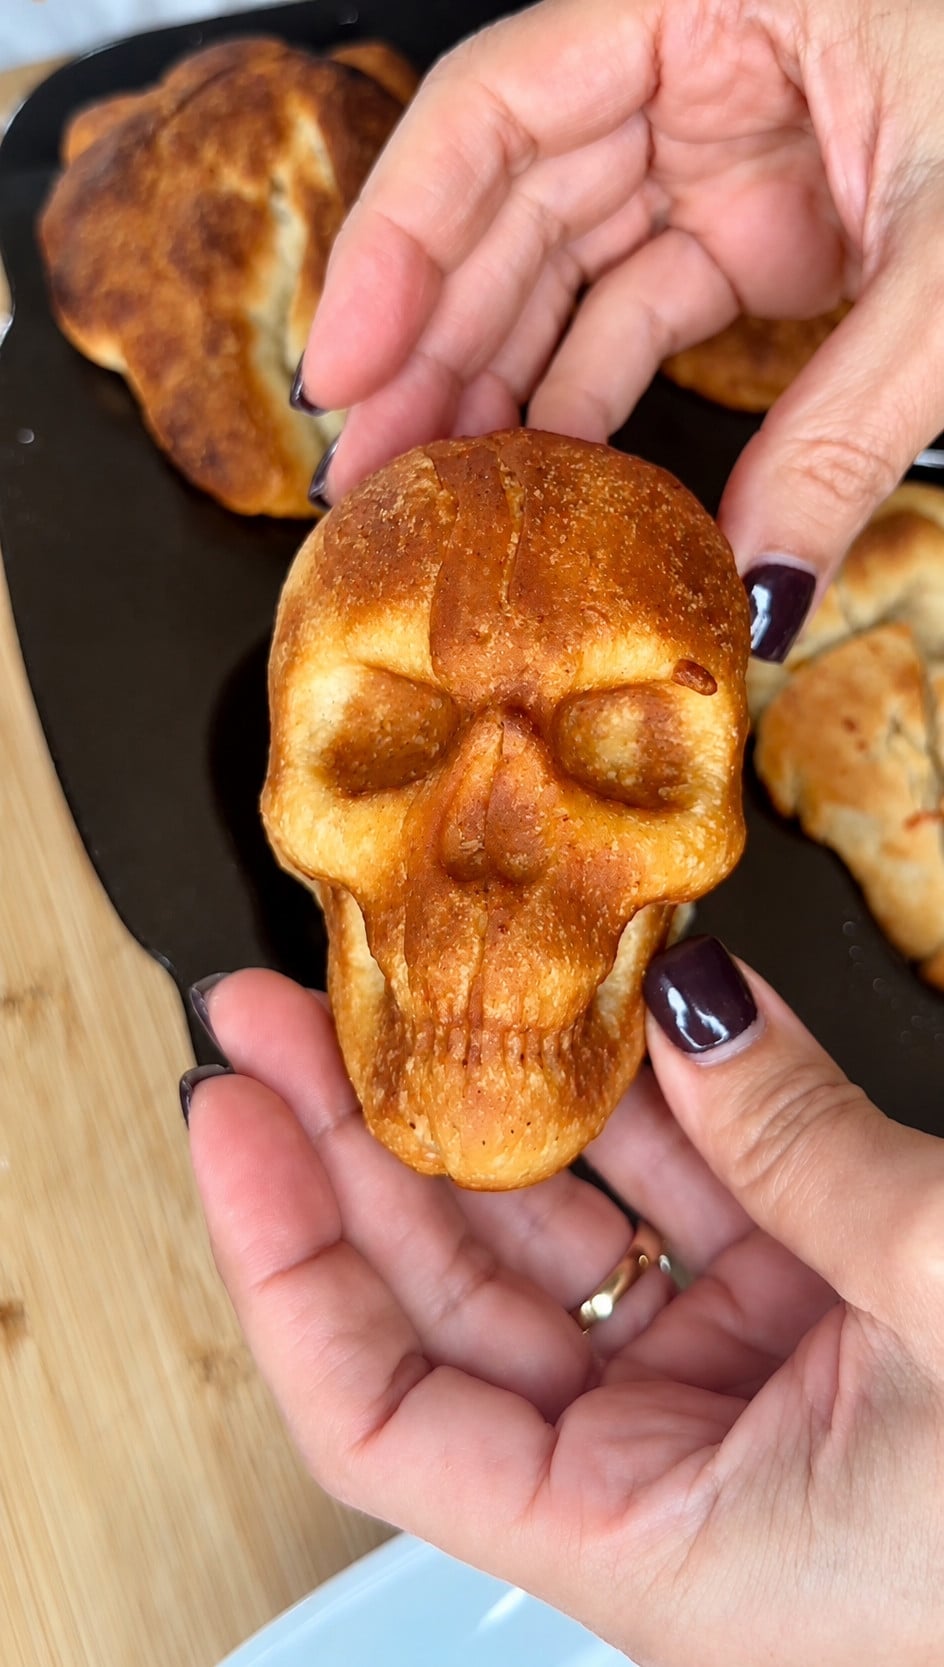
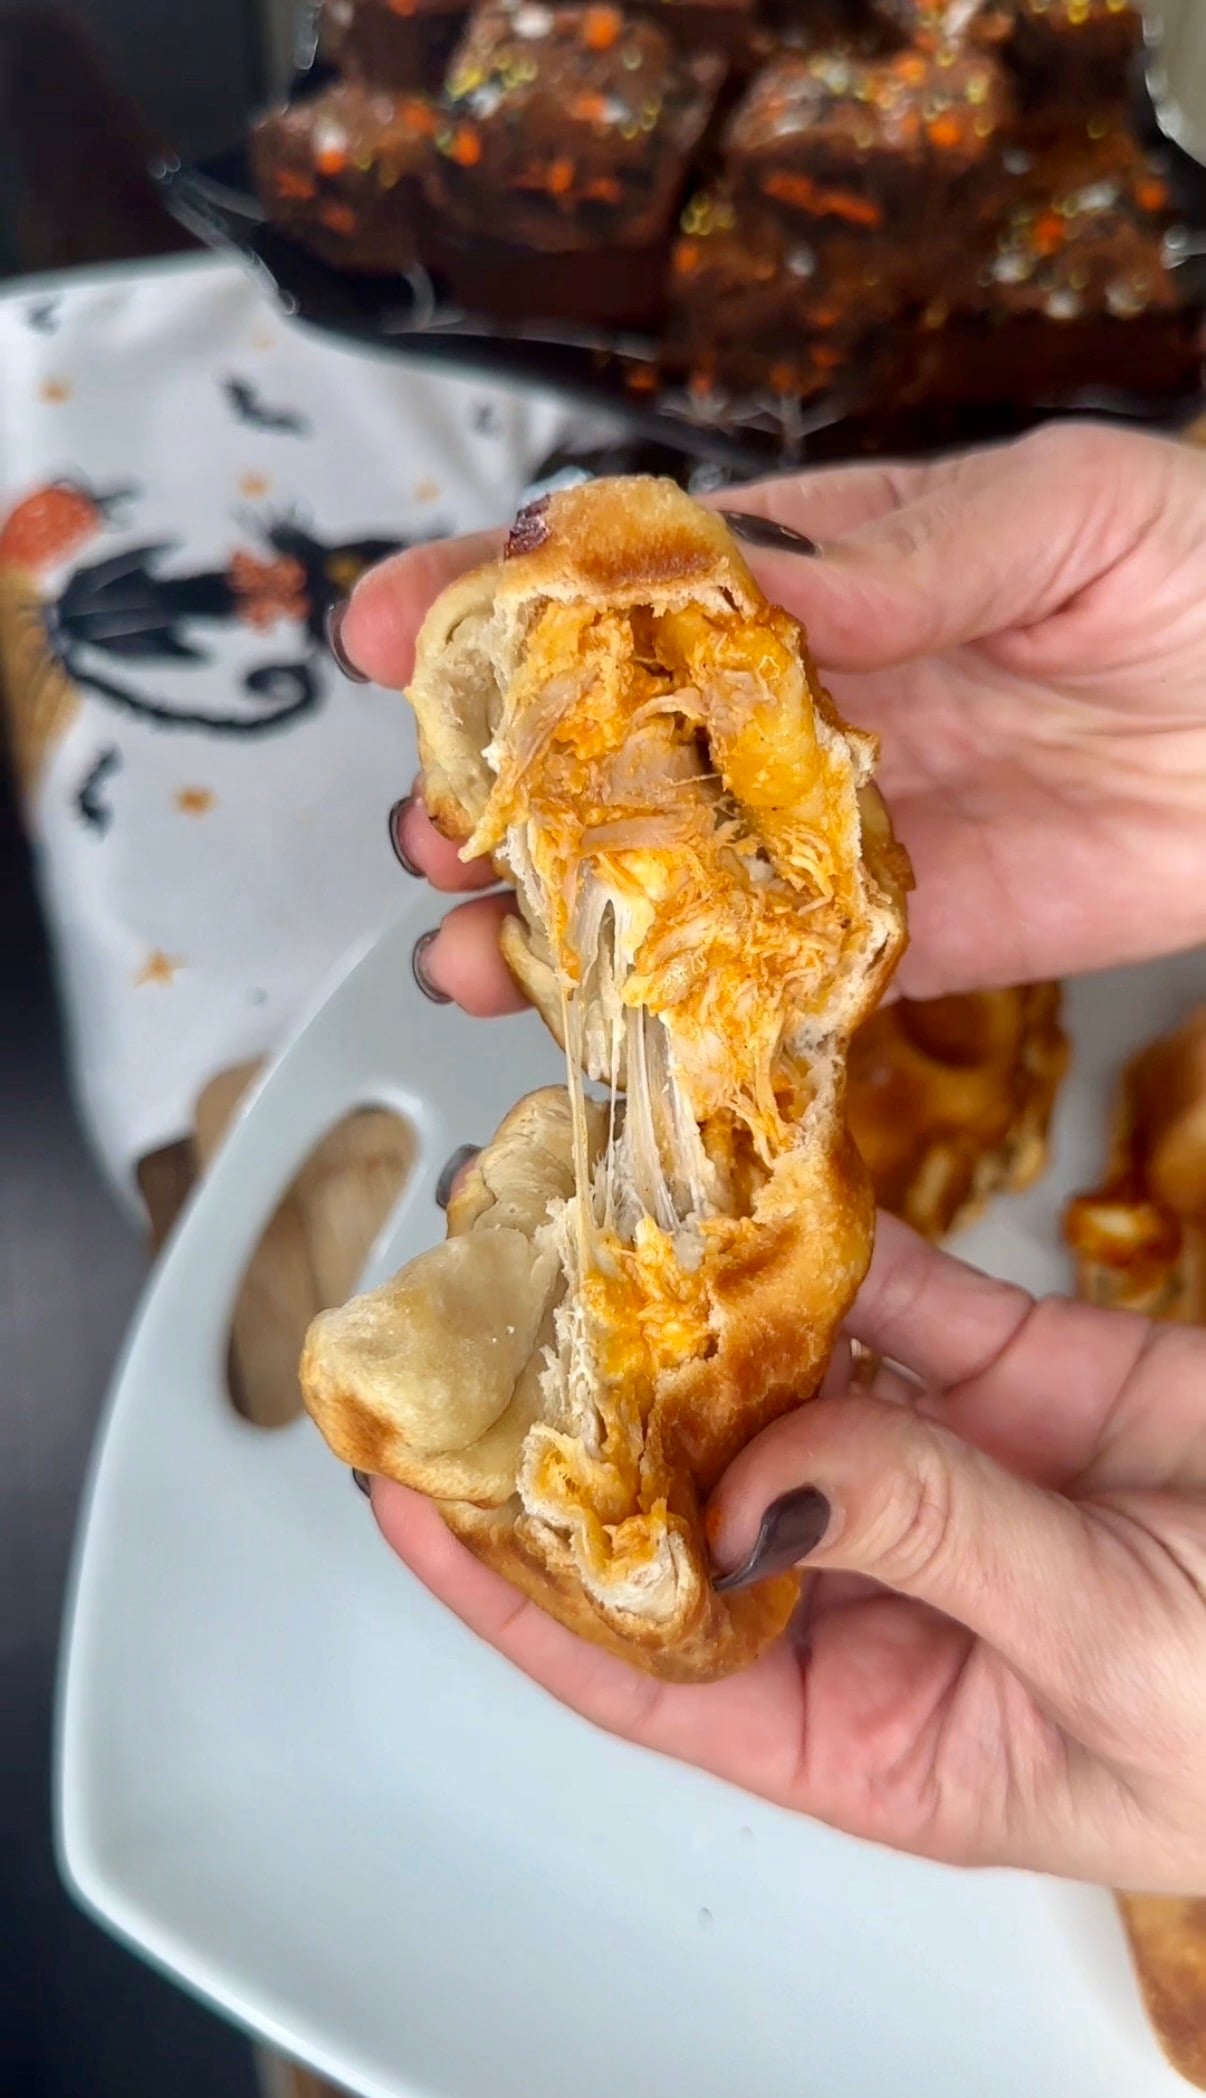
I take refrigerated pizza dough and stuff it into my skull-shaped baking pan with shredded rotisserie chicken, Frank’s RedHot sauce, ranch, whipped cream cheese, and mozzarella. Then I brush them with butter and bake them until they’re golden brown and absolutely delicious! And when you pop them out of the pan, you’ve got the cutest little Halloween skulls filled with buffalo chicken goodness!
These are perfect for Halloween parties, spooky movie nights, or even a fun dinner before trick-or-treating. And the best part? They’re so easy to make! All you need is a few simple ingredients and a skull baking pan, and you’re in business!
Now, not everything on Halloween has to be candy, but if you’re looking for something sweet to go along with these savory skulls, I’ve got you covered! My Halloween Super Slutty Brownies are absolutely outrageous in the best way possible, my Pumpkin Swirl Brownies are perfect for fall, and my Pumpkin Pie Cake is another one you absolutely have to try! Make a few of these recipes and you’ve practically got your whole Halloween party menu ready!

Hungry for more? Get my recipes first.
The dinners my family asks for on repeat, sent to you first.
Unsubscribe anytime, no hard feelings.
Why You’ll Love These Buffalo Chicken Pizza Skulls
- Perfect for Halloween: They’re spooky, adorable, and actually taste amazing!
- Easy ingredients: Refrigerated pizza dough and rotisserie chicken make this recipe so simple.
- Cheesy buffalo chicken filling: Spicy buffalo sauce, creamy ranch, mozzarella, and cream cheese are the perfect combination.
- Great for parties: They’re individually portioned, so everybody can grab their own skull.
- Golden buttery crust: That little brush of butter before baking makes all the difference!
CLICK HERE for the Best Skull Pan!
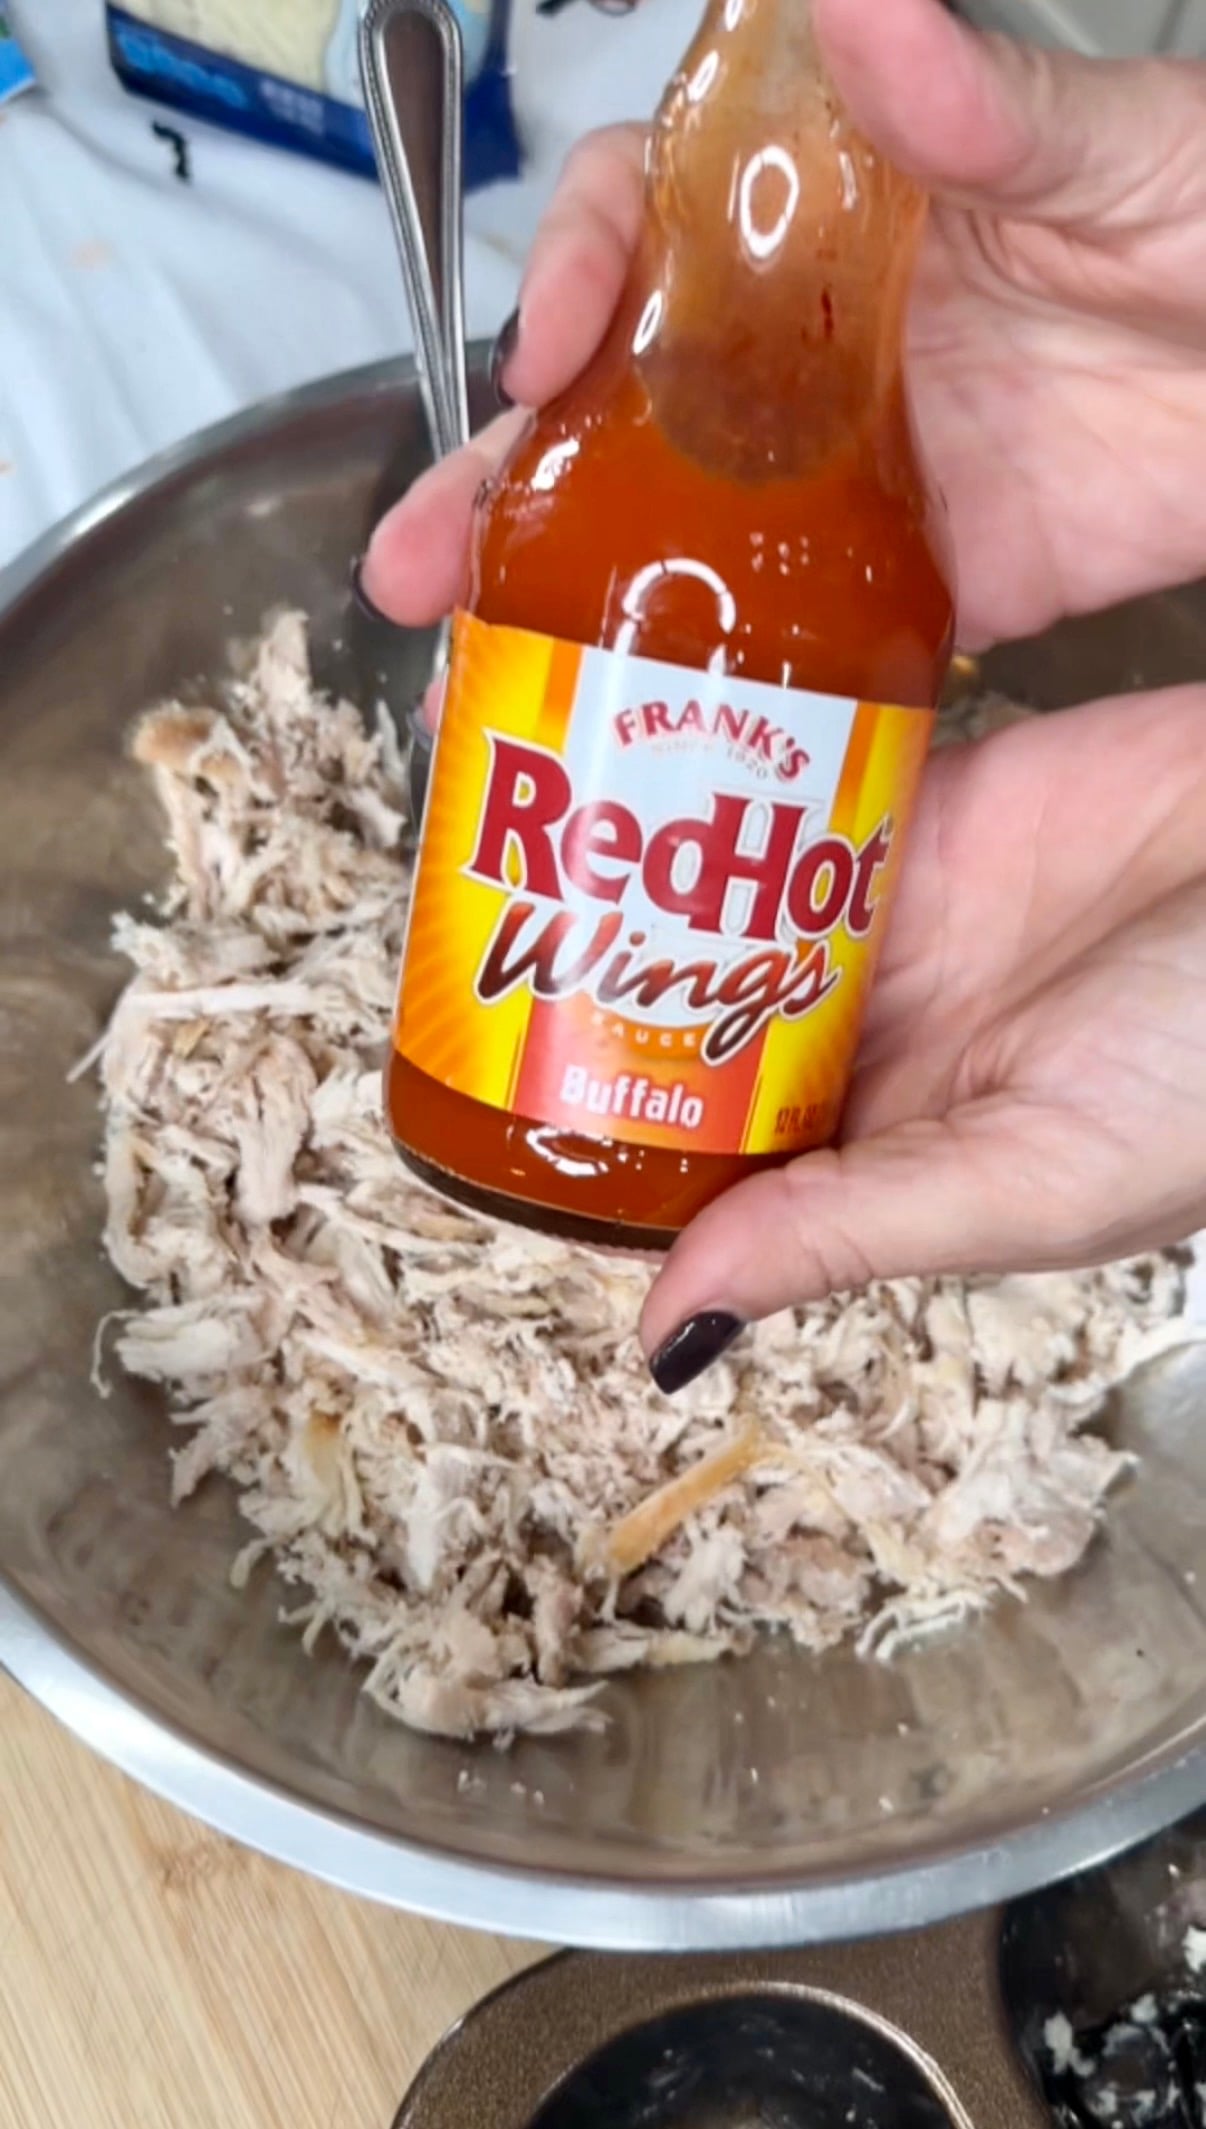
After shredding up your chicken add in Franks Buffalo Wing Sauce.
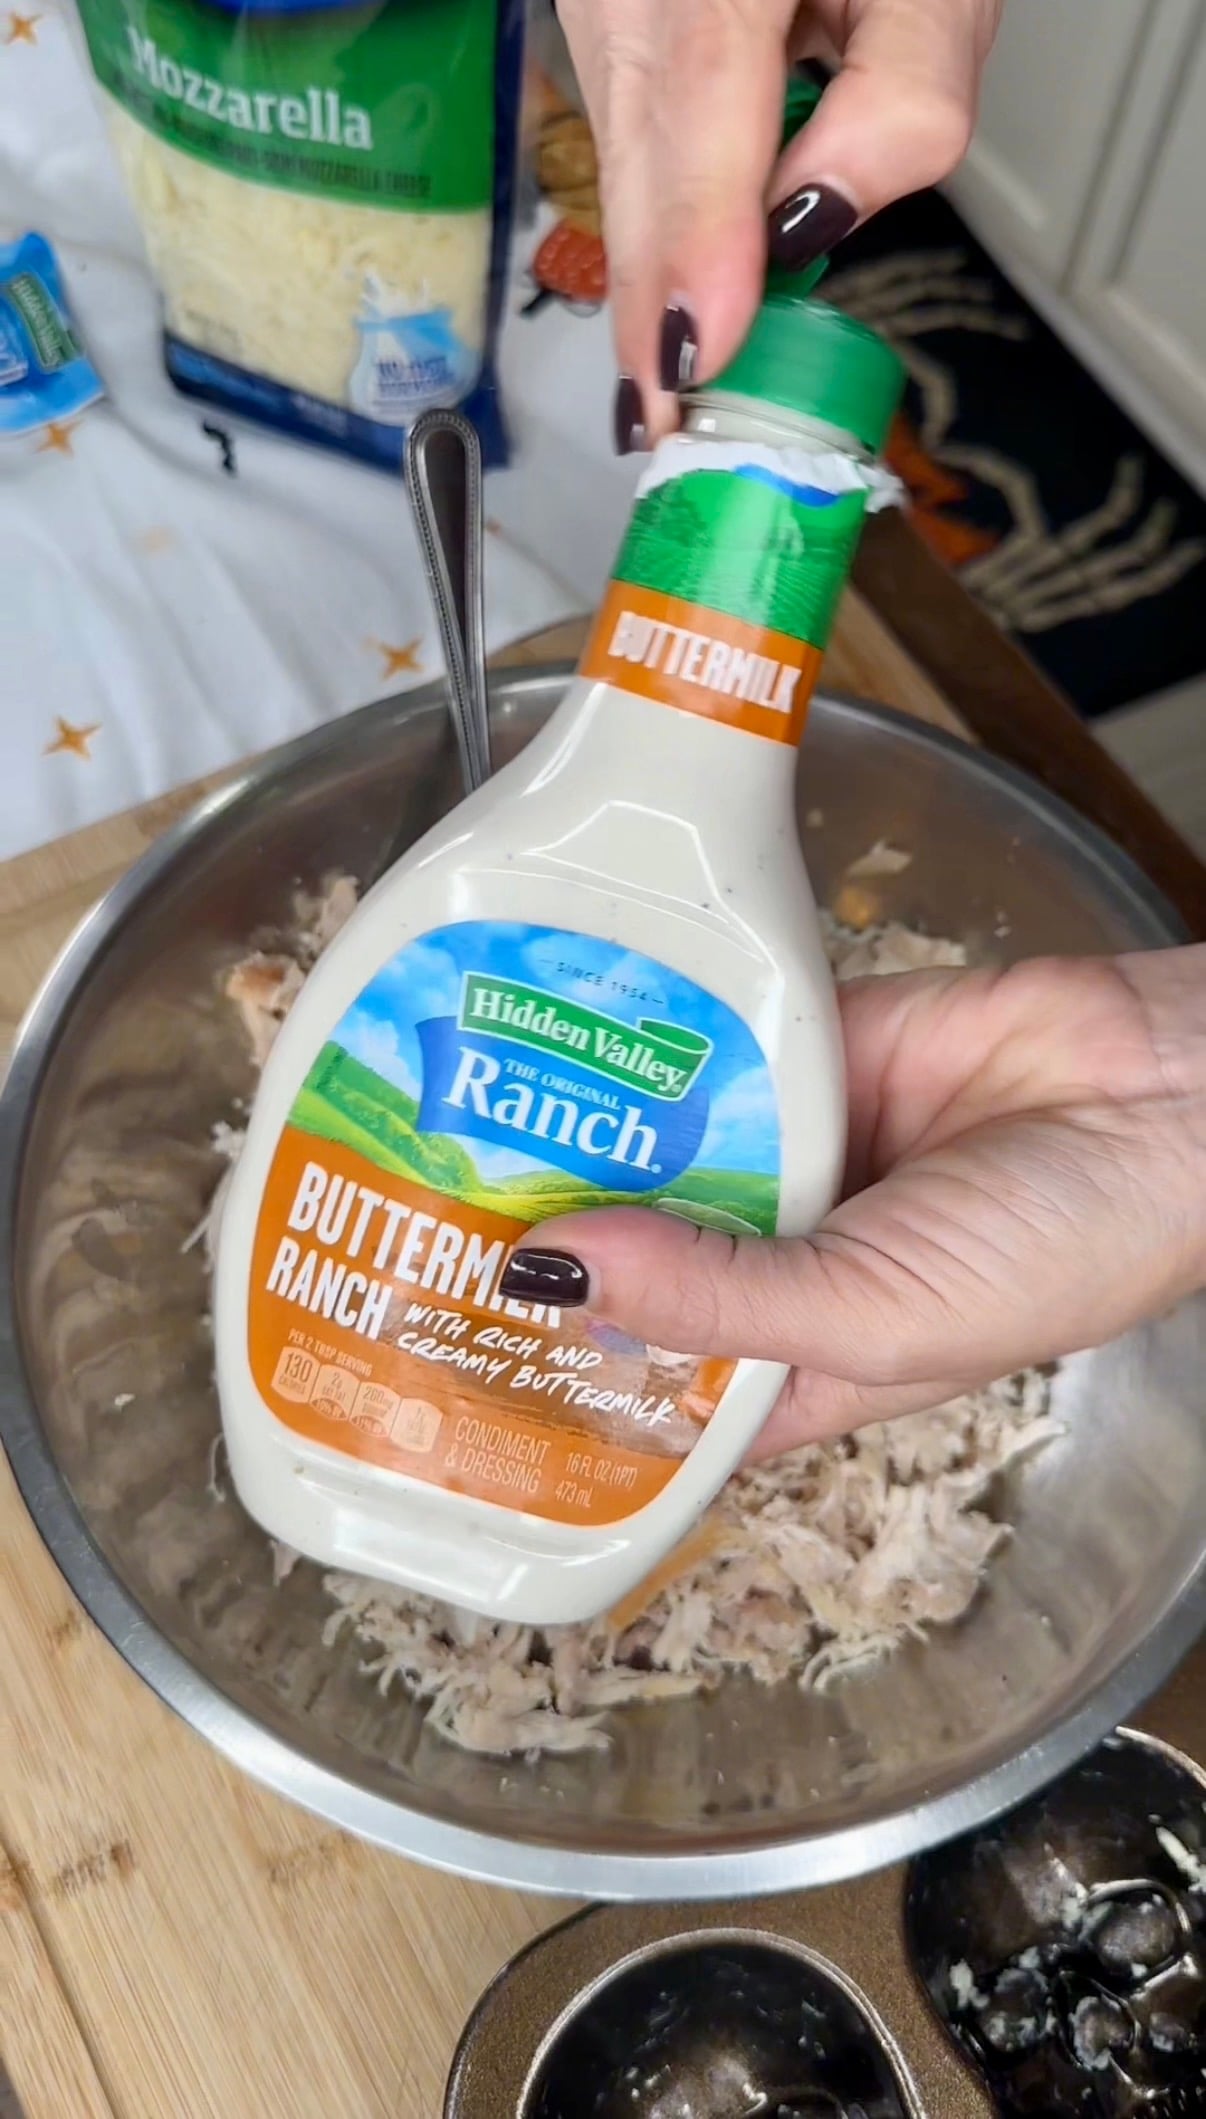
Next, pour in Hidden Valley Buttermilk Ranch.
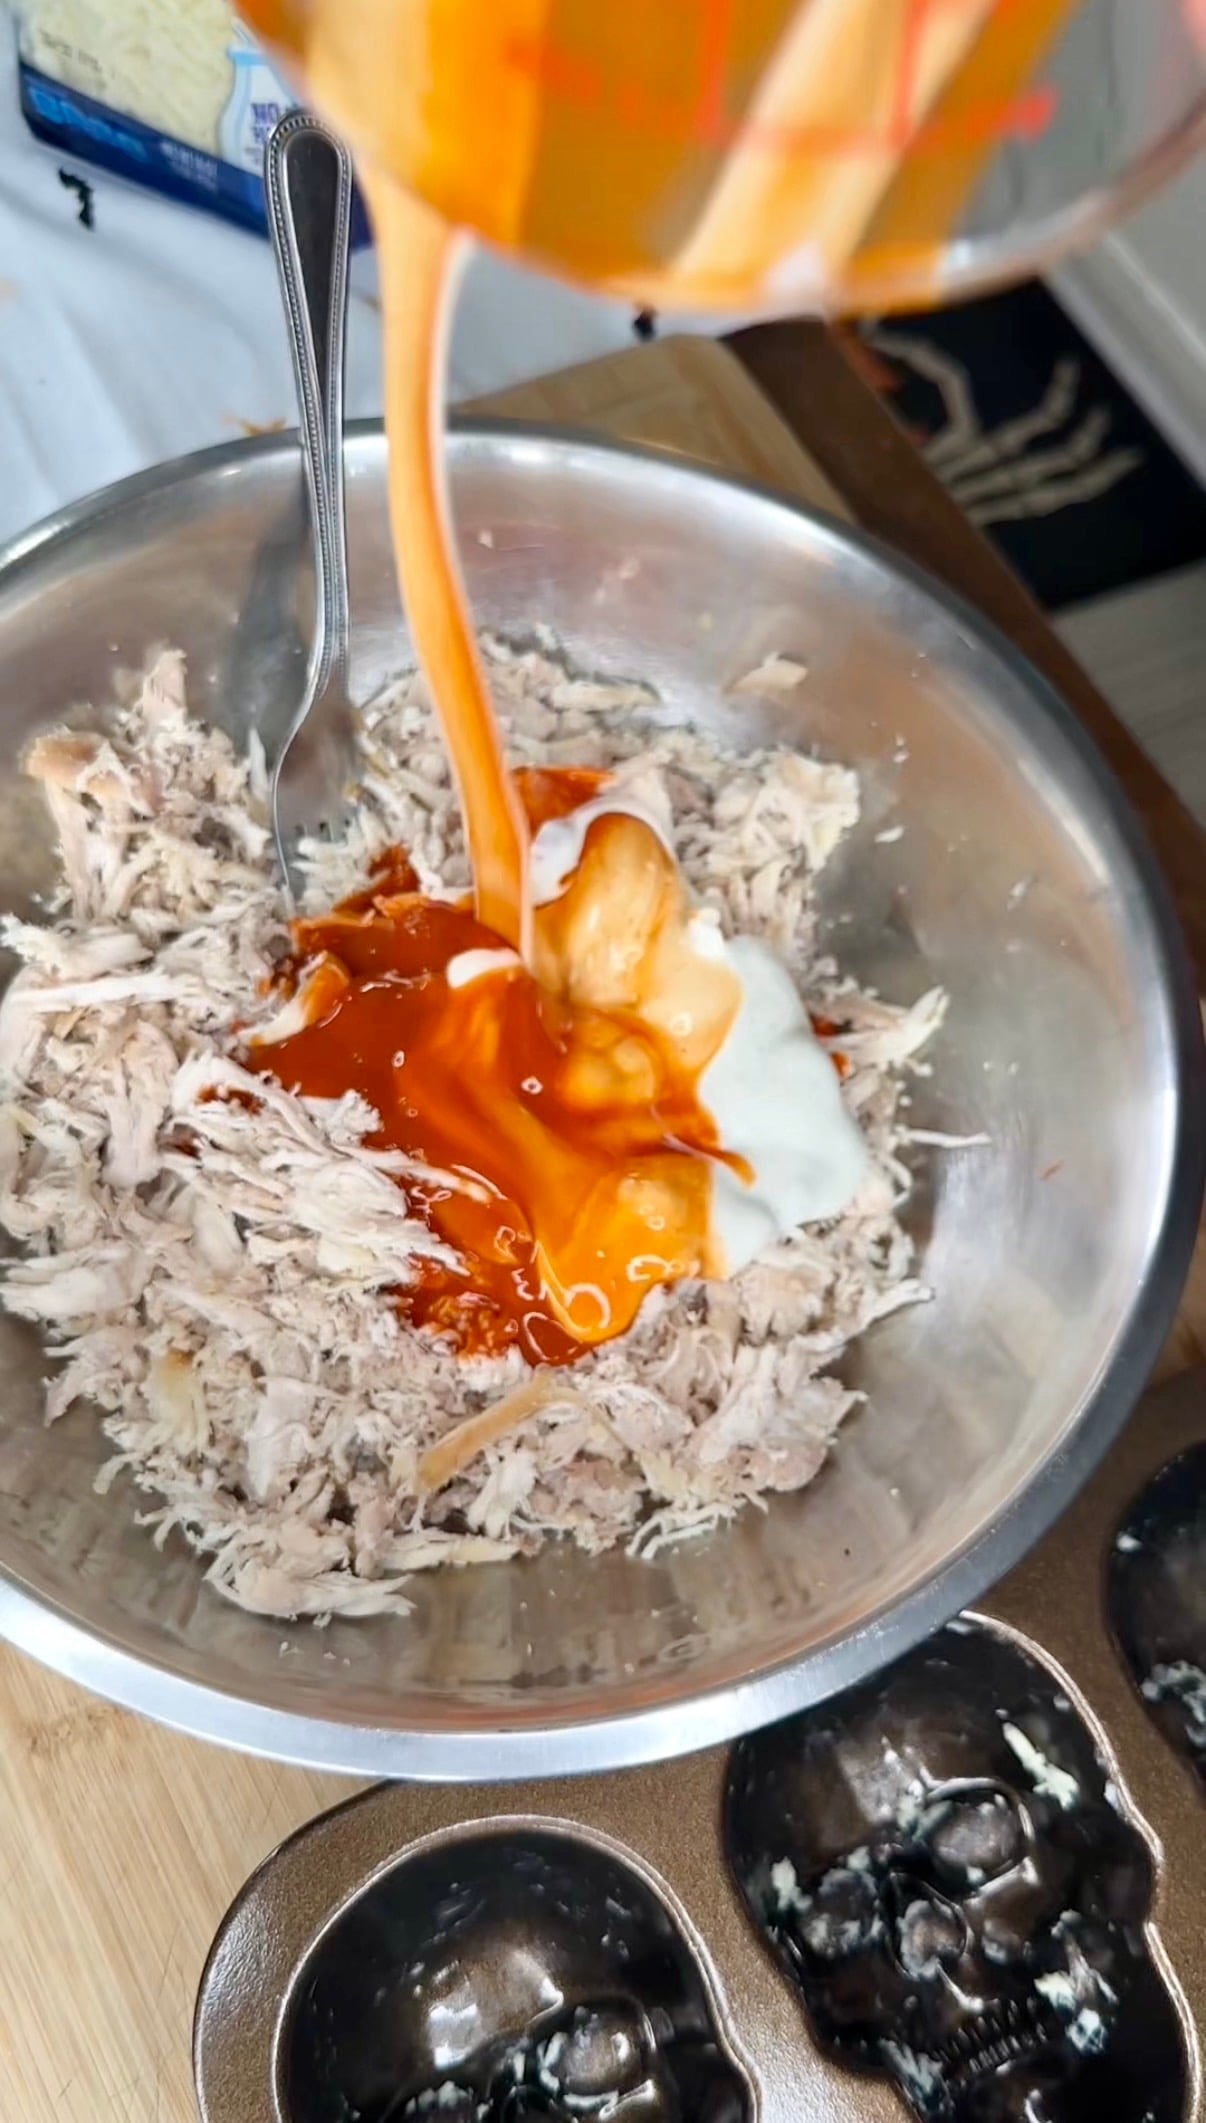
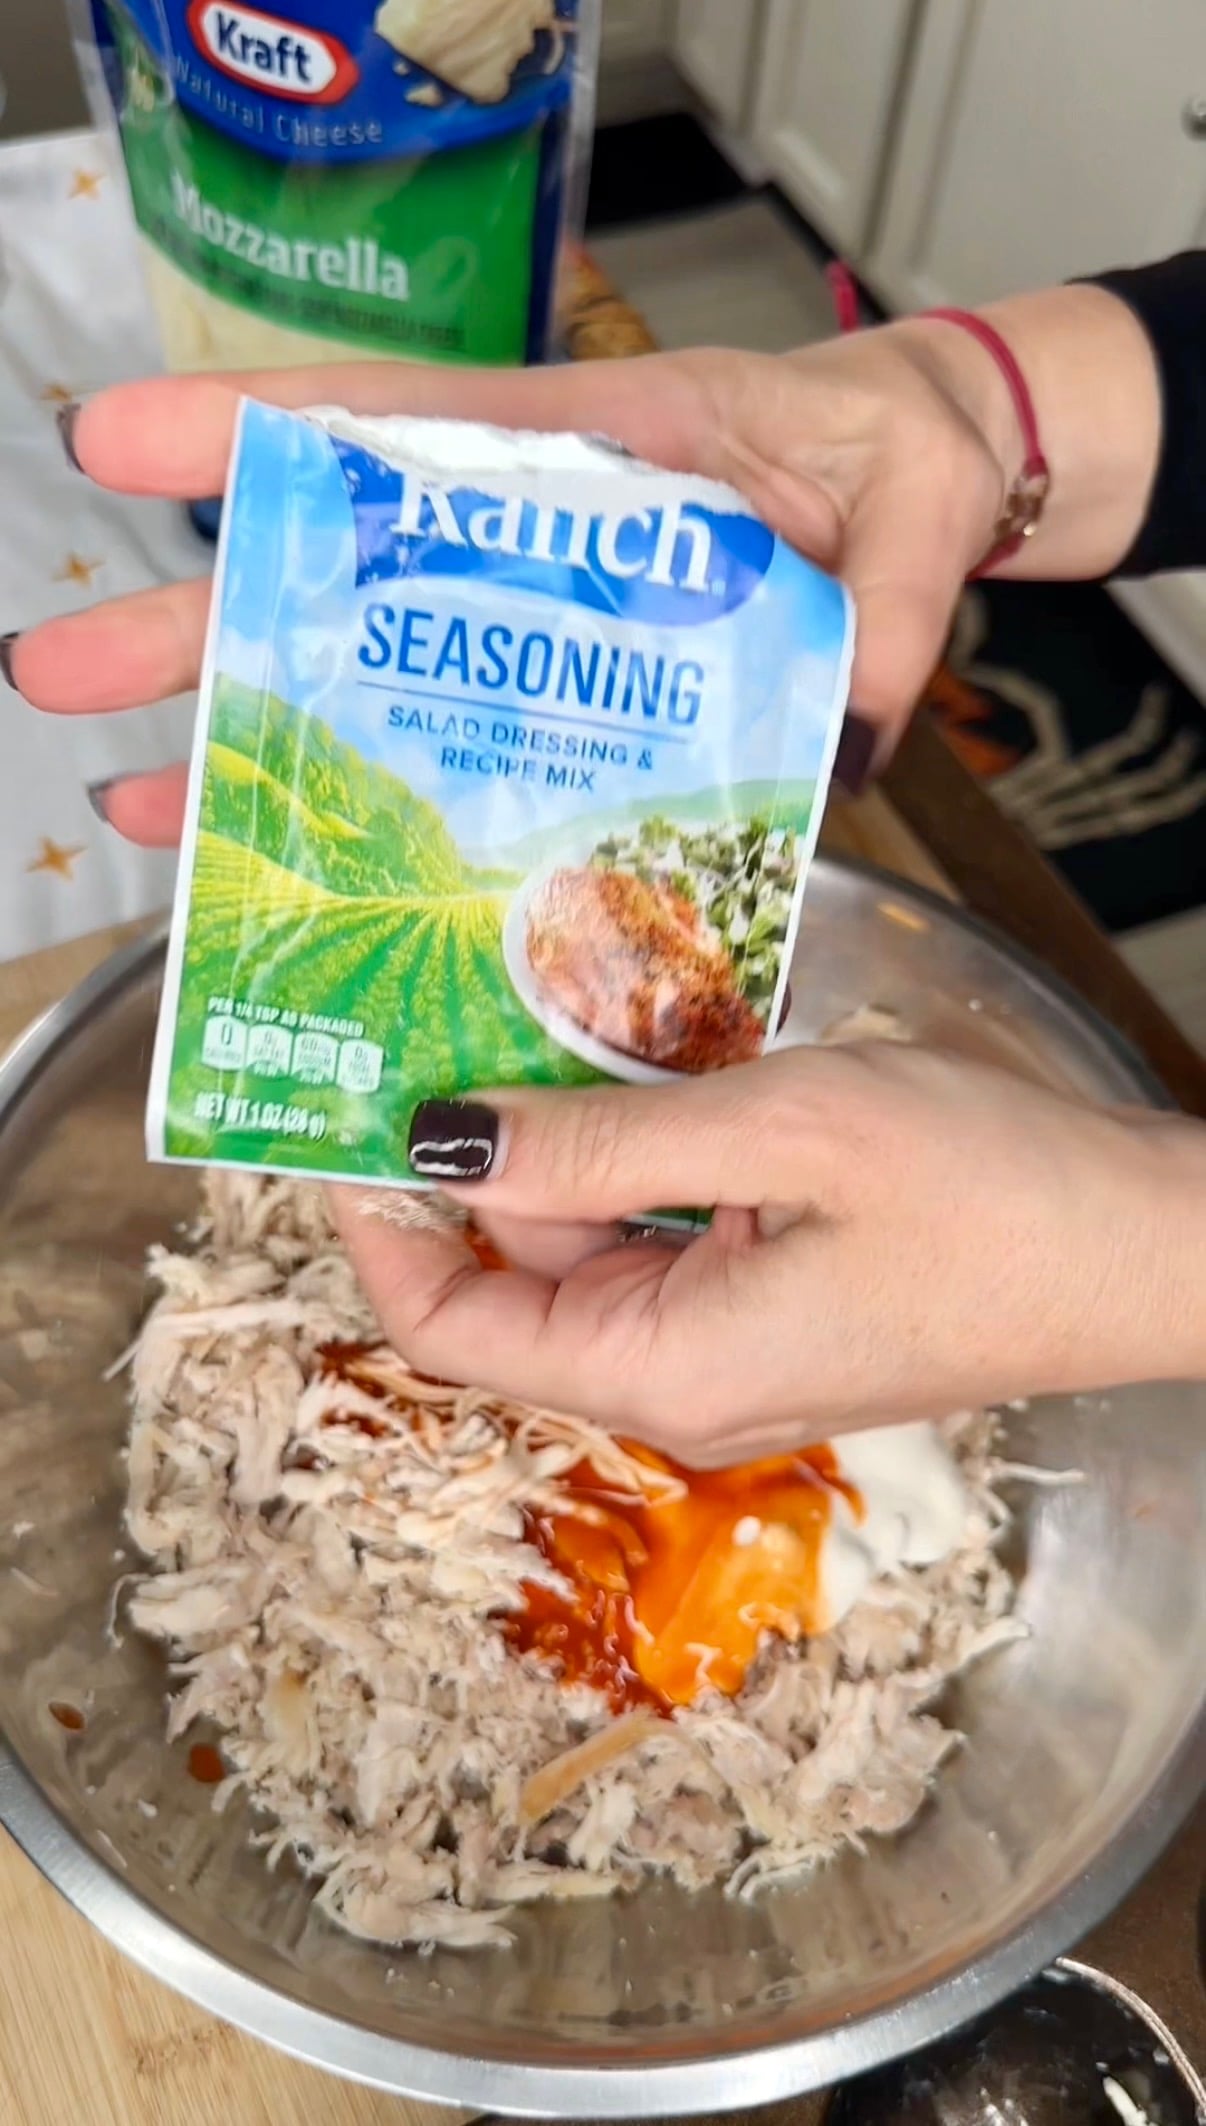
Sprinkle over the Hidden Valley Ranch Seasoning.
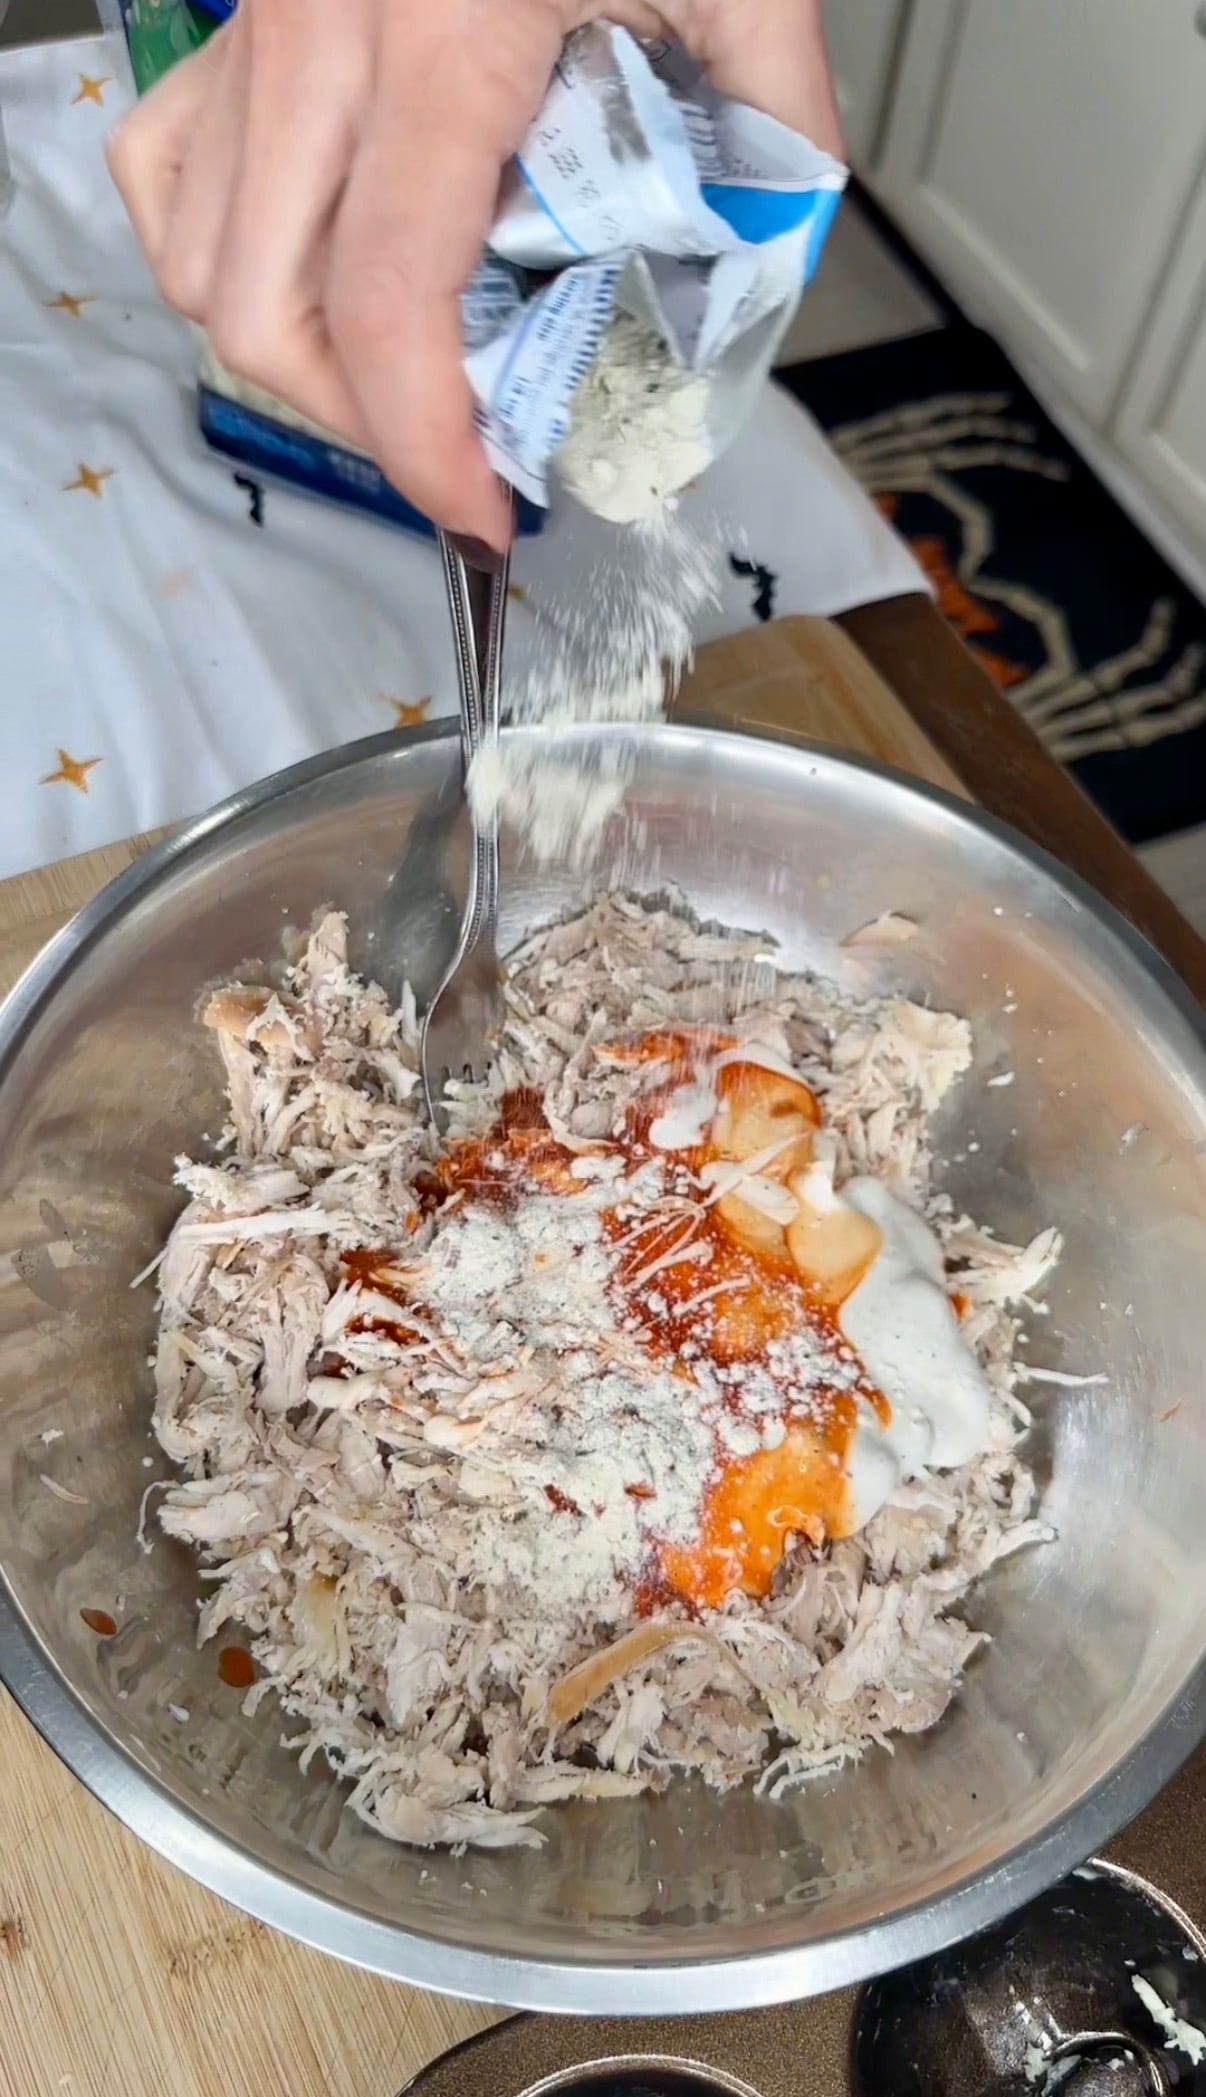
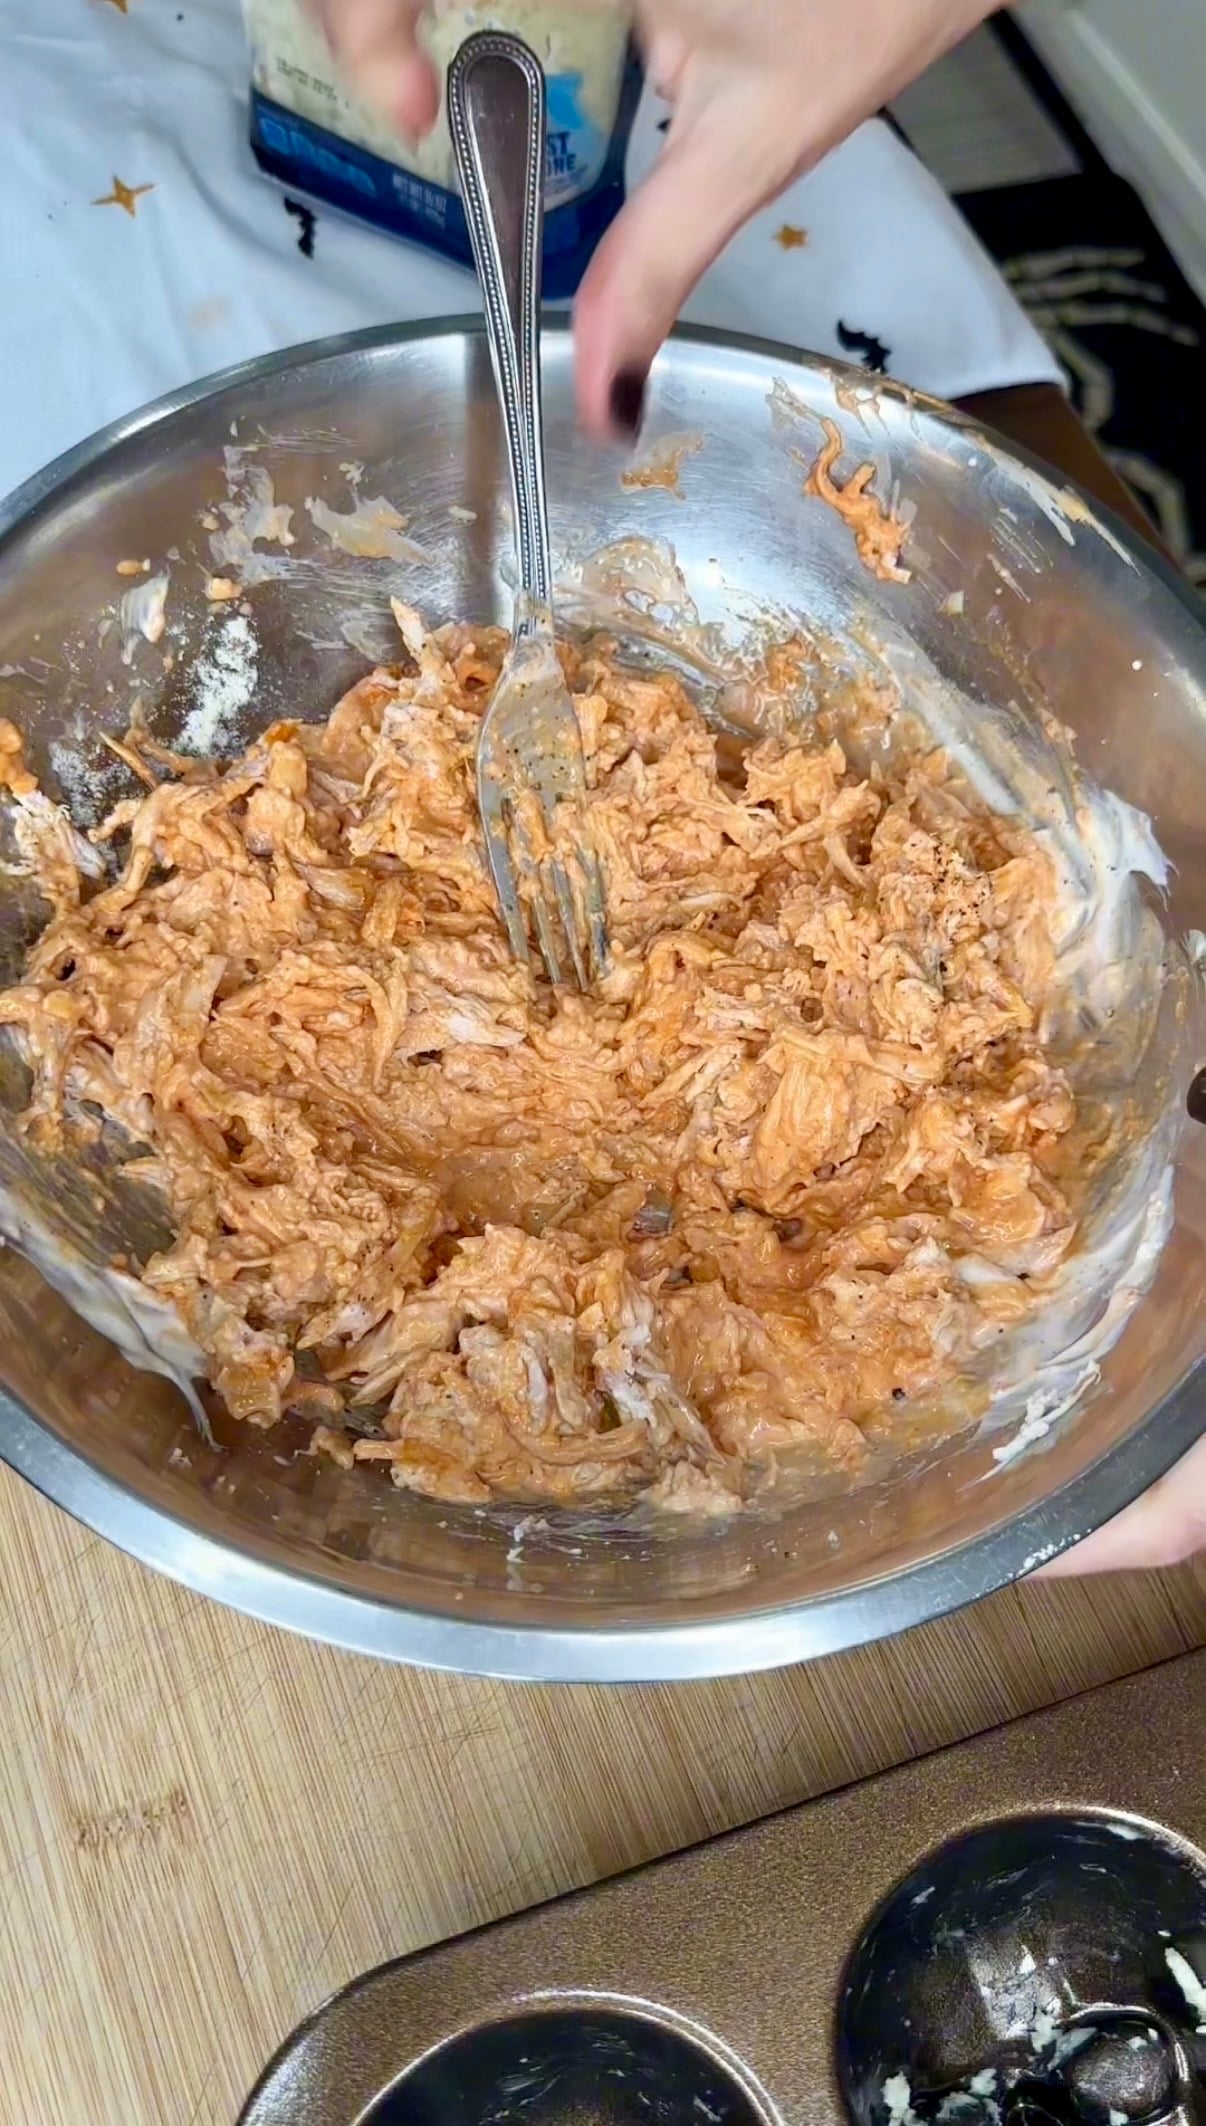
Mix everything together until the chicken is completely coated in that delicious buffalo ranch mixture.
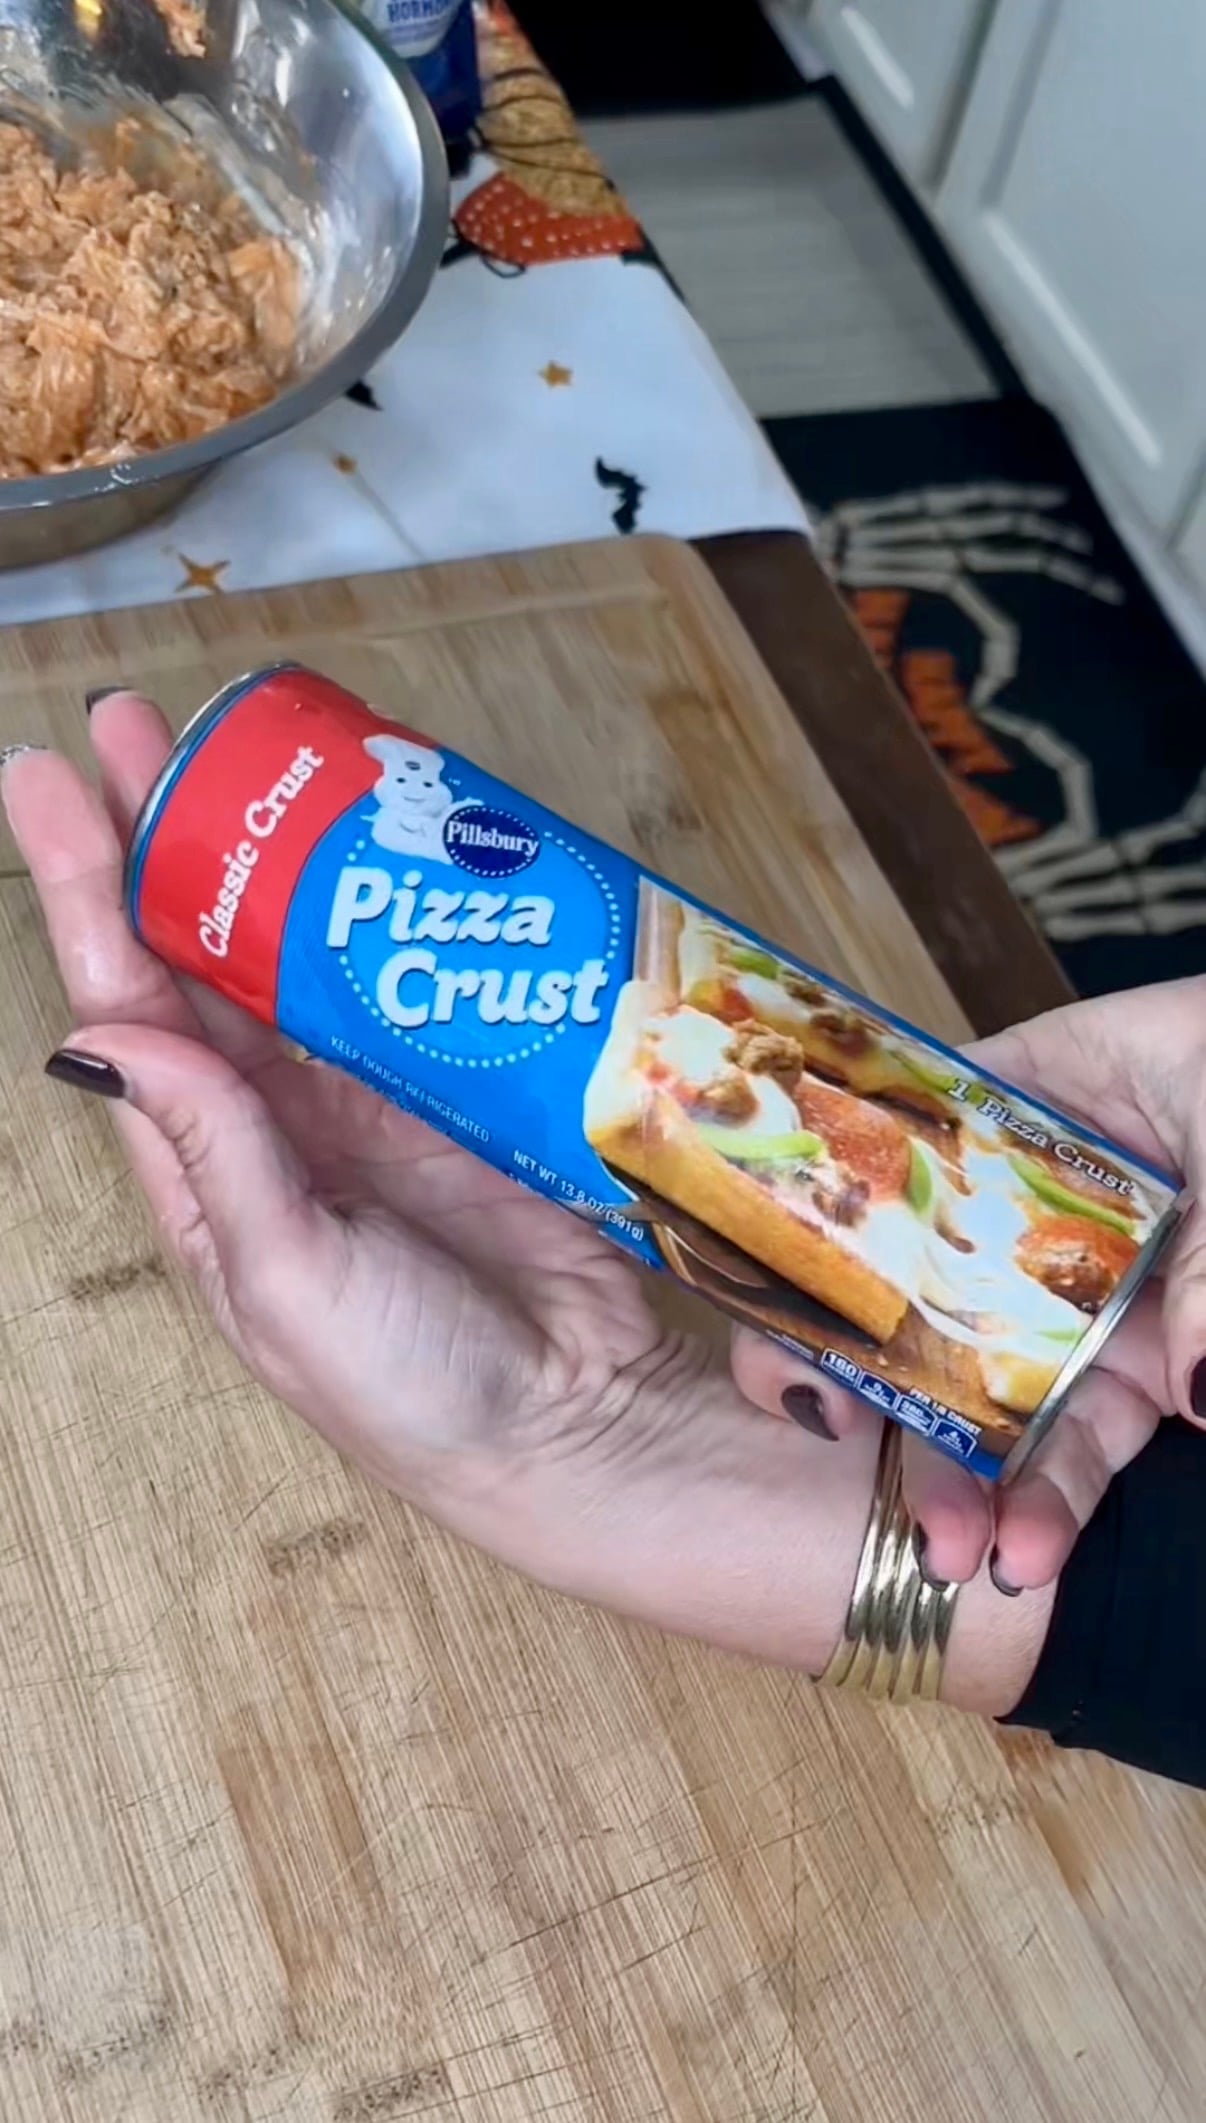
Open your first can of Pillsbury Classic Pizza Crust and roll out the dough. Cut it into three thick, evenly sized pieces.
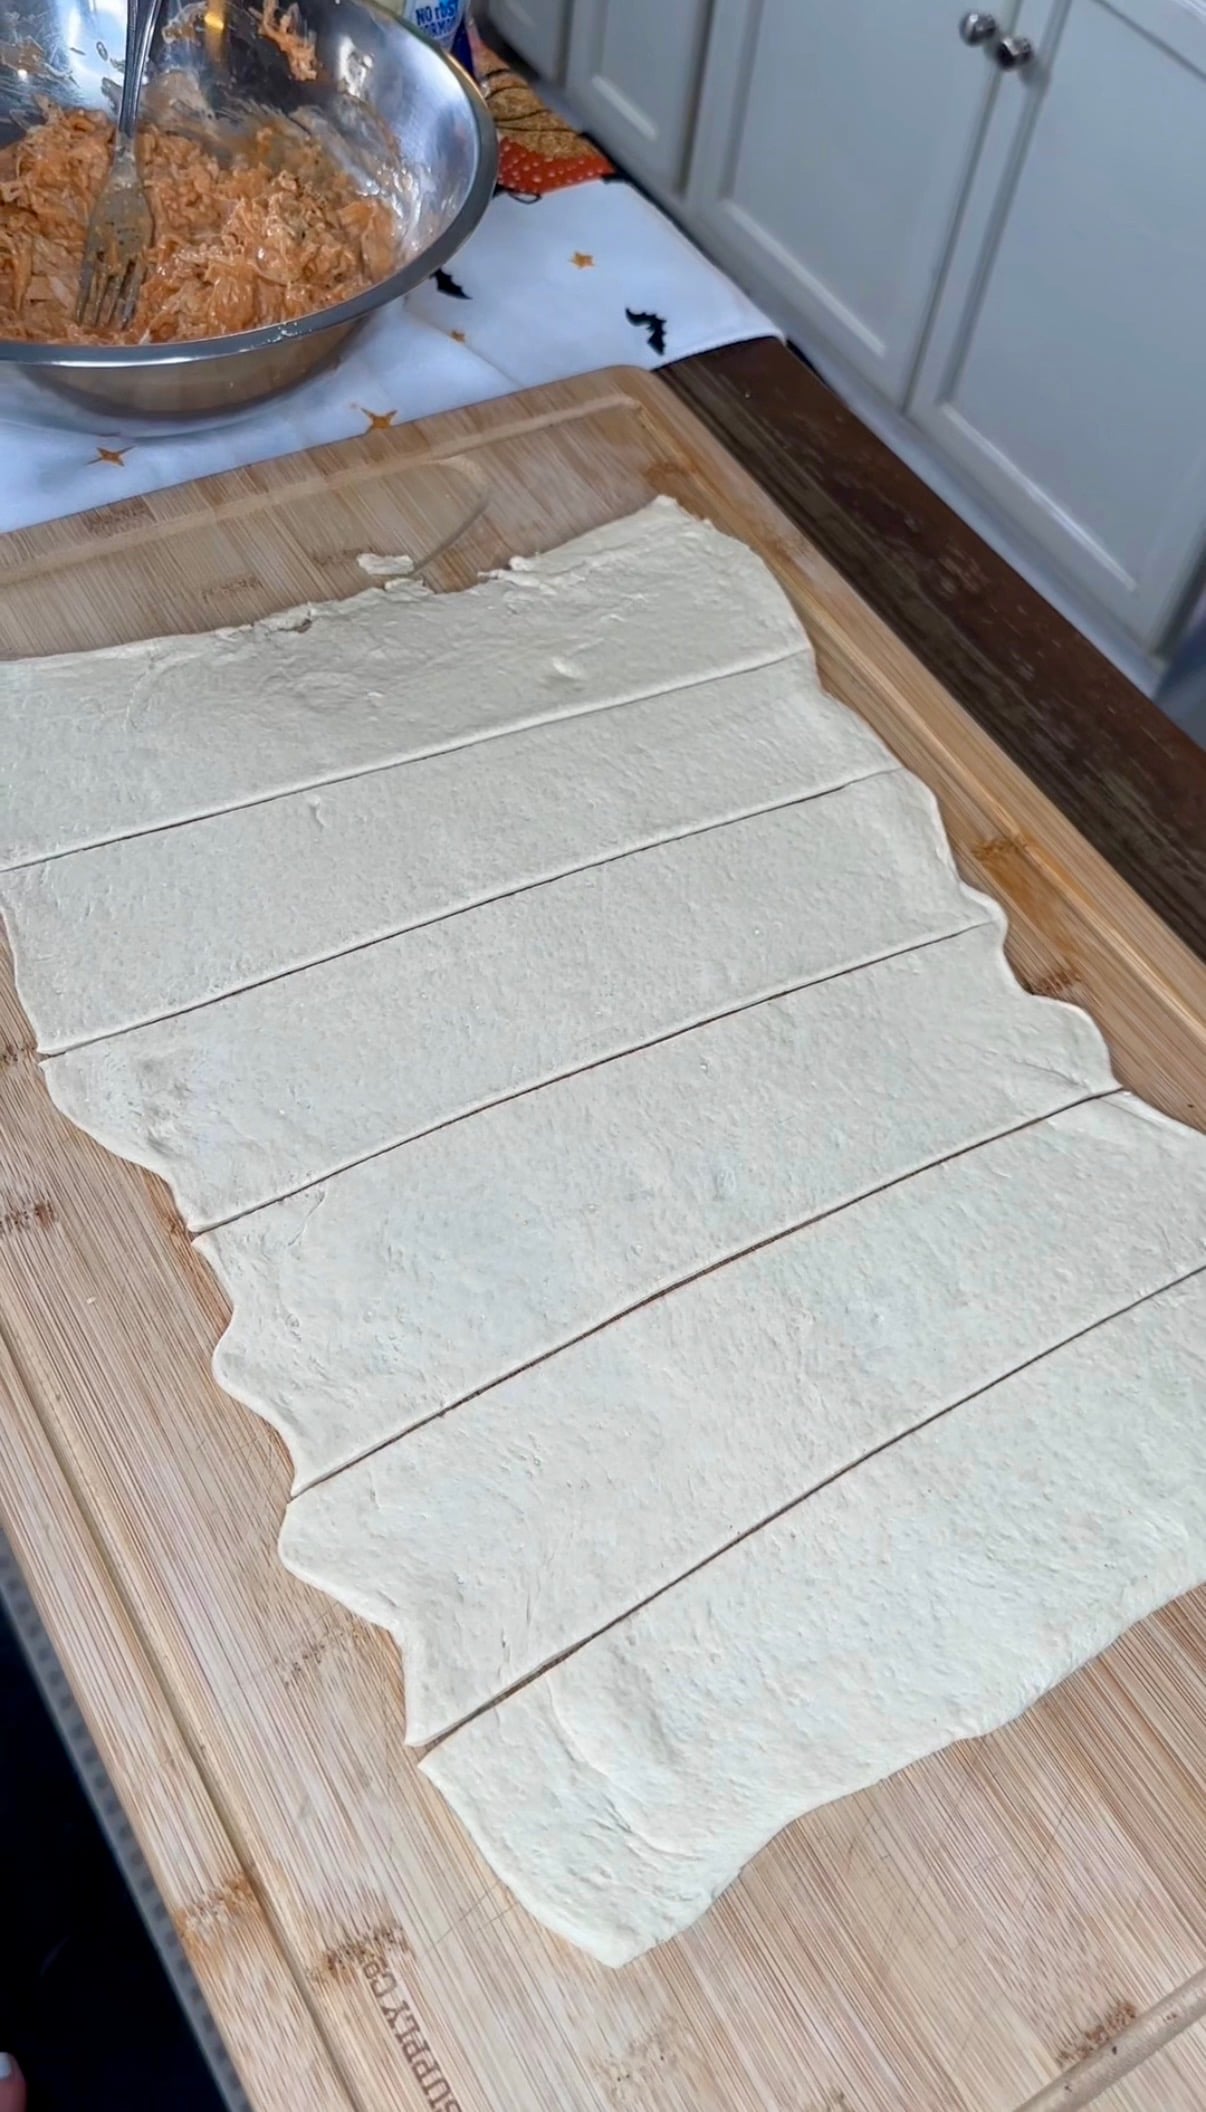
Repeat with the second can of pizza dough so you have six pieces total.
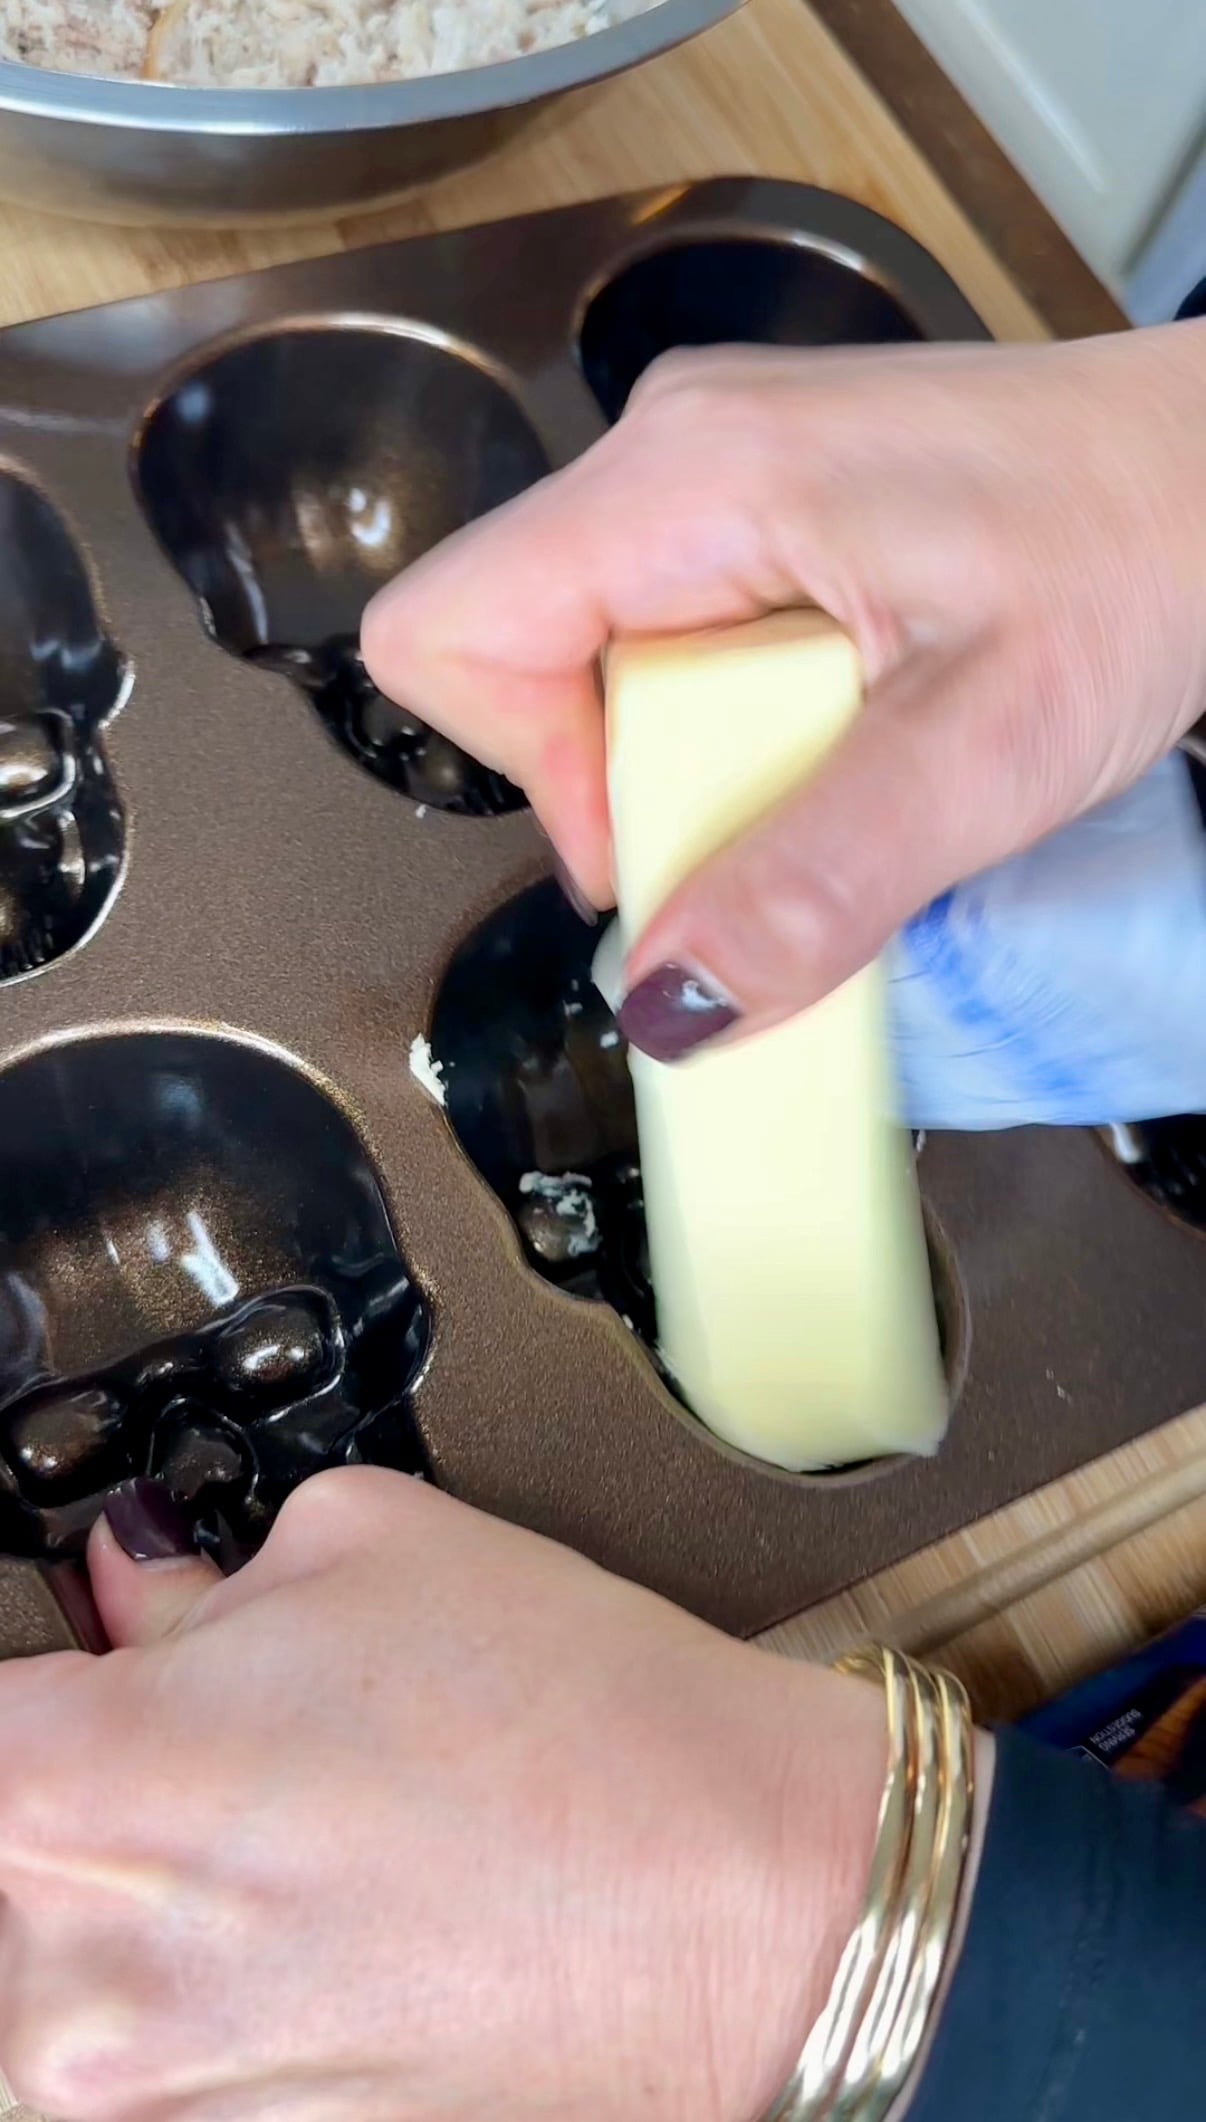
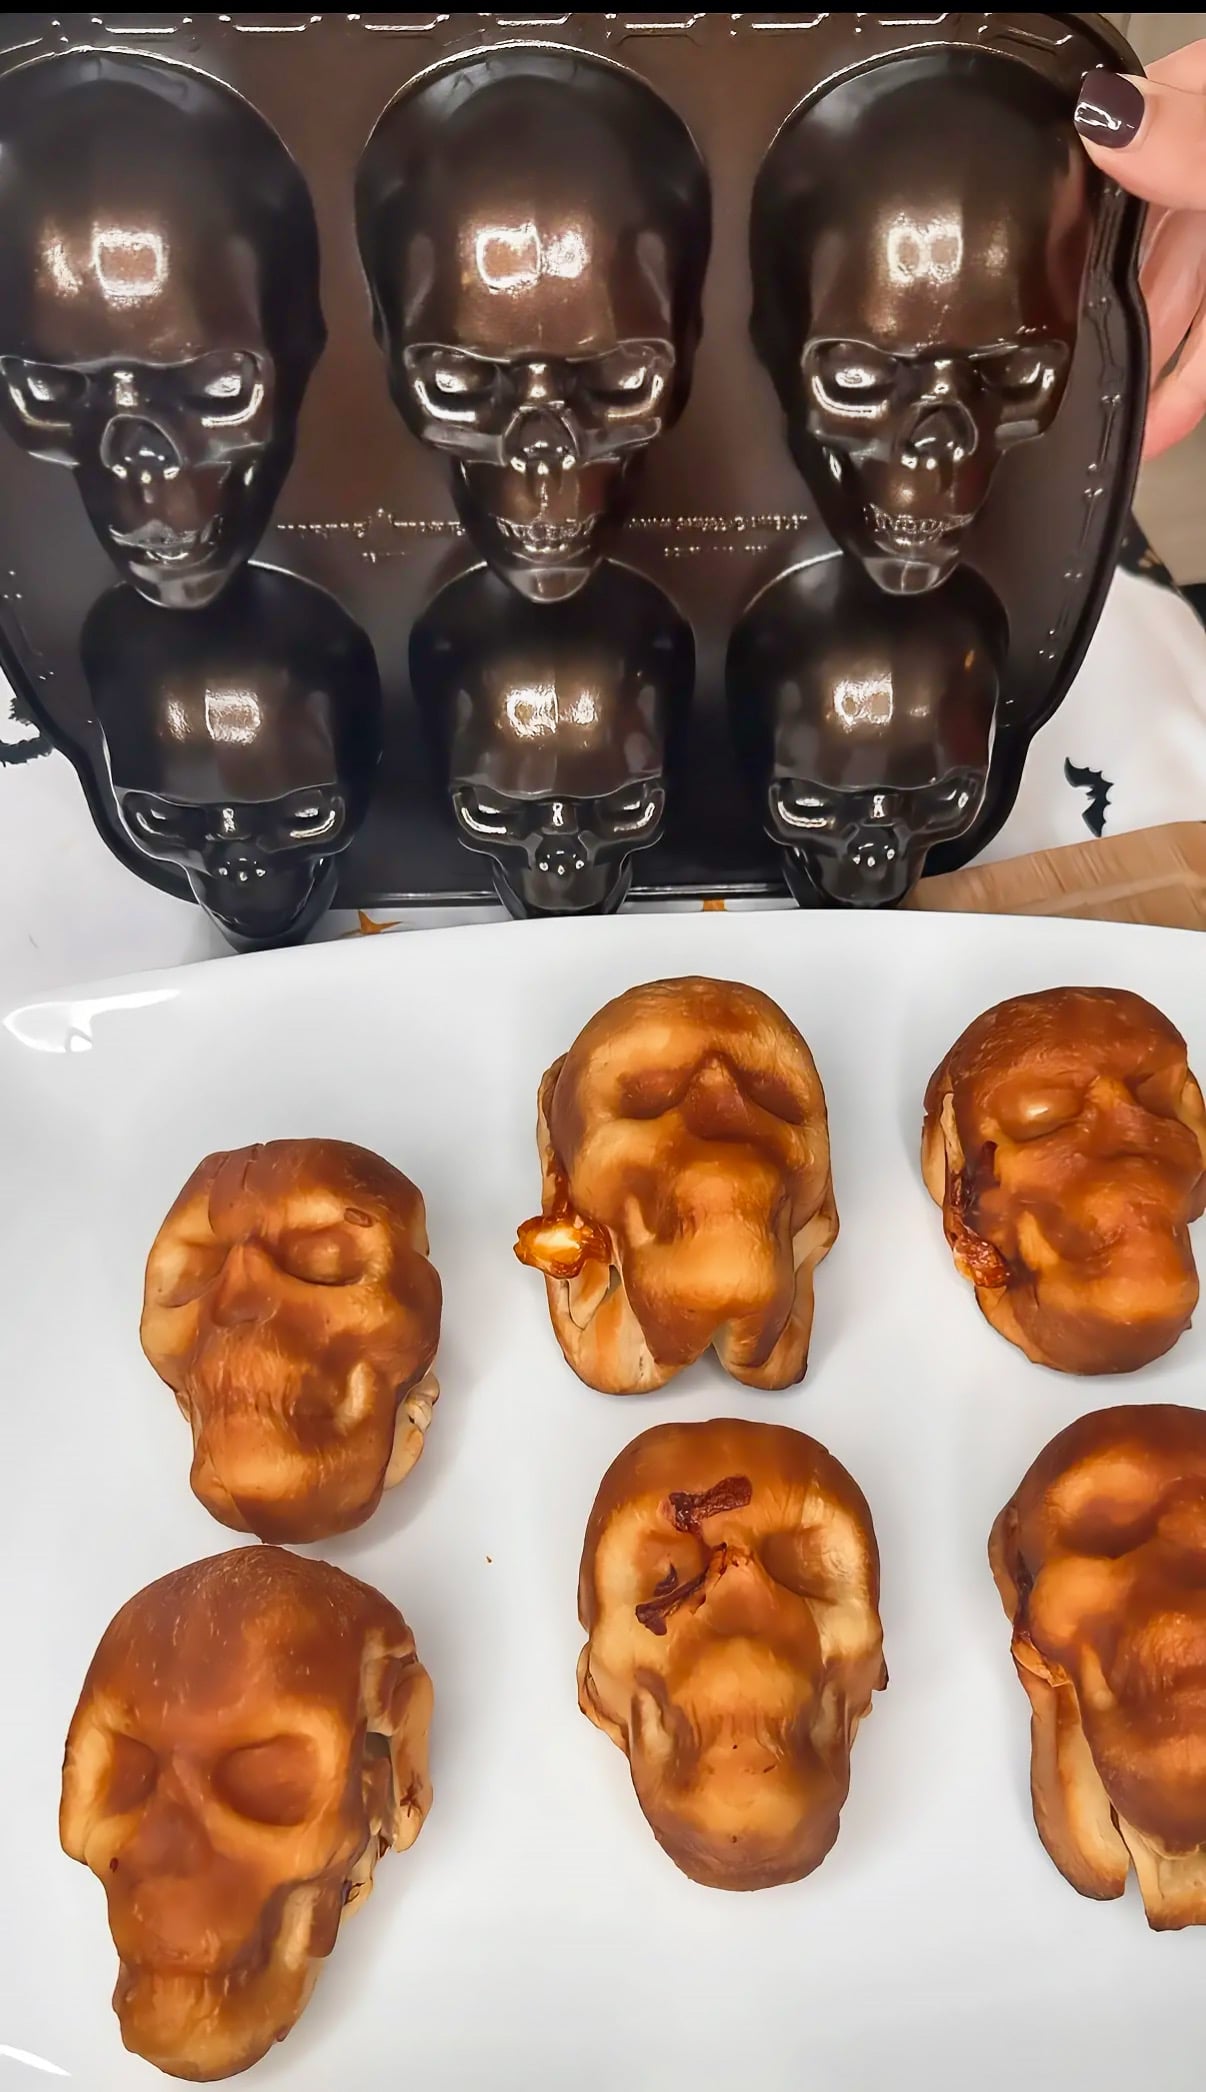
Grab your skull-shaped baking pan and grease every single skull cavity REALLY well with butter. And I mean really well! Make sure you get into all those little crevices, especially around the eyes, nose, and teeth.
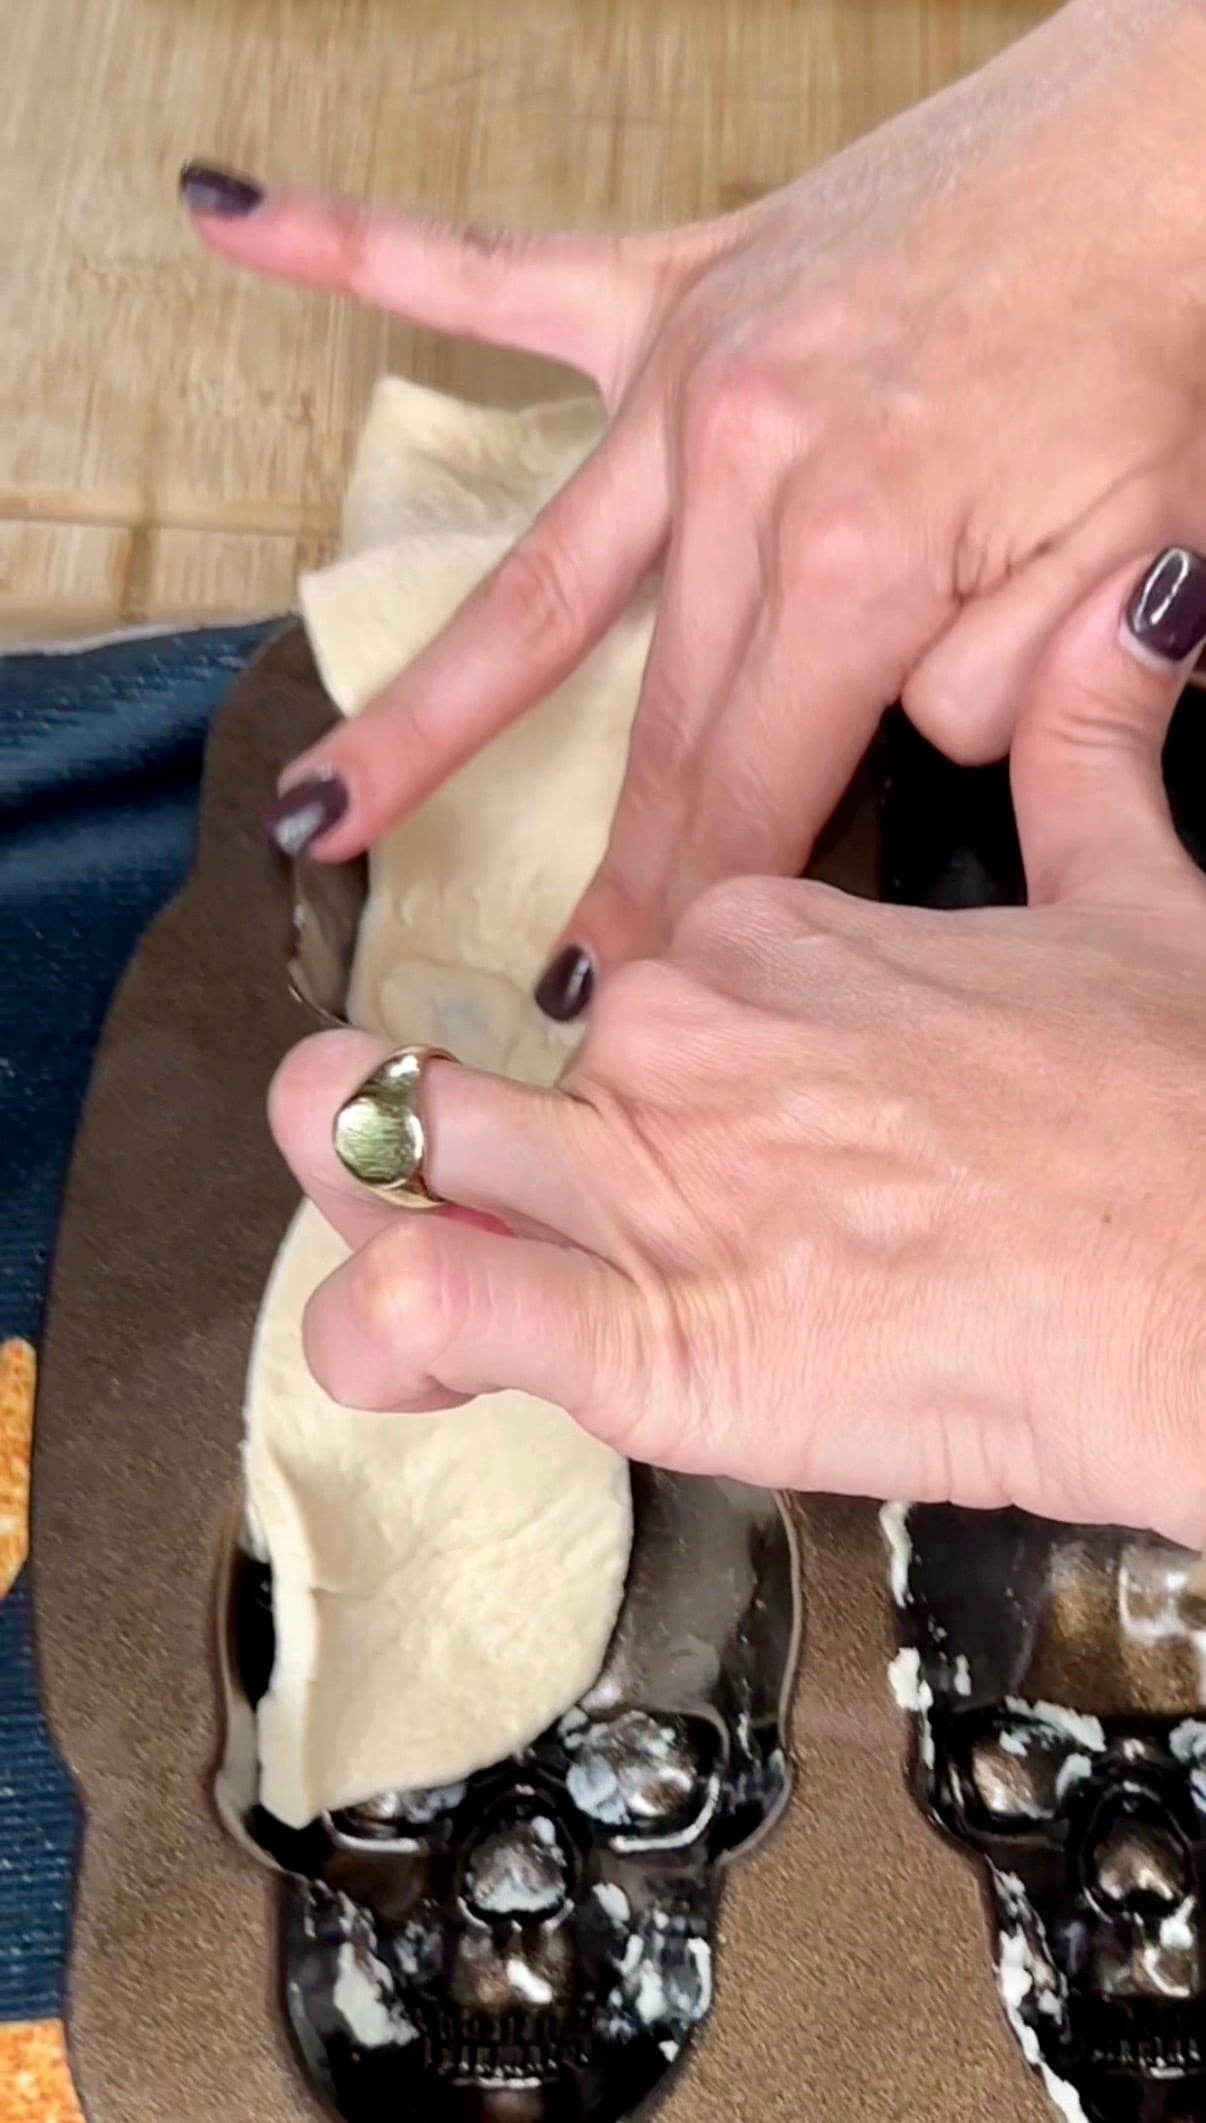
Take one piece of pizza dough and carefully press it into one of the greased skull cavities.
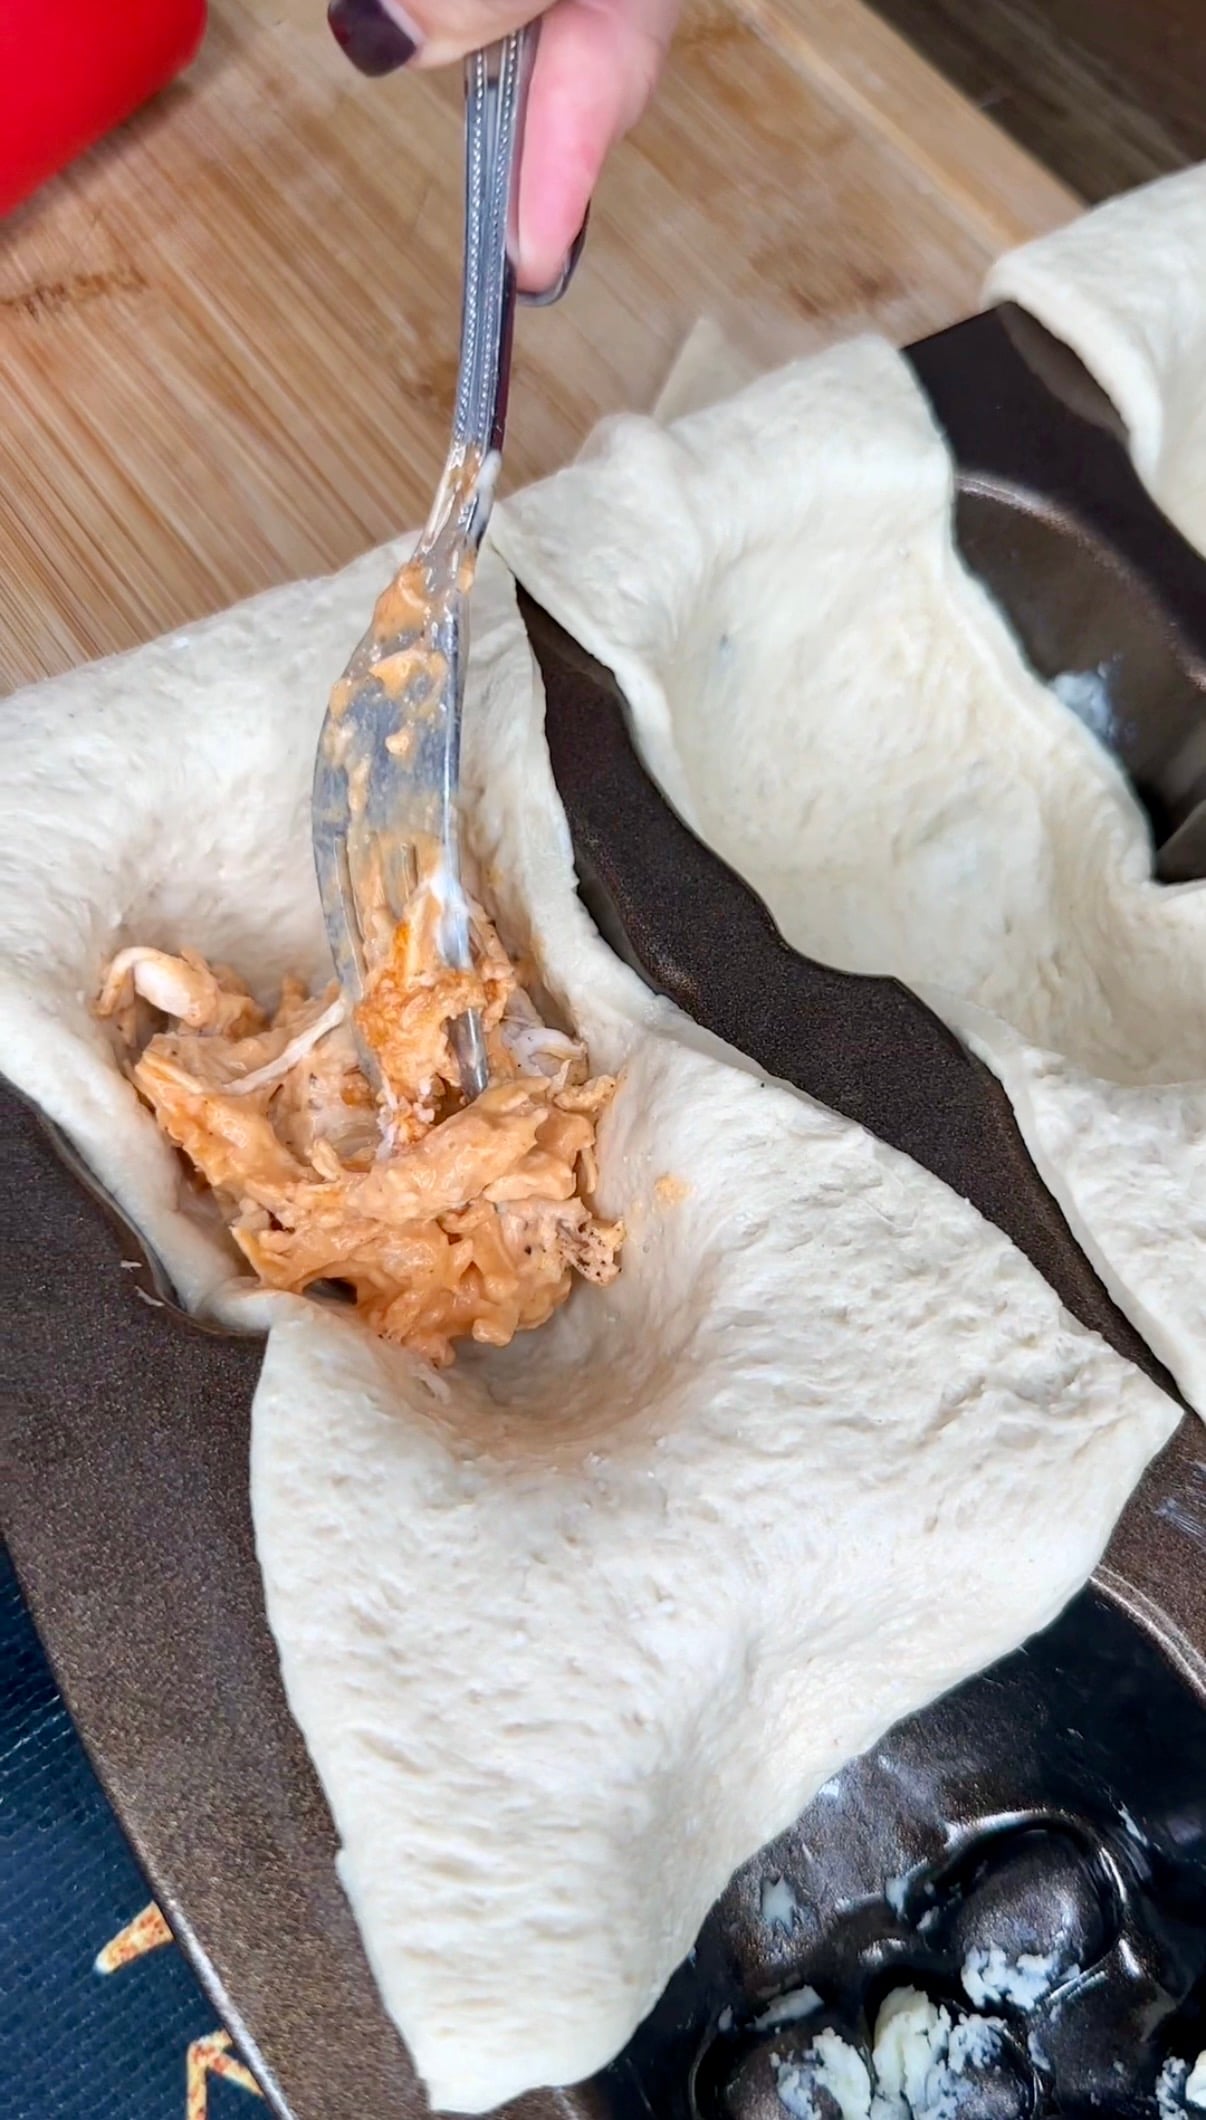
Spoon your buffalo chicken mixture into each skull.
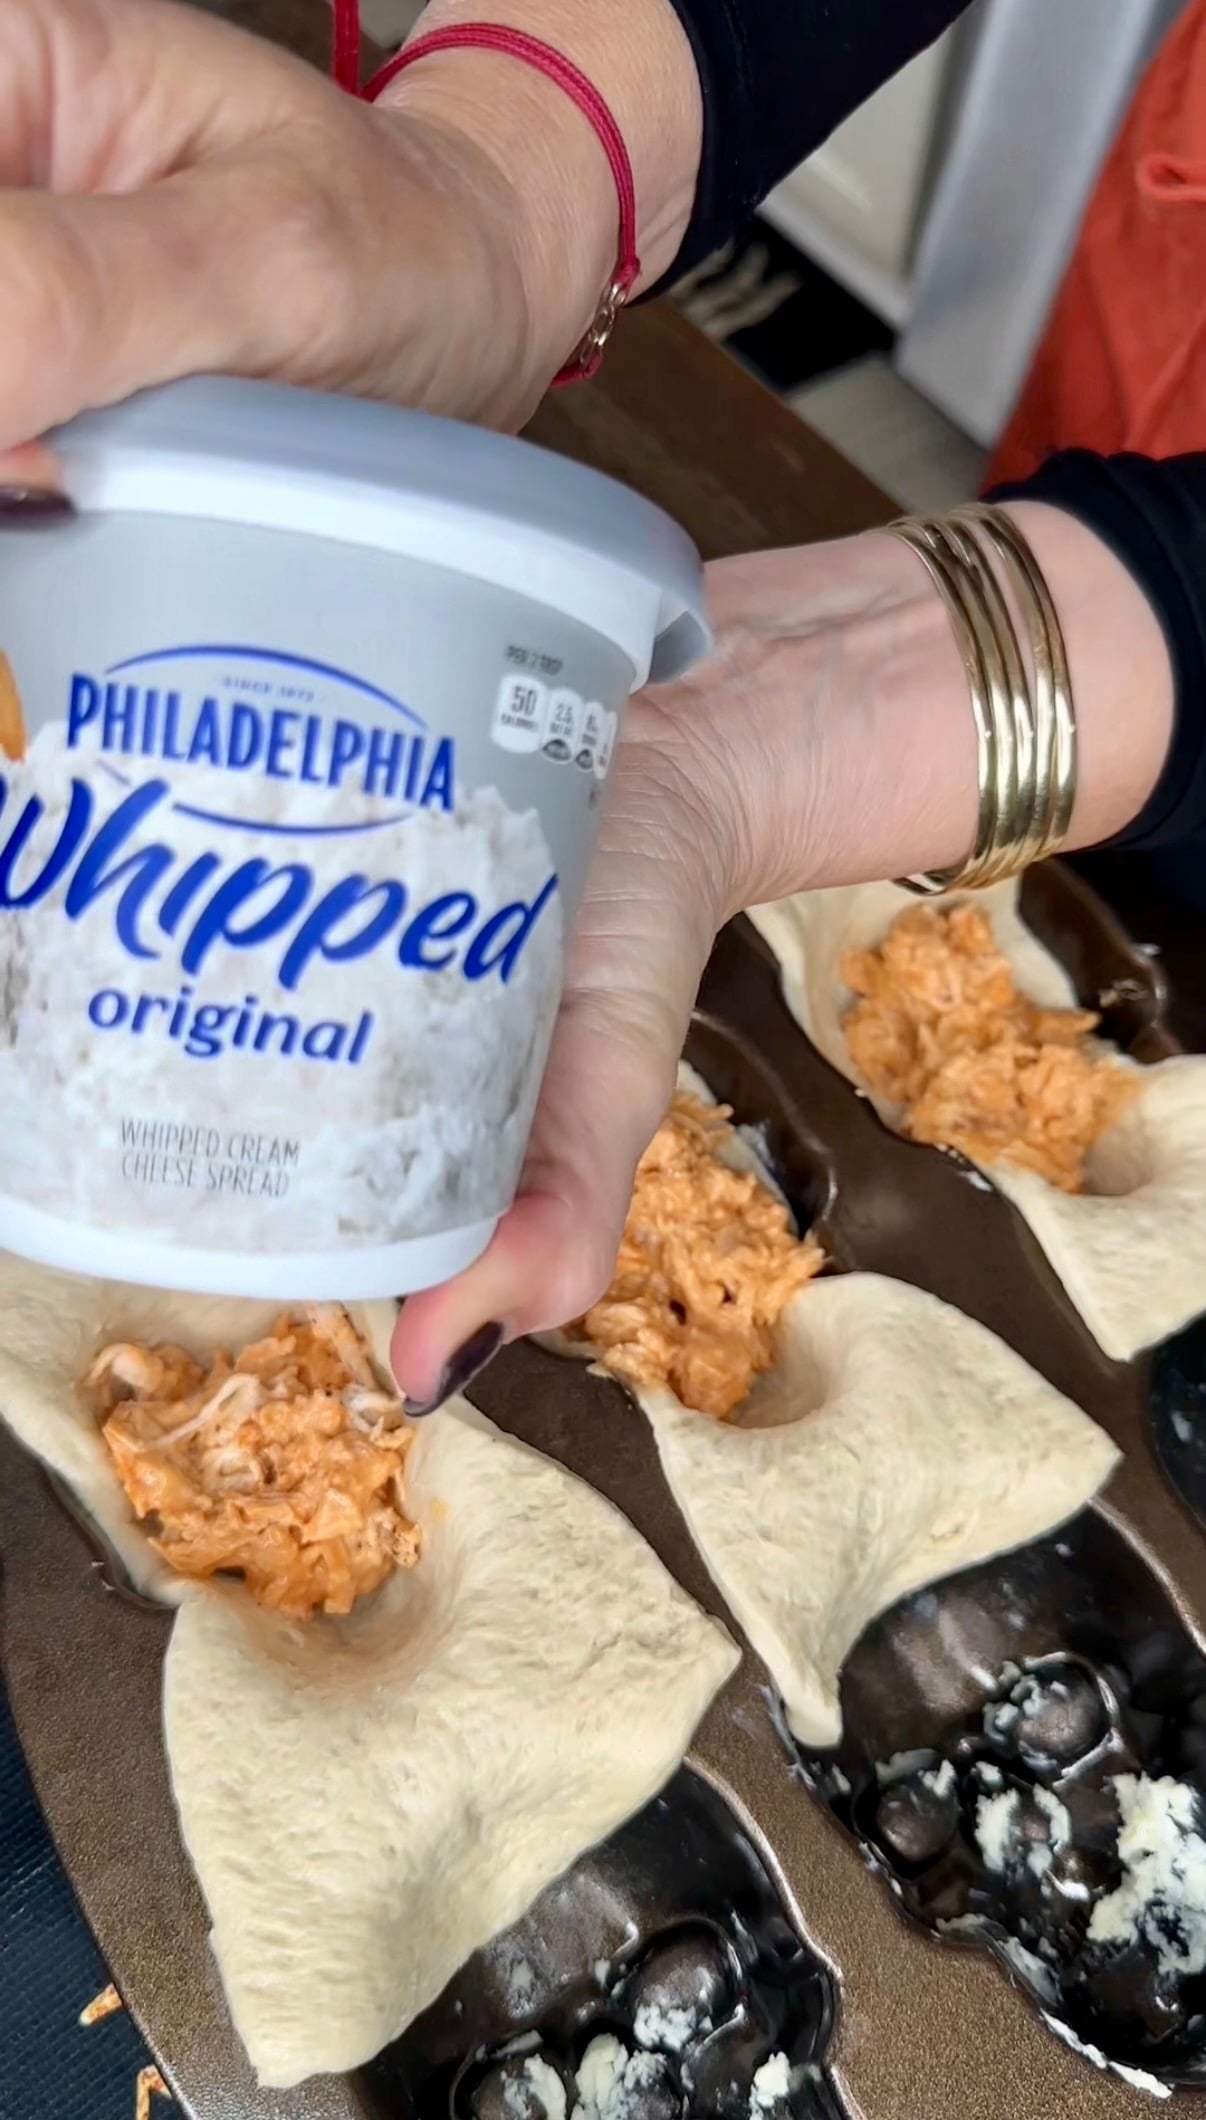
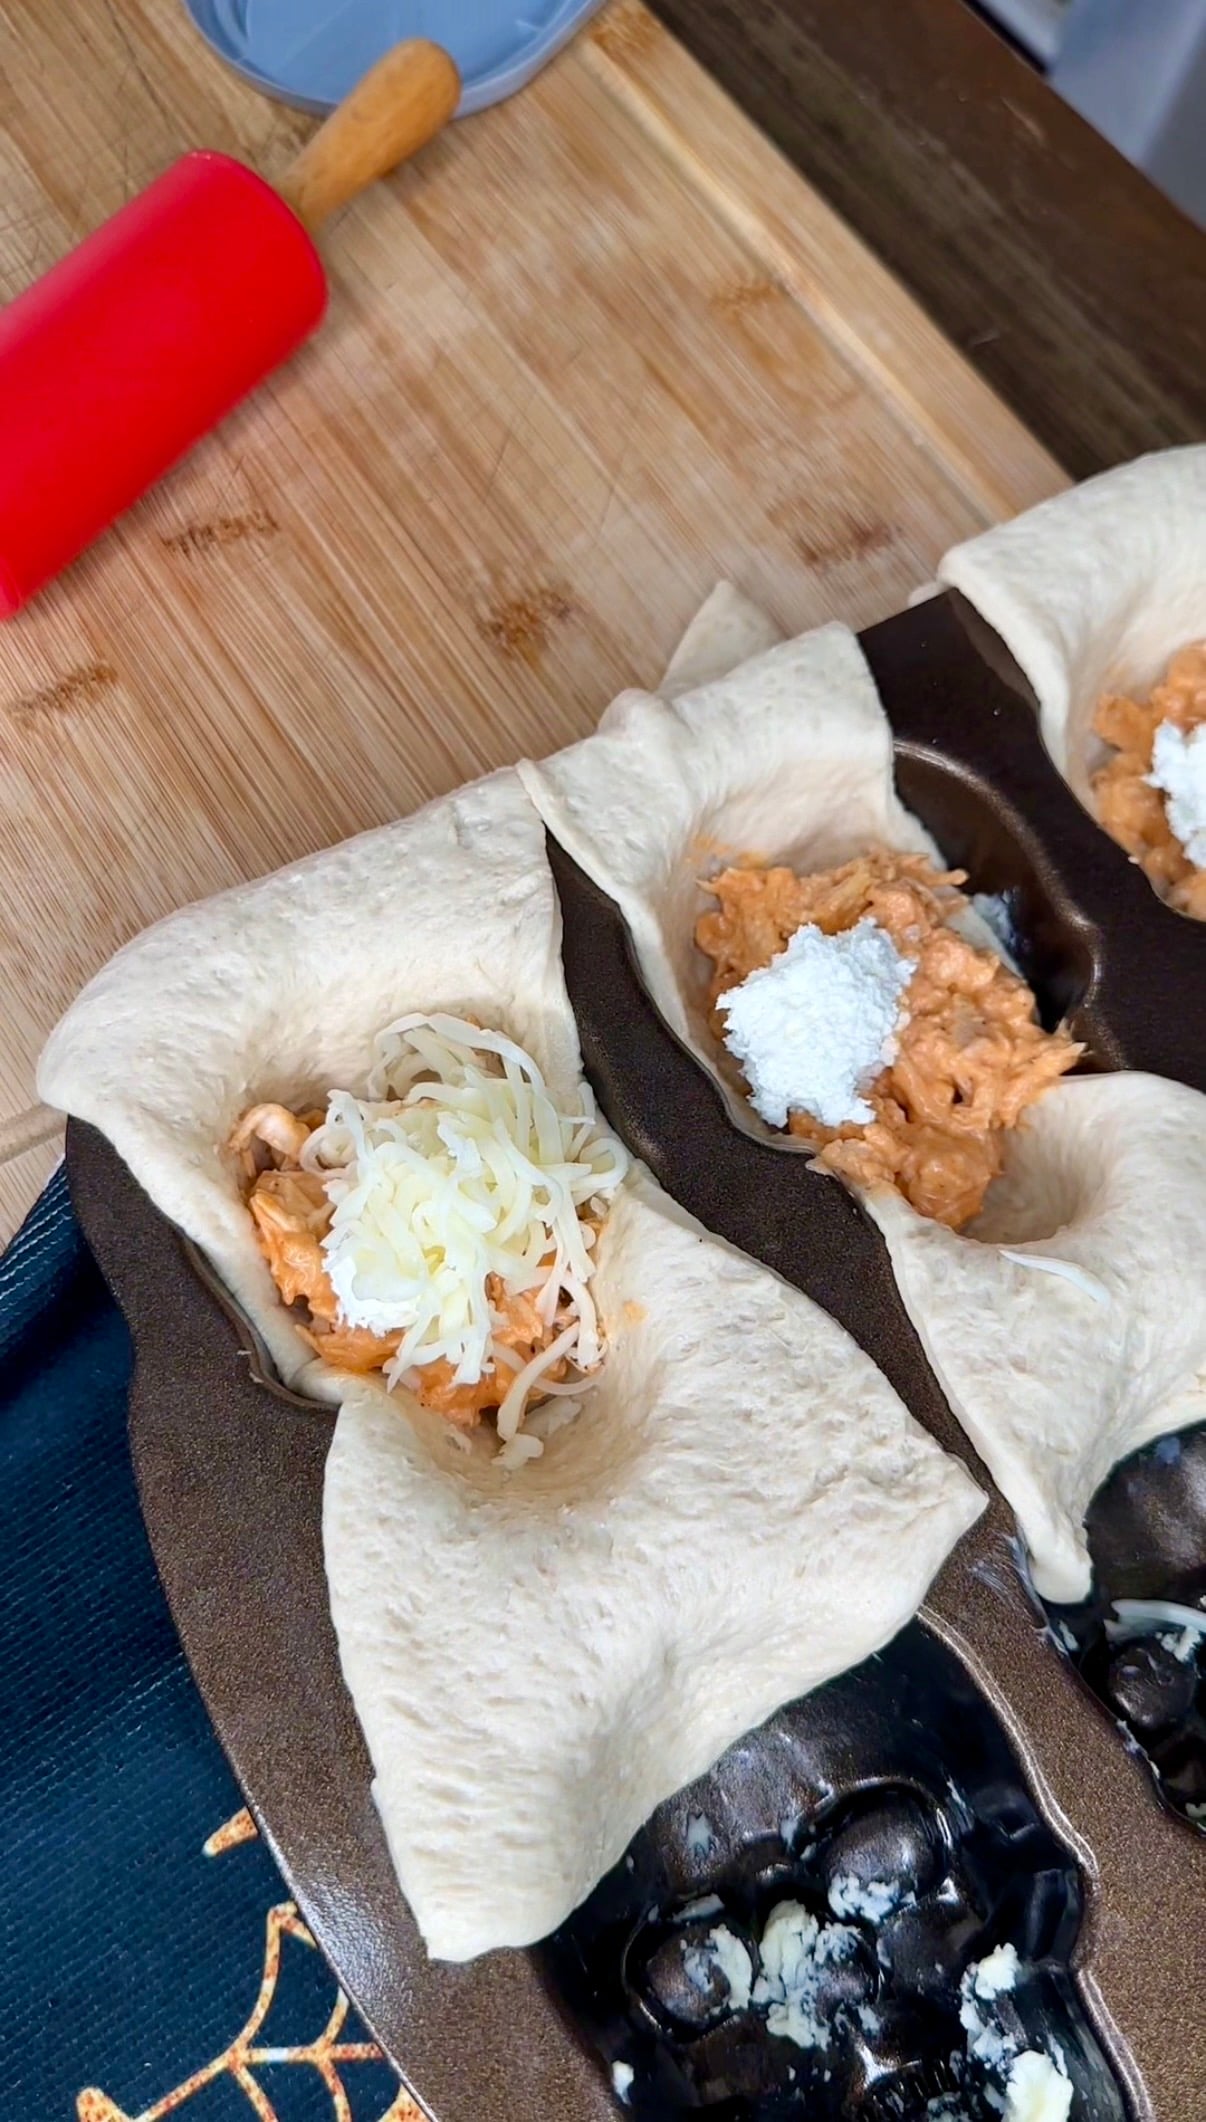
Add whipped cream cheese on top of the buffalo chicken in each skull. Divide your shredded mozzarella cheese evenly among all six skulls, sprinkling it over the filling.
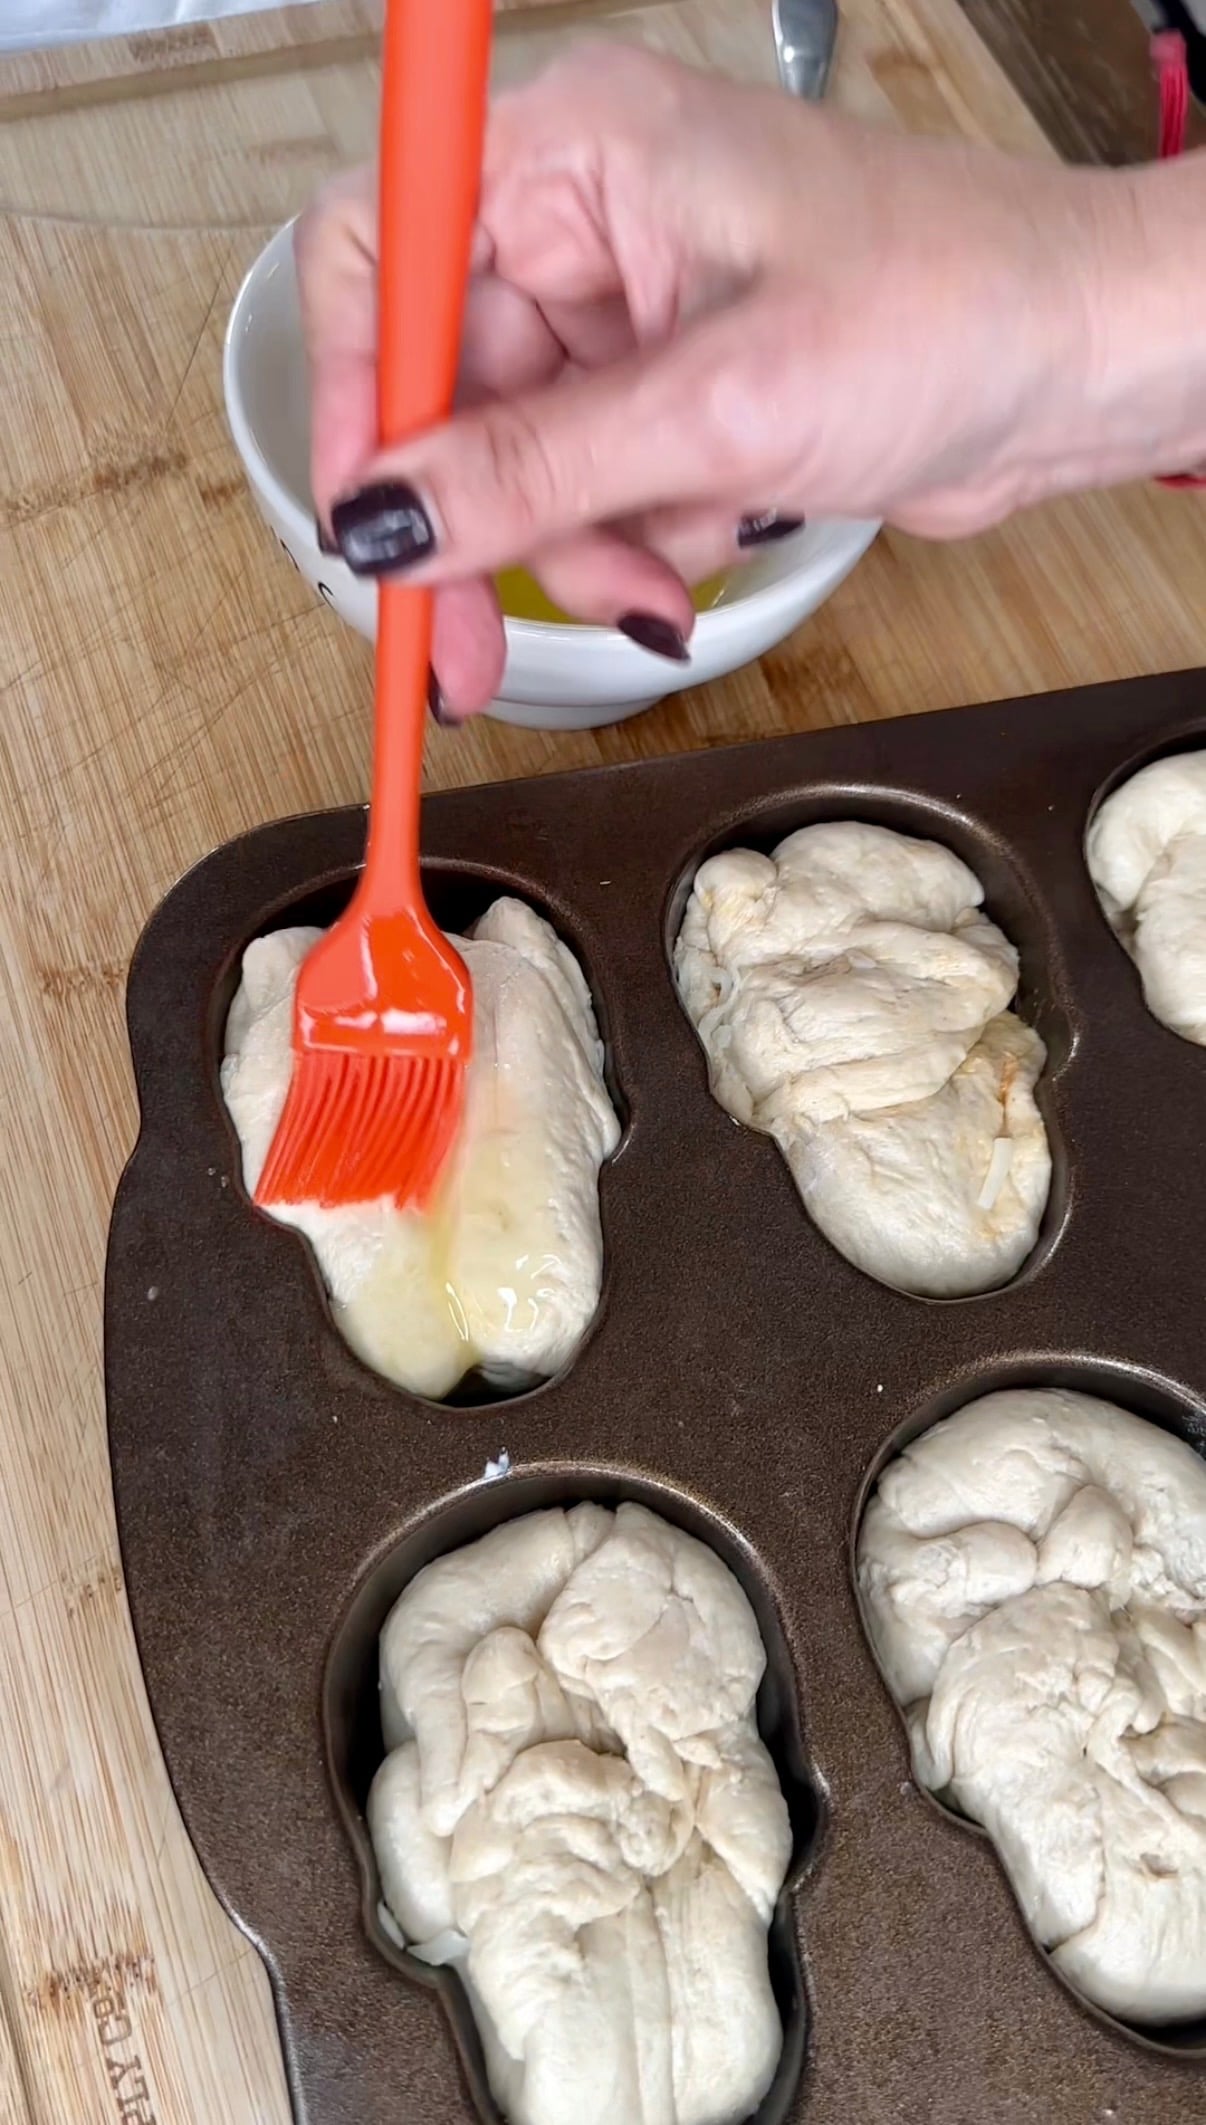
Carefully fold the excess pizza dough over the filling, pinching the edges together to seal each skull. Brush some melted butter over the tops of the sealed pizza skulls.
More Delicious Halloween Inspired Recipes!
Melissa’s Tips!
- Butter that skull pan REALLY well! I cannot stress this enough. You want to get butter into every little crevice so your skulls come out looking like actual skulls instead of a Halloween disaster!
- Use the right pan. I use a skull-shaped baking pan to get those adorable Halloween skull faces. It’s what makes this recipe so much fun!
- Use rotisserie chicken. This is one of my favorite shortcuts. It’s already cooked, it’s flavorful, and it saves so much time.
- Use Pillsbury Classic Pizza Crust. That’s what I used for this recipe, and it works perfectly for molding into the skull pan.
- Don’t overstuff your skulls. I know it’s tempting to pile in all that buffalo chicken, but you need enough dough to fold over and seal the filling.
- Don’t skip the whipped cream cheese. Just one teaspoon in each skull gives you that extra creamy filling that makes these so good.
- Pinch the dough closed. Make sure the edges are sealed so the filling doesn’t leak out while baking.
- Let them cool slightly before removing them. Give them a few minutes to set up before flipping them out of the pan.
- Serve with extra ranch or blue cheese dressing. If you love dipping your buffalo chicken in ranch, these are perfect for that!
🤔 Common Questions
Yes! You can prepare the buffalo chicken filling a day ahead and keep it covered in the refrigerator. When you’re ready to make the skulls, just assemble them with the pizza dough, cream cheese, and mozzarella, then bake.
Absolutely! Frank’s RedHot gives these pizza skulls that classic buffalo chicken flavor, but if you want something milder, you can reduce the amount of hot sauce and add a little extra ranch dressing. Just keep in mind that changing the amount of sauce will change the flavor and consistency of the filling slightly.
You certainly can! I used Pillsbury Classic Pizza Crust because it’s easy, convenient, and works beautifully for this recipe. But if you have a favorite homemade pizza dough, you can use that too. Just remember that homemade dough may have a different baking time.

Melissa Jo’s Halloween Buffalo Chicken Pizza Skulls
Ingredients
Equipment
Method
- Preheat the oven to 425°F. Generously grease all six cavities of a skull-shaped baking pan with butter, making sure to coat every crevice.
- Remove and shred the meat from the rotisserie chicken. Add it to a large bowl along with the Frank’s RedHot sauce, ranch dressing, and dry ranch seasoning. Mix until thoroughly combined.
- Roll out the first can of pizza dough and cut it into three thick, evenly sized pieces. Repeat with the second can of pizza dough to make six pieces total.
- Press one piece of pizza dough into each greased skull cavity, gently molding it into the shape of the pan and leaving enough dough around the edges to close over the filling.
- Spoon approximately 2 tablespoons of the buffalo chicken mixture into each skull. Top each with 1 teaspoon of whipped cream cheese, then divide the shredded mozzarella evenly among the six skulls.
- Fold the excess pizza dough over the filling and pinch the edges closed to seal each skull.
- Melt some of the remaining butter and brush it over the tops of the sealed pizza skulls.
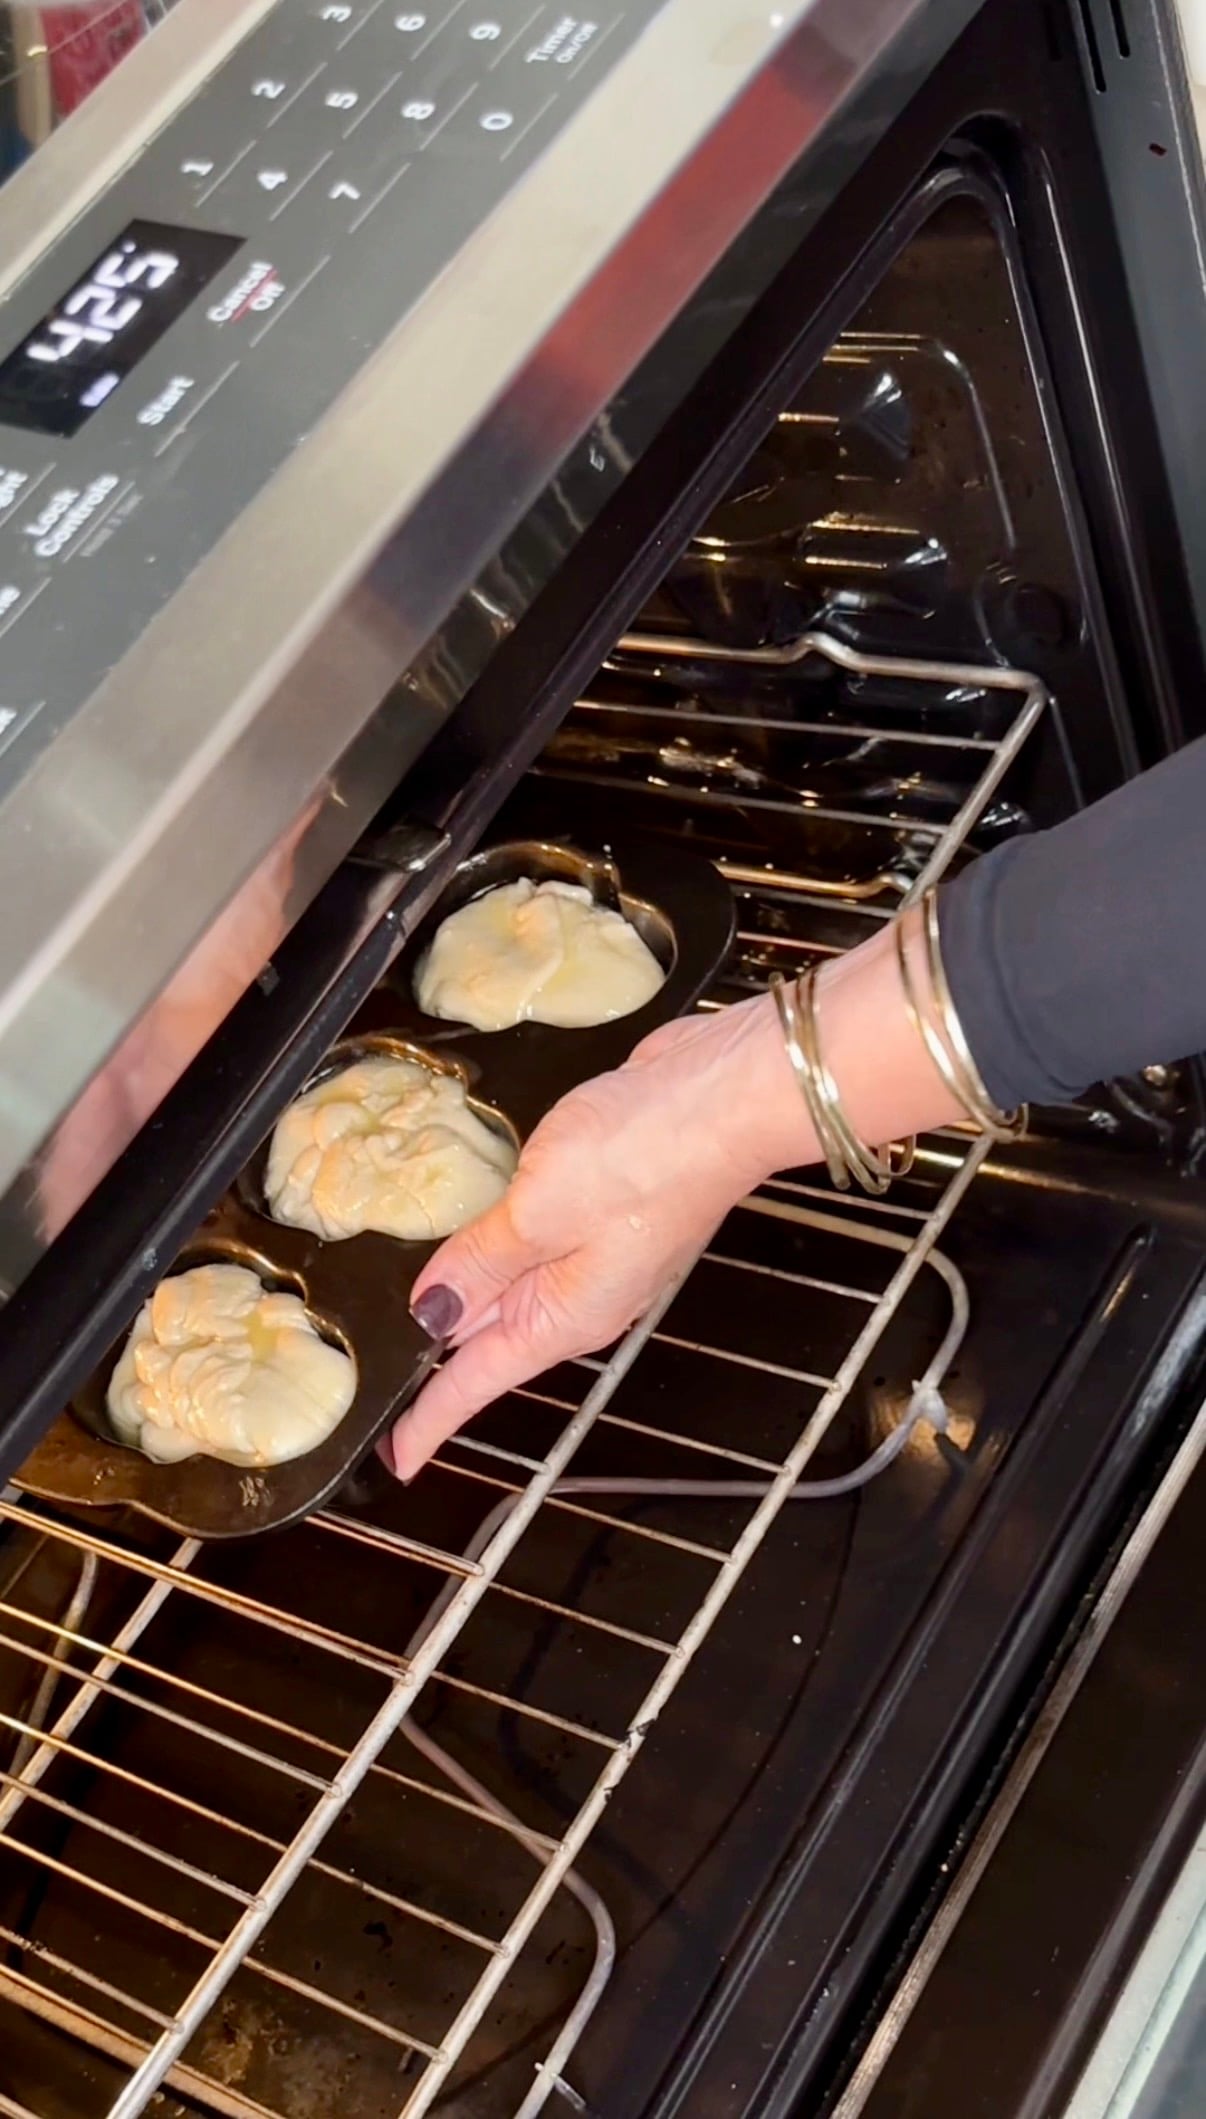
- Bake at 425°F for 13–15 minutes, or until the pizza dough is golden brown and fully cooked and the filling is heated through.
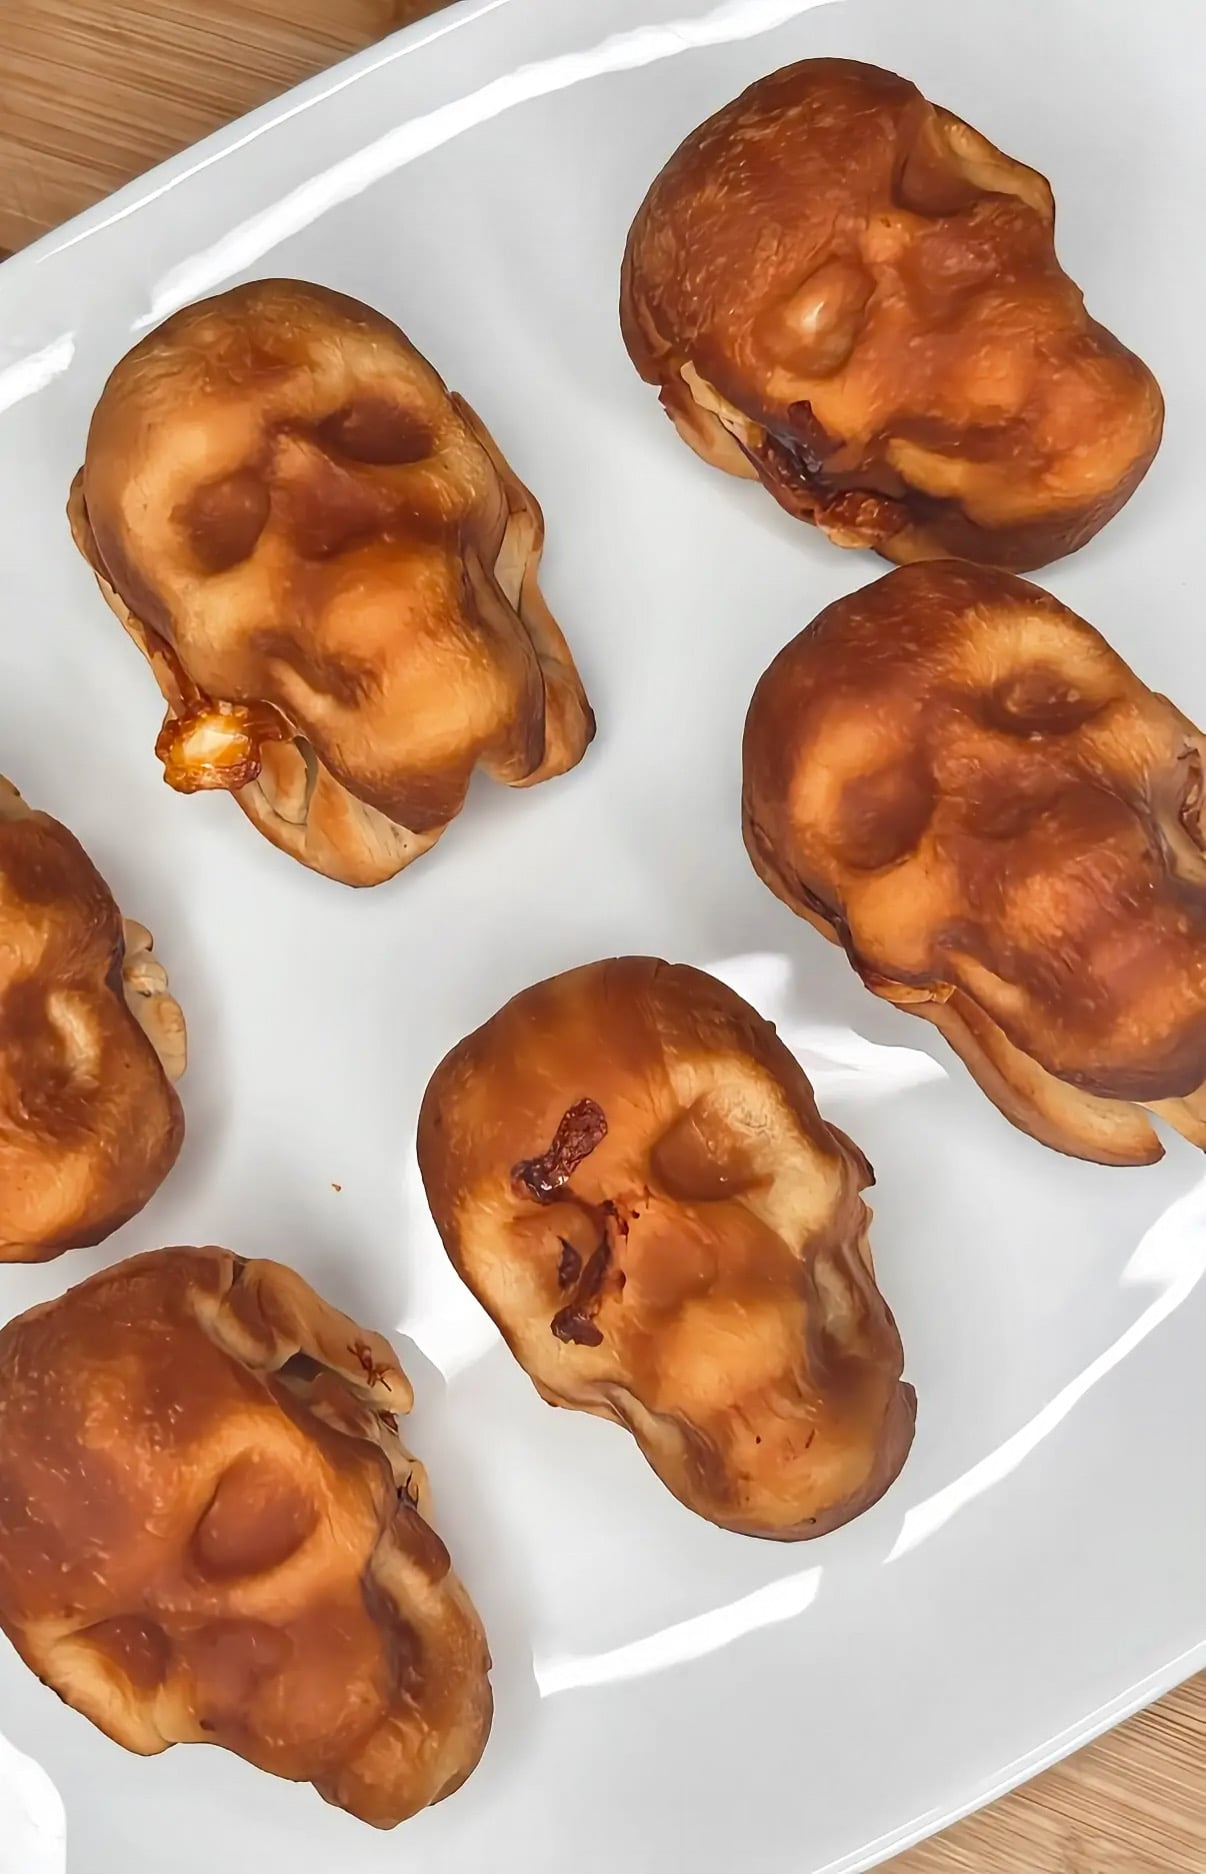
- Allow the skulls to cool in the pan for a few minutes, then carefully remove them and flip them over to reveal the skull faces. Serve warm and enjoy!
Want to make this later?
Nutrition
Notes
- Grease the skull pan extremely well with butter for easy removal.
- Use a standard original rotisserie chicken for convenience.
- Avoid overfilling the skulls so the dough seals properly.
- Serve with extra ranch or blue cheese dressing for dipping.
- Depending on the size of your skull pan, you may have extra buffalo chicken filling. Refrigerate any unused filling promptly.
- Baking times may vary depending on the size and material of your skull pan.
Tried this recipe?
Made this? Tap a star to rate it – it only takes a second and it means the world!👝 How to Store Leftovers
Refrigerator: Allow the pizza skulls to cool, then transfer them to an airtight container and refrigerate for up to 3–4 days.
Freezer: Wrap the completely cooled pizza skulls individually and place them in a freezer-safe container or bag. Freeze for up to 2 months for best quality.
Reheating: I recommend reheating these in the oven or air fryer to bring back that delicious crispy pizza crust.
- Oven: Reheat at 350°F until heated through.
- Air fryer: Reheat at 325–350°F for a few minutes, checking frequently so they don’t get too brown.
- Microwave: You can microwave them if you’re in a hurry, but the crust will be softer.