Mac and Cheese Burger Sliders

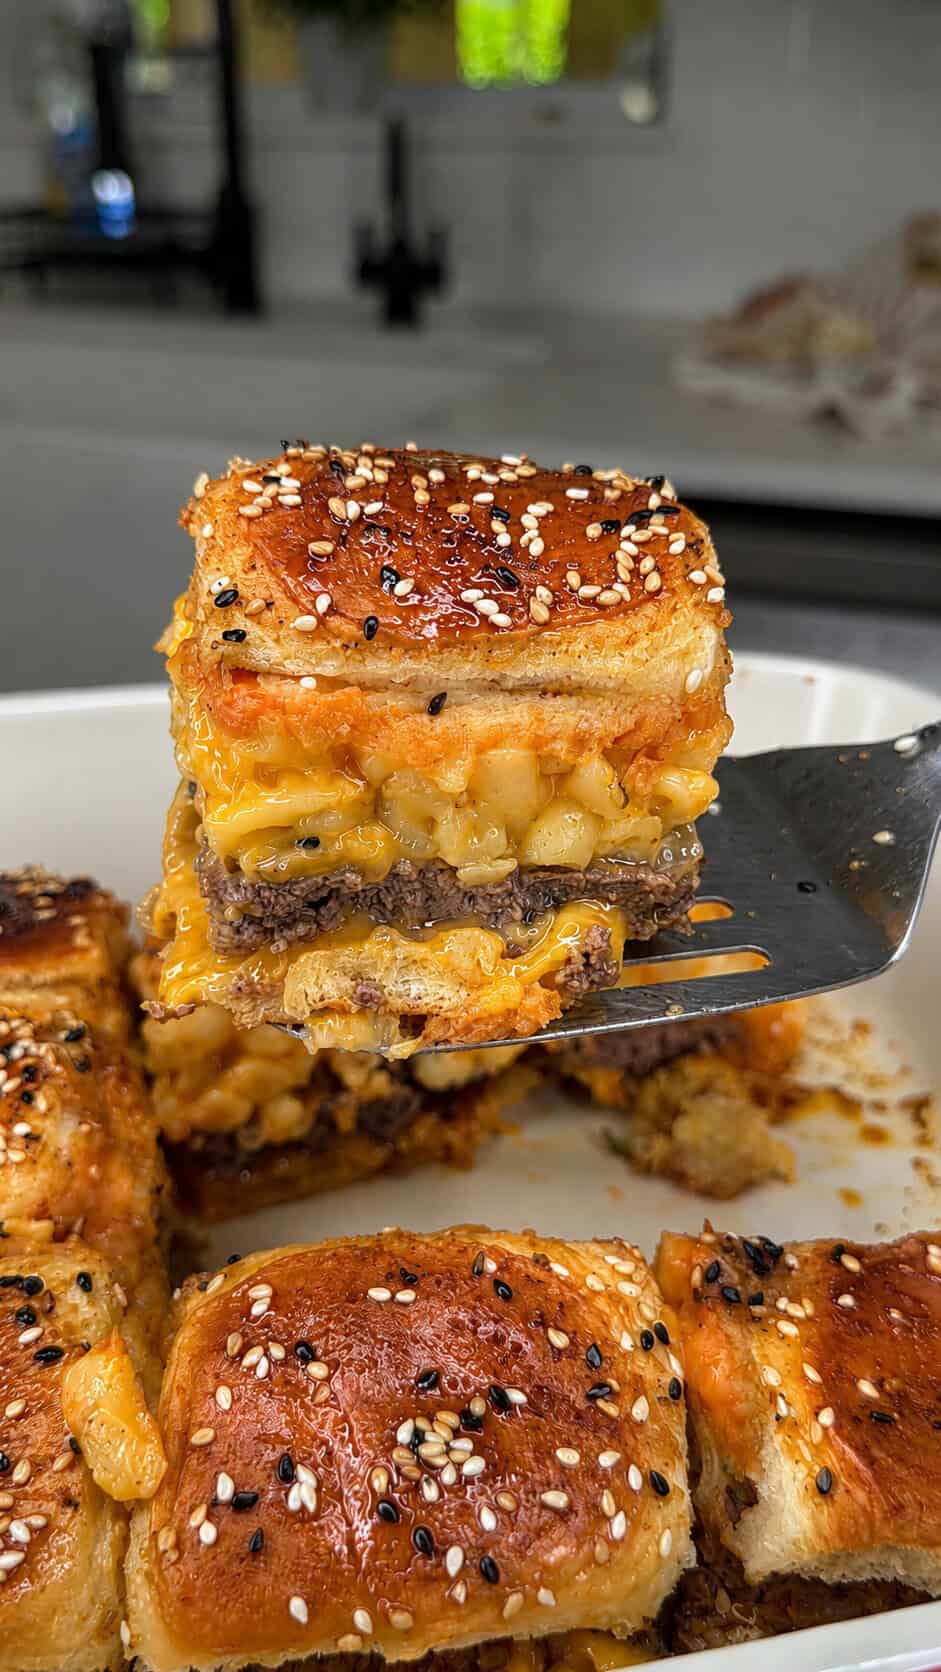
While I was traveling through Florida, I stopped at a little burger restaurant in North Florida and saw something on the menu that immediately caught my attention—a mac and cheese burger! I had never seen anything like it before, and of course, I had to order it. Let me tell you, it was one of the best burgers I’ve ever had. And as the slider queen I had an idea! Click to make my MOST beloved and viral slider recipes: Bacon Cheeseburger Animal Sliders, Chicken Parmesan Sliders, and my Chopped Cheese Sliders.
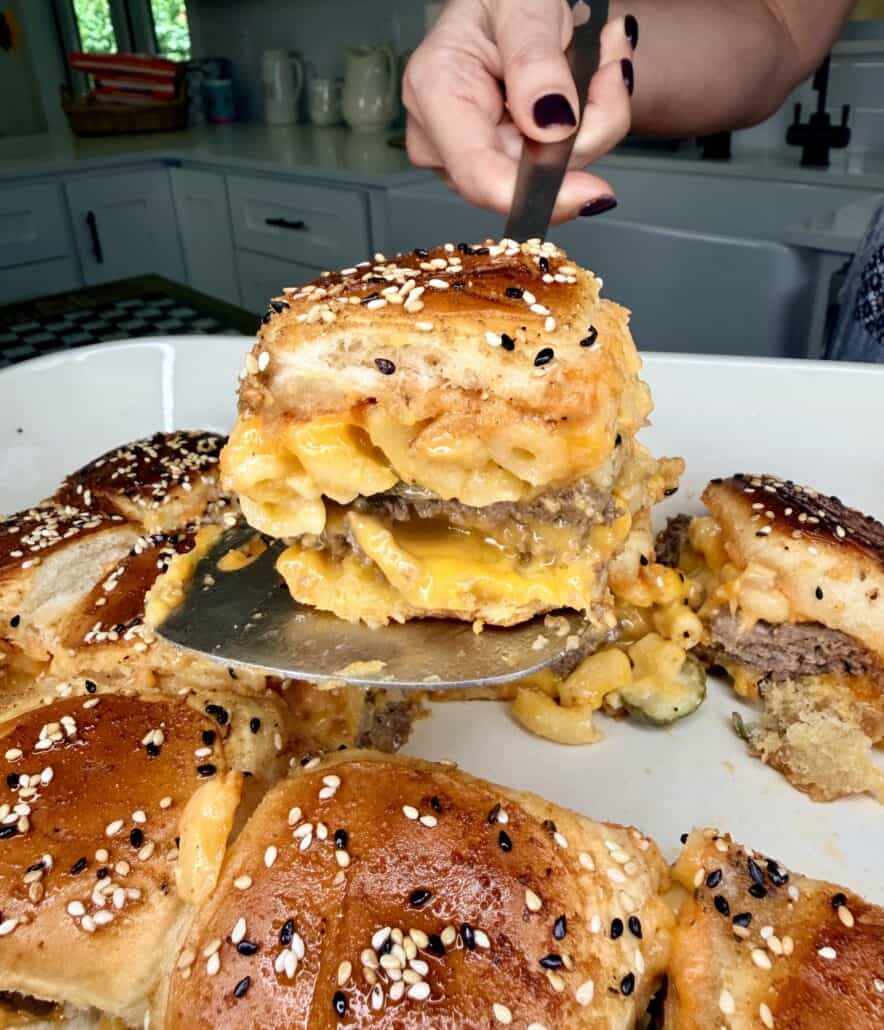
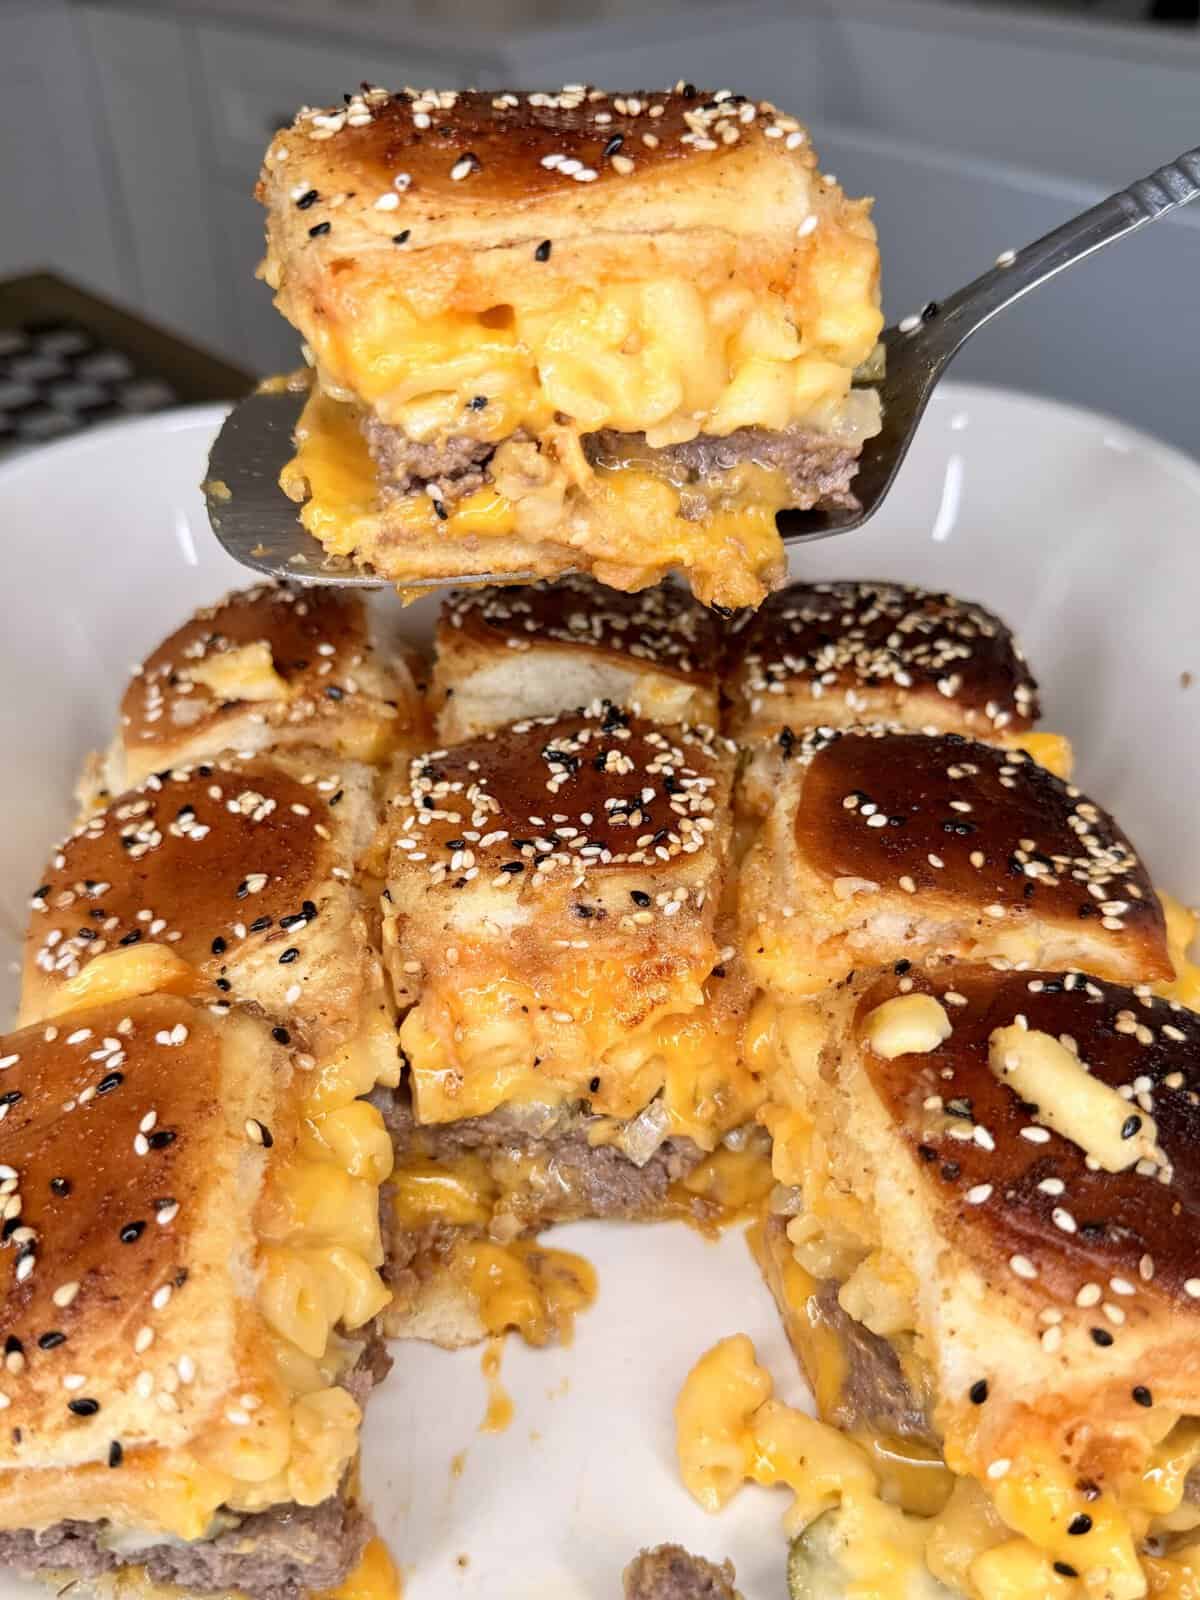
The second I got home, I couldn’t stop thinking about it. I had leftover Baked Mac & Cheese and I wanted to put my own spin on the idea, and that’s exactly how these Mac and Cheese Burger Sliders were born. Instead of making one giant burger, I turned all those incredible flavors into easy-to-share sliders layered with juicy seasoned beef, melty cheddar cheese, tangy pickles, sweet onions, creamy mac and cheese, and soft King’s Hawaiian rolls.
It felt like the ultimate comfort food from the very first bite. Rich, cheesy, savory, and completely over-the-top in the best possible way. And when I tell you these came out exactly how I envisioned them, I mean it. These Mac and Cheese Burger Sliders are an absolute masterclass in comfort food. Every layer works together perfectly, and they’re guaranteed to be the first thing gone at any gathering.
Let’s make them!!!

Hungry for more? Get my recipes first.
The dinners my family asks for on repeat, sent to you first.
Unsubscribe anytime, no hard feelings.
🤔 Common Questions
Absolutely! Homemade mac and cheese tastes incredible on these sliders. If you have extra mac and cheese in the fridge, this is the perfect way to use it.
Yes. Assemble the sliders up to the point of baking, cover, and refrigerate. Bake when ready to serve.
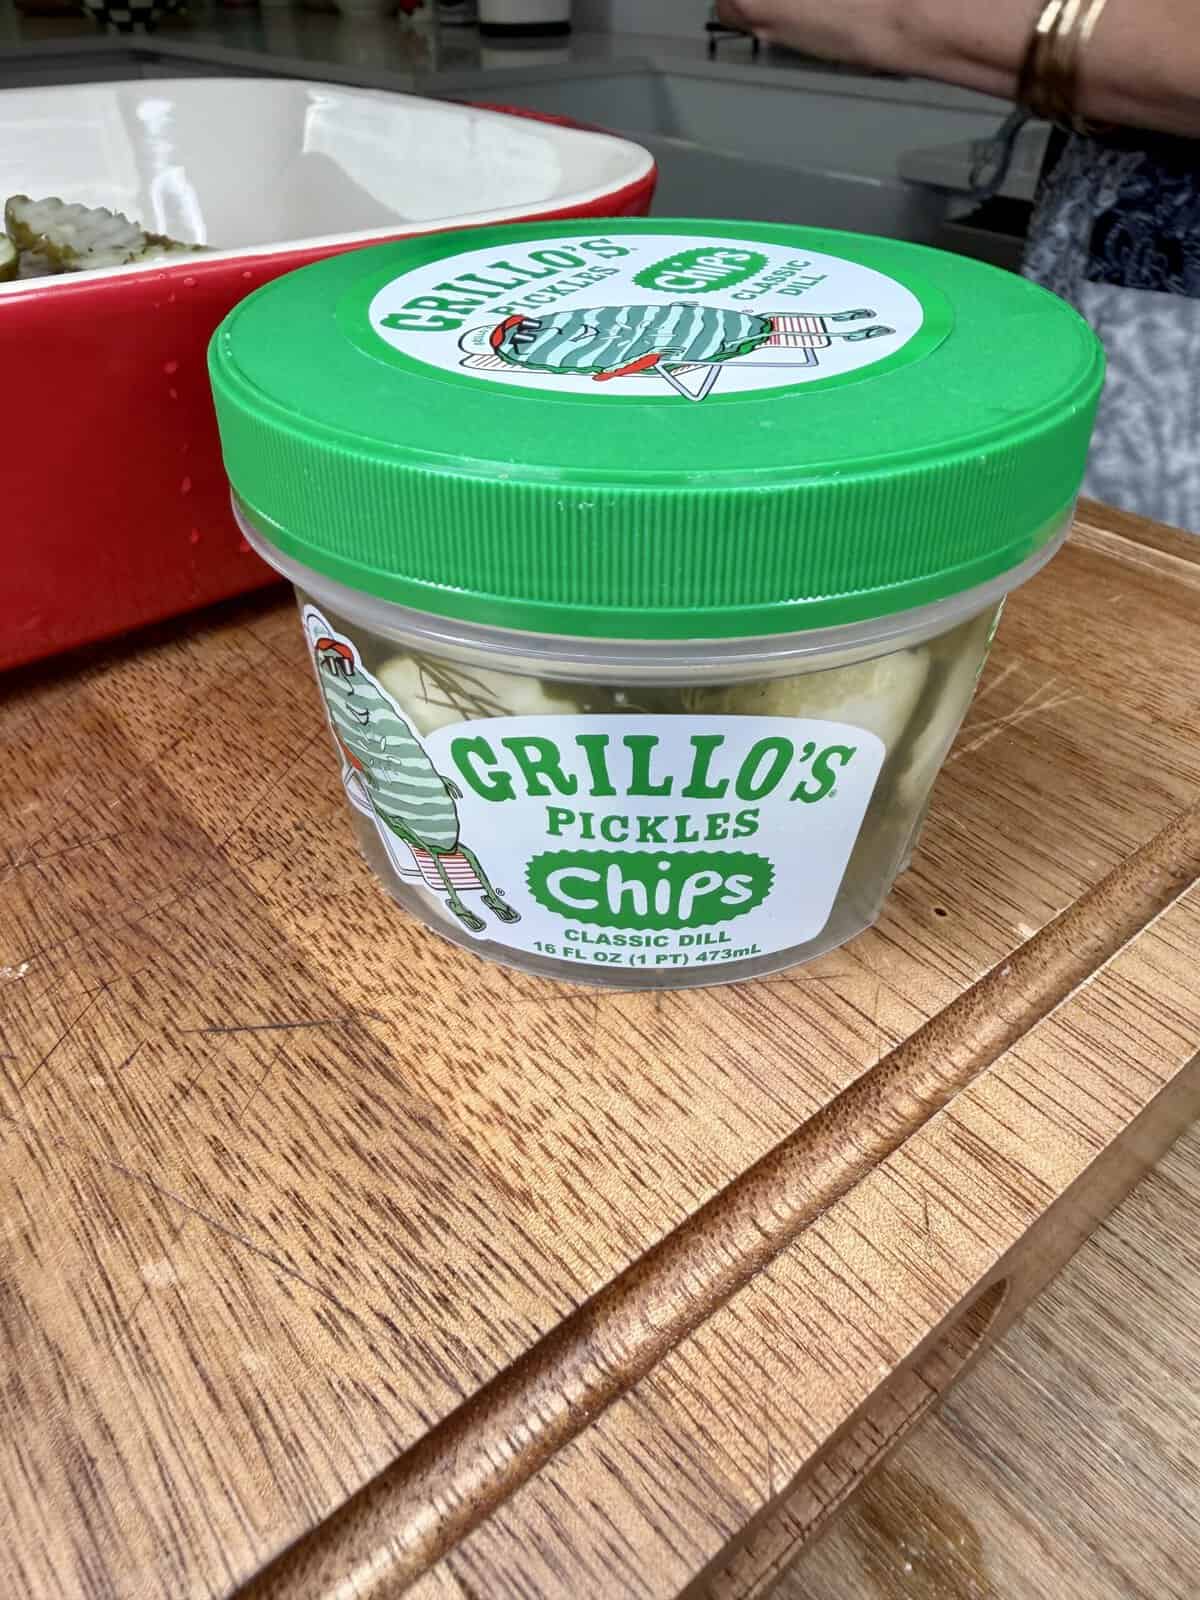
I love Grillo’s pickles because they stay crisp and have great flavor, but any dill pickle slices will work.
Melissa’s Tips
- If using frozen Stouffer’s mac and cheese, start heating it before you begin the burger. It takes about 20 minutes and will be ready right when you need it.
- Let the burger layer rest for 2-3 minutes before transferring it to the slider rolls.
- Use freshly shredded cheddar cheese for the best melt.
- Add extra pickles if you’re a pickle lover—they really balance the richness of the sliders.
- These are perfect for football parties, family dinners, and backyard get-togethers.
Dipping Sauce
Mix together:
- ½ cup mayonnaise
- ½ cup ketchup
Serve on the side for dipping. It gives these sliders that classic burger-and-fry restaurant flavor and takes them completely over the top!!

Mac and Cheese Burger sliders
Ingredients
Equipment
Method
- Preheat your oven to 400°F.
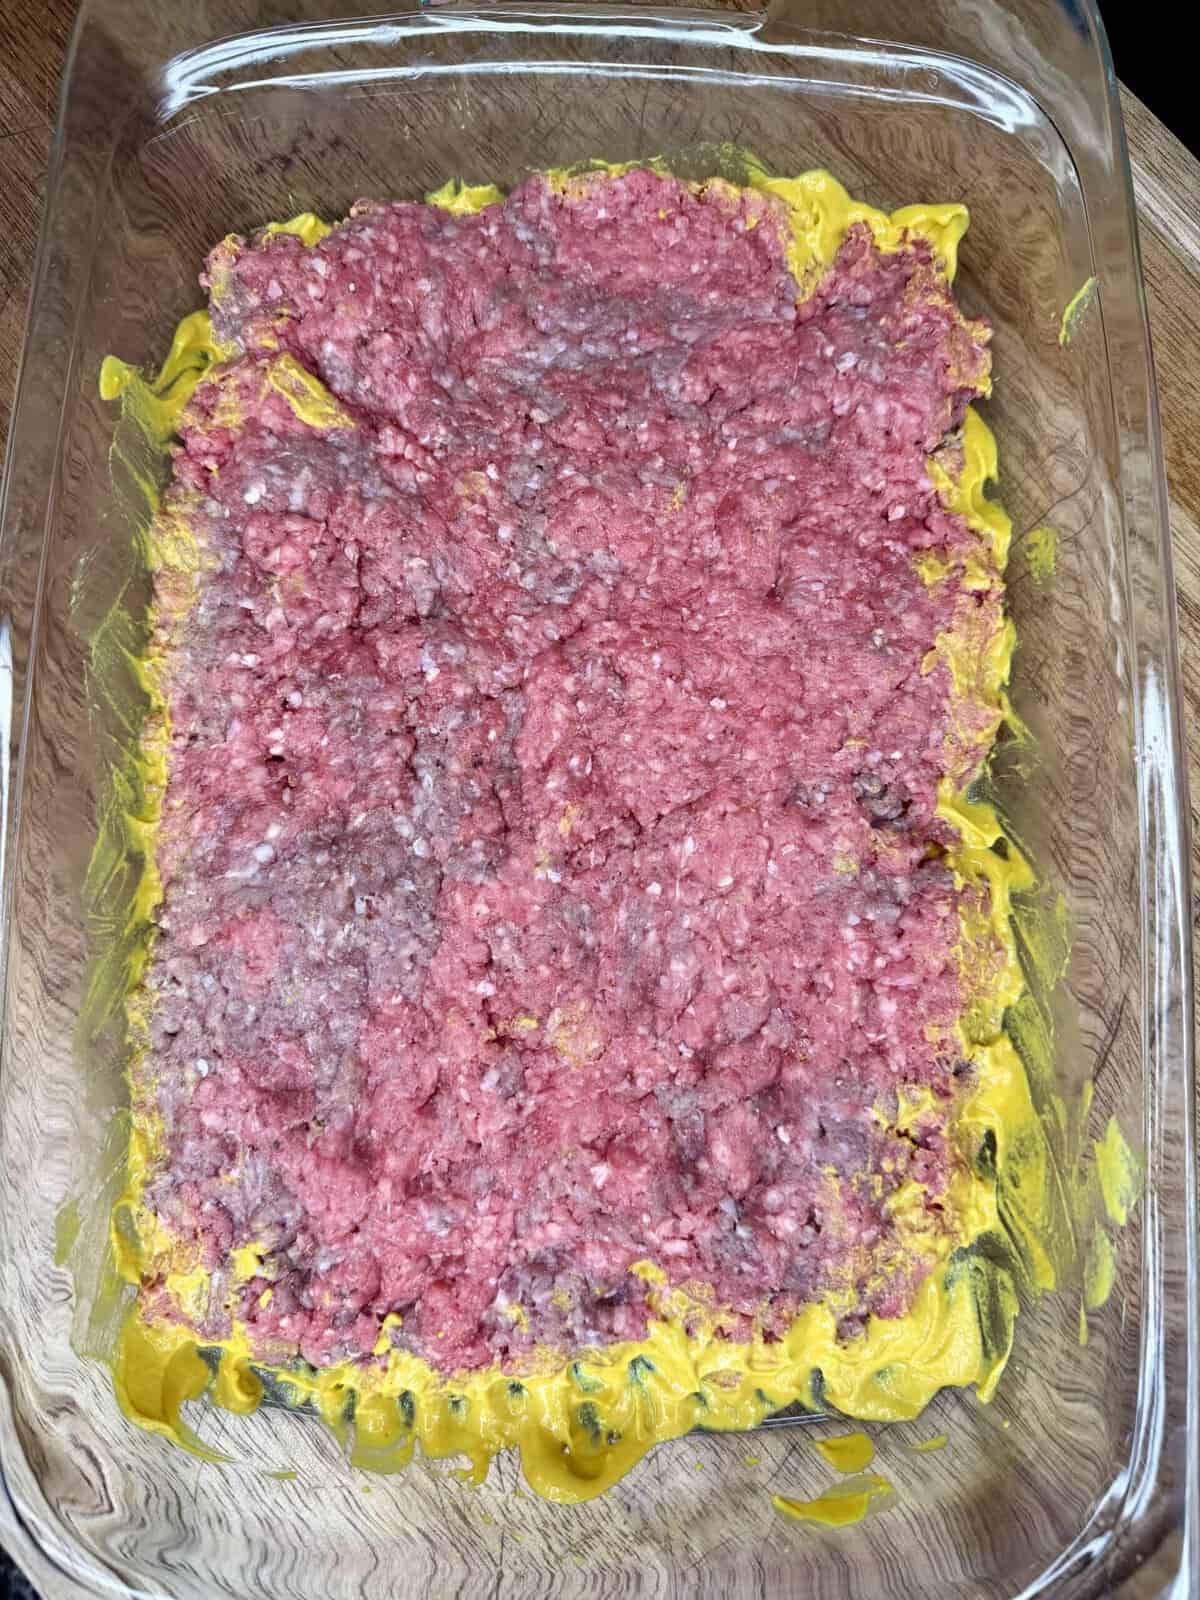
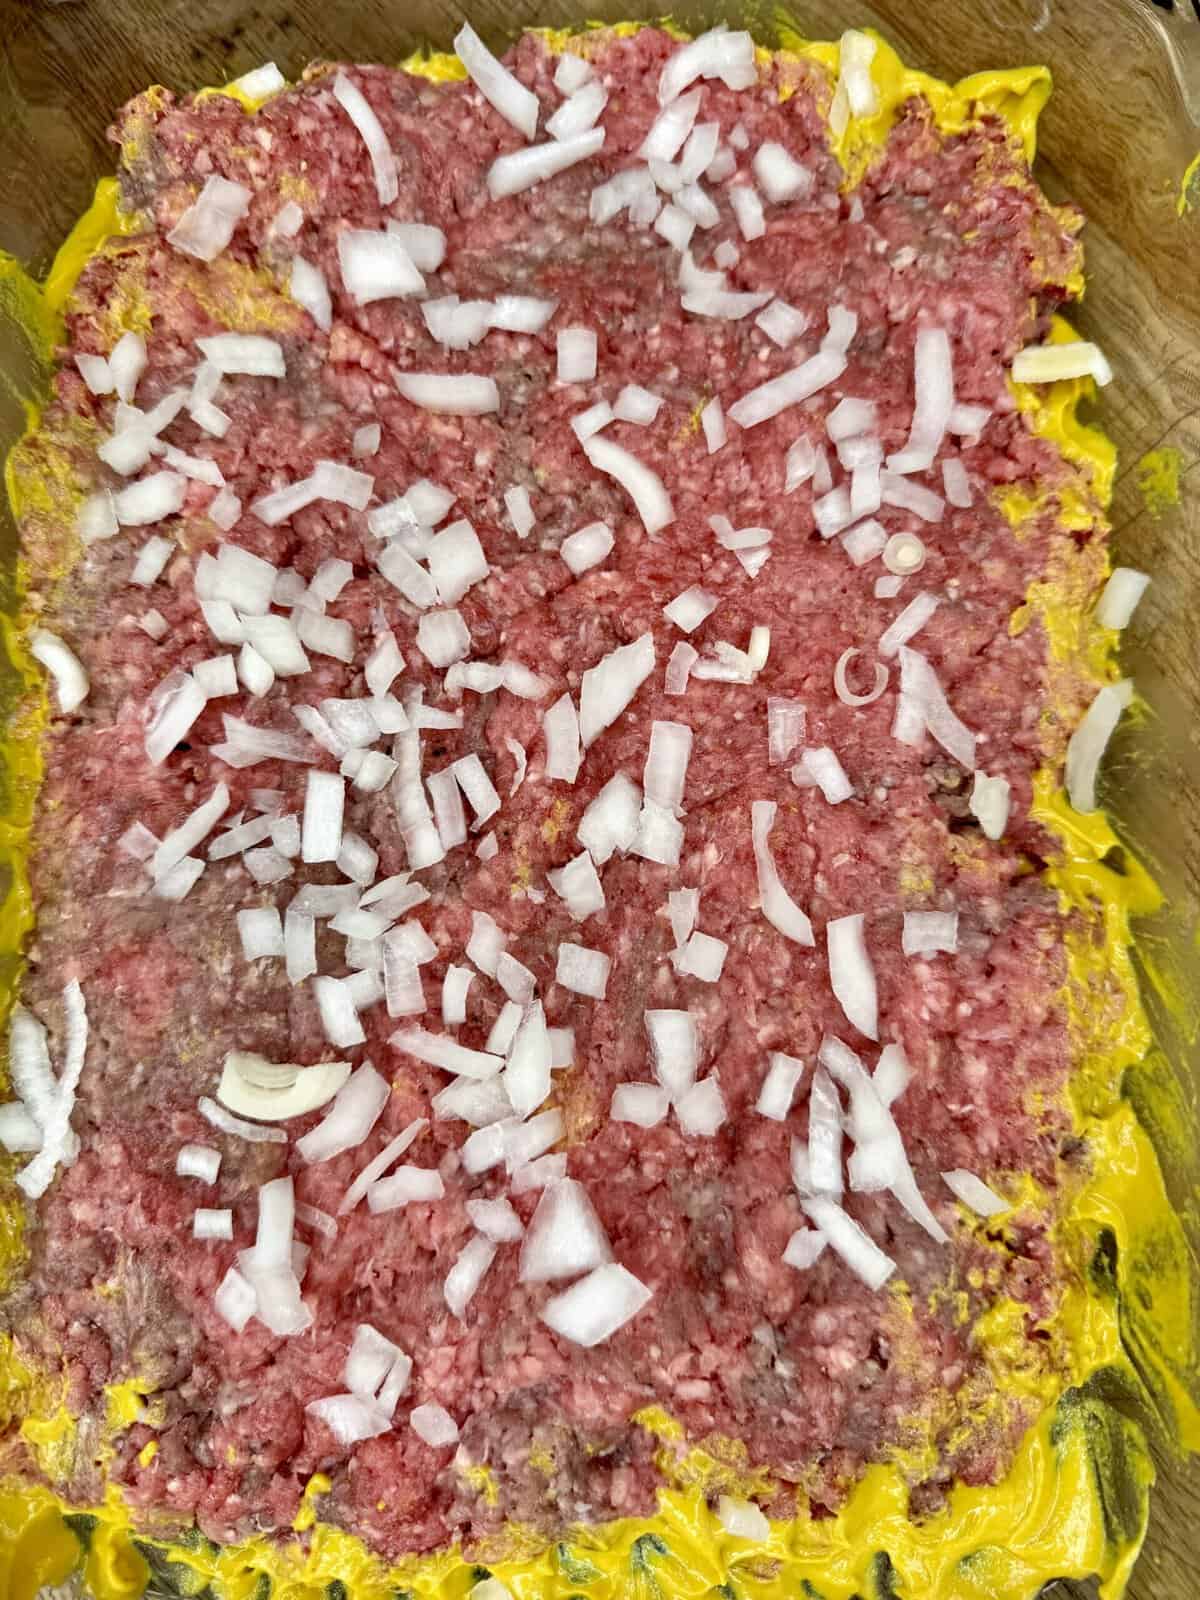
- In a 9×13 baking dish, spread about 1 tablespoon of yellow mustard across the bottom.
- Add: 1½ pounds ground beef
- 1 tablespoon garlic salt
- Cracked black pepper to taste
- Mix gently and press the beef evenly into the baking dish to form one large burger patty.
- Sprinkle half of the chopped onions over the top.
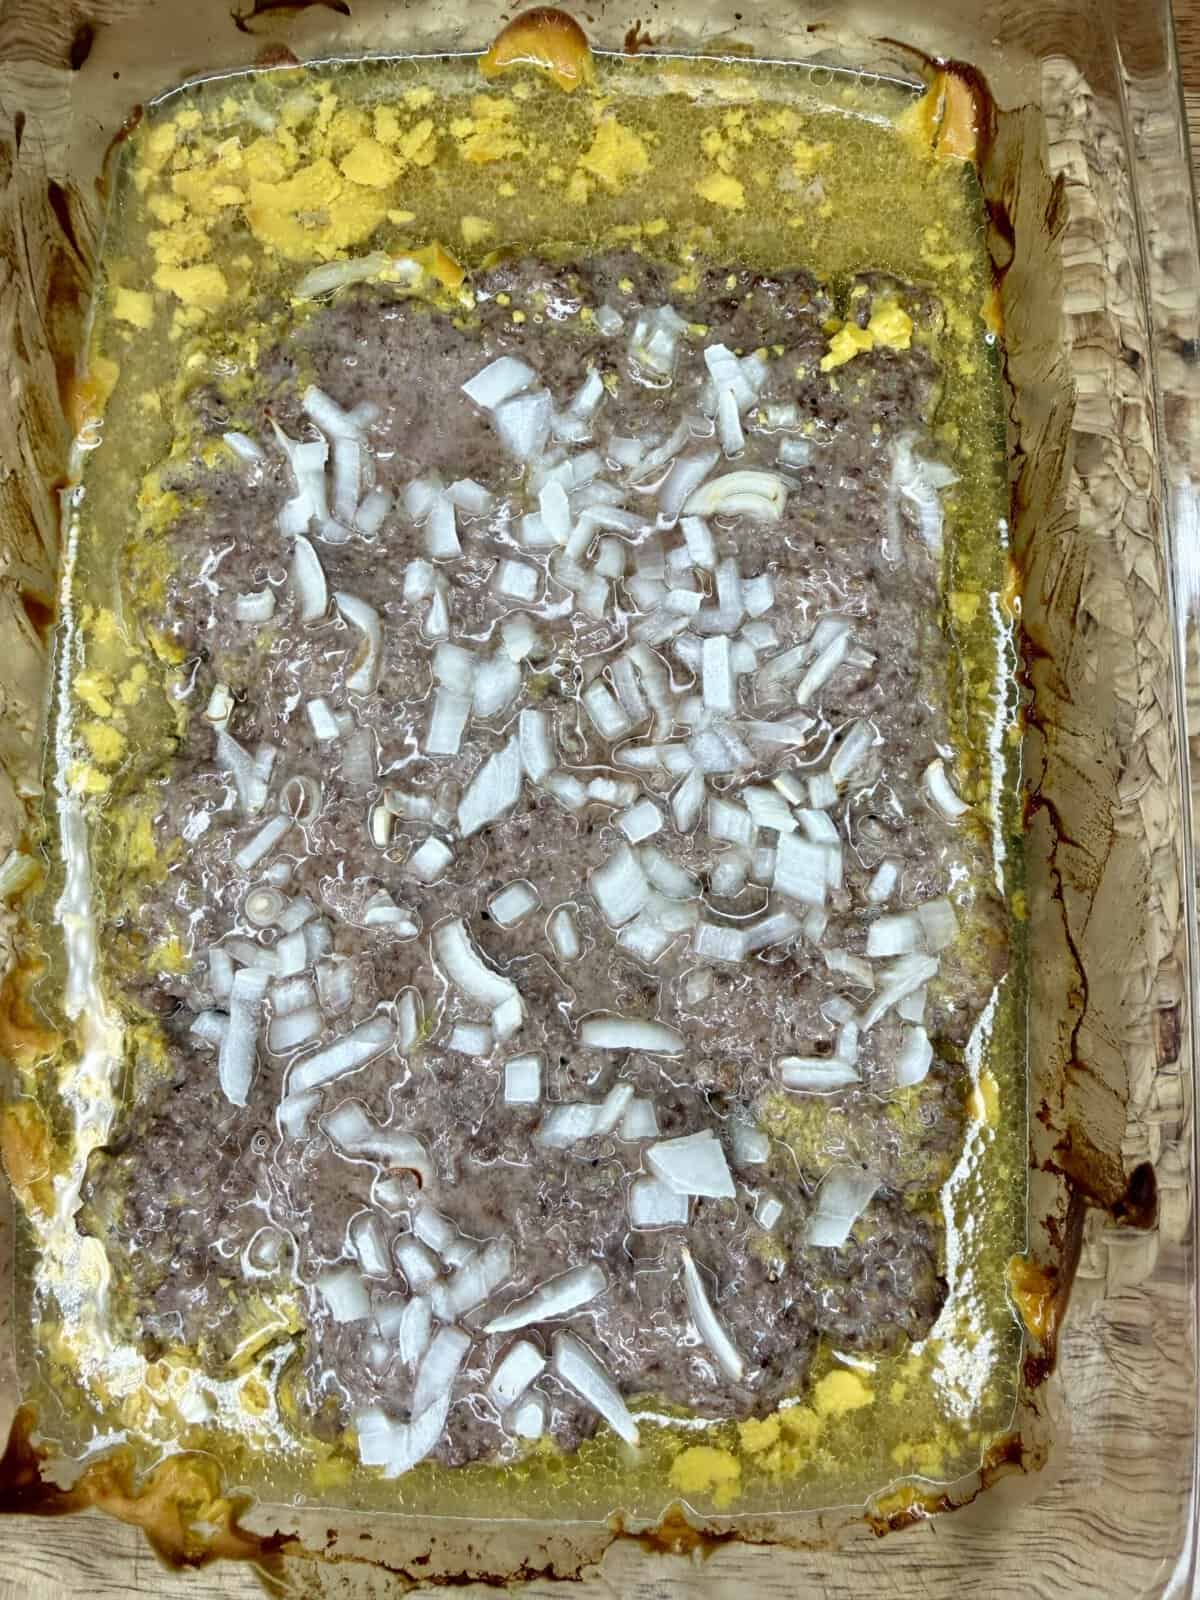
- Bake for 20-25 minutes, or until the beef is fully cooked.
- Tip: If using frozen Stouffer's mac and cheese, start heating it now so it's ready when the burger comes out of the oven.
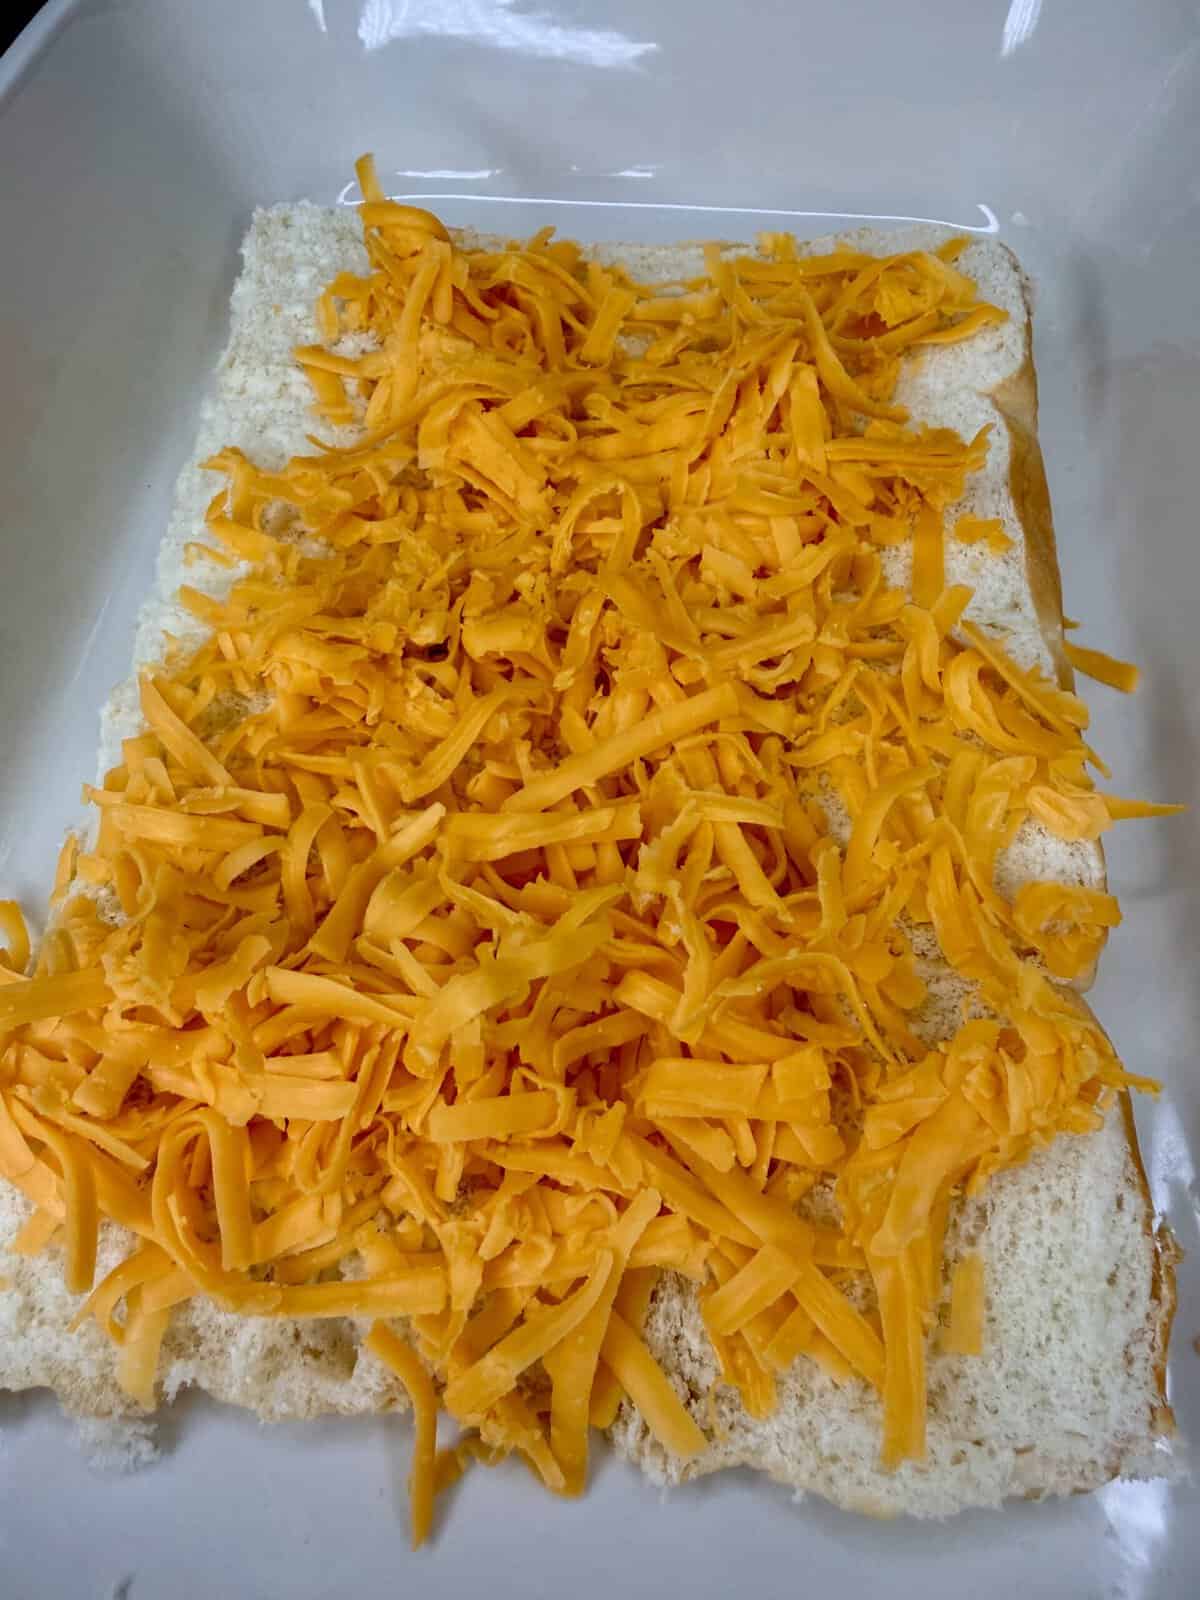
- While the burger bakes, slice the King's Hawaiian rolls in half horizontally.
- Place the bottom half of the rolls into a second 9×13 baking dish.
- Layer the bottom rolls with:
- Cheddar cheese slices
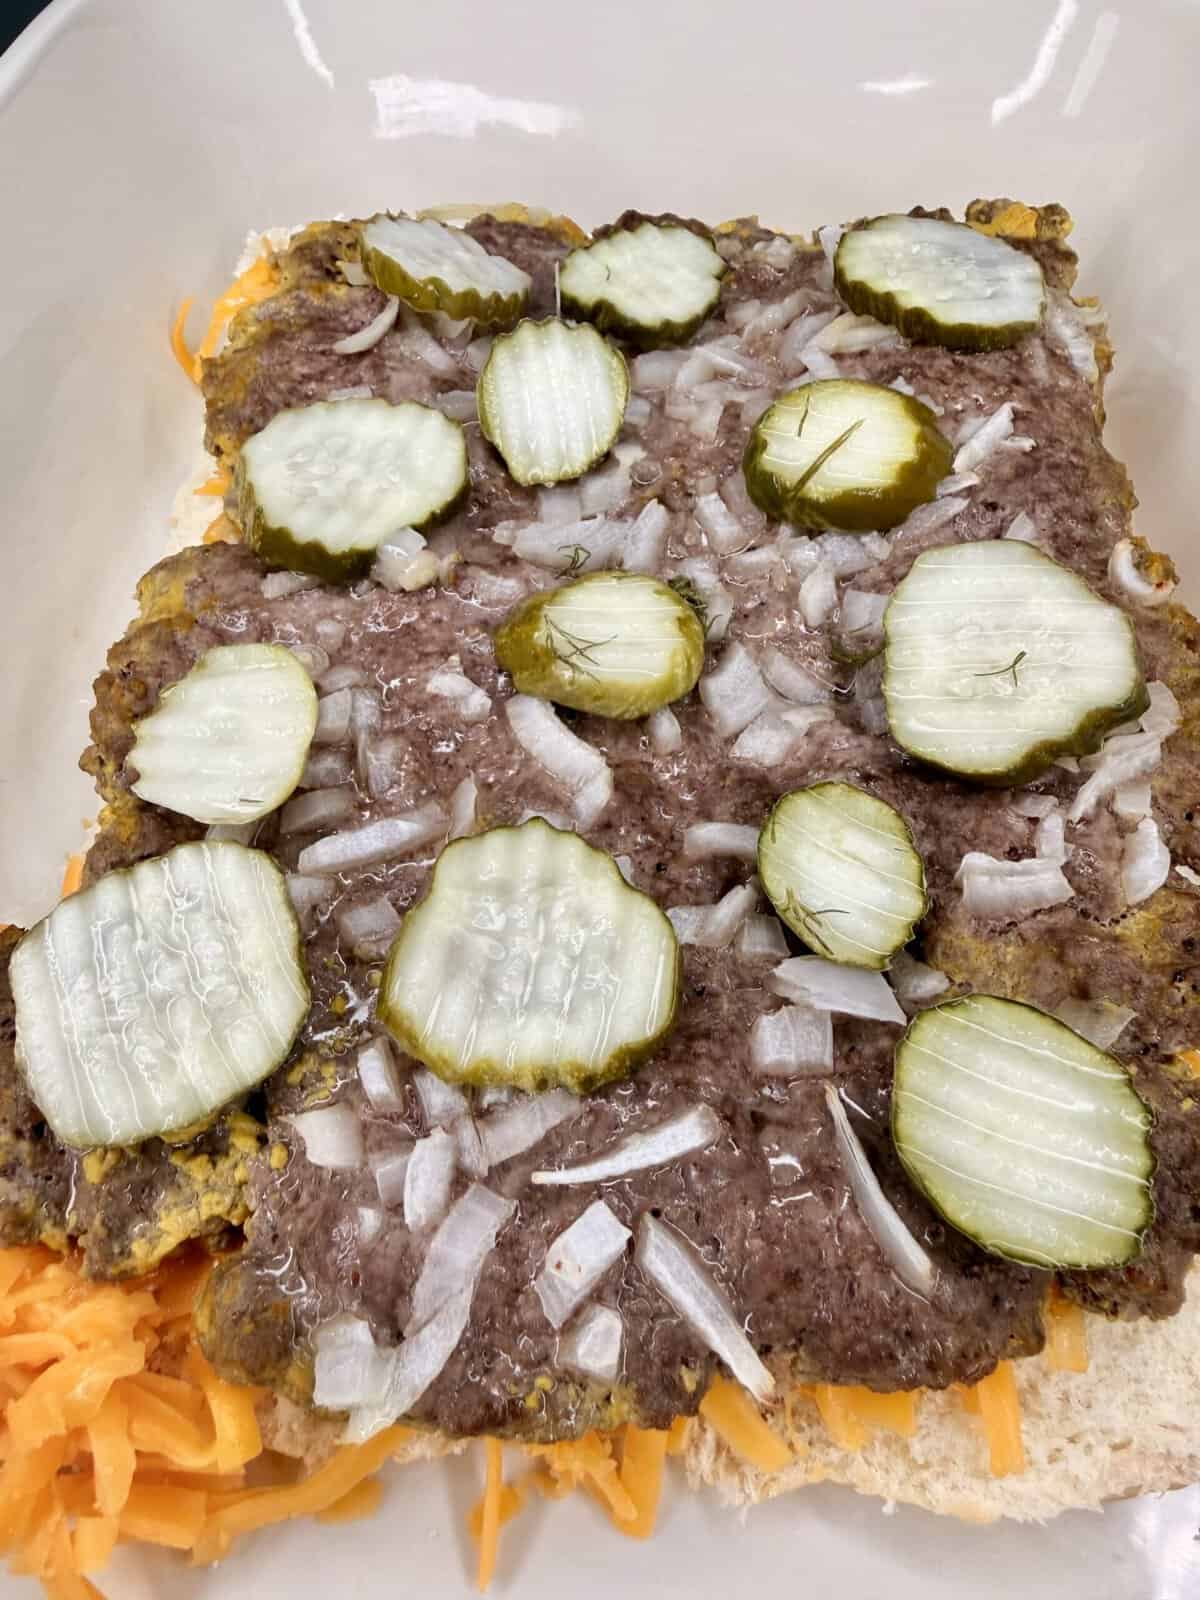
- Remaining chopped onions
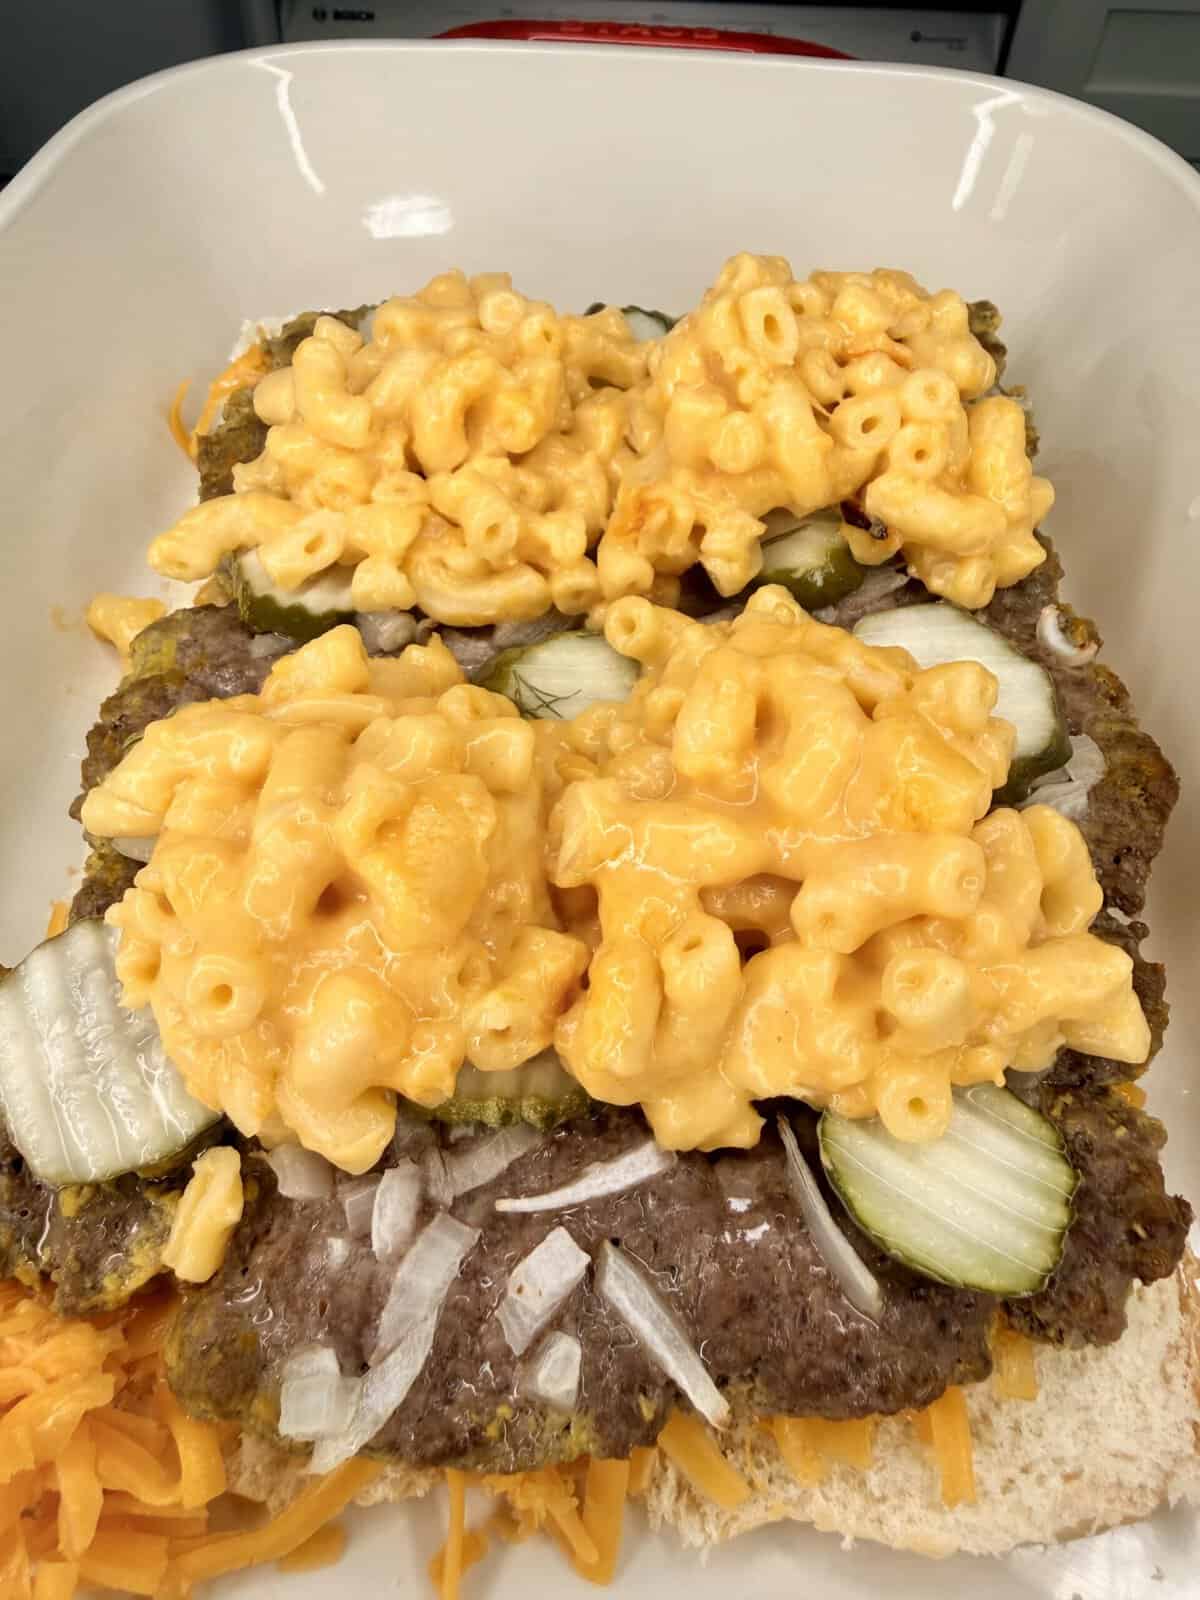
- Carefully lift the cooked burger patty from the first baking dish and place it directly on top of the cheese, pickles, and onions.
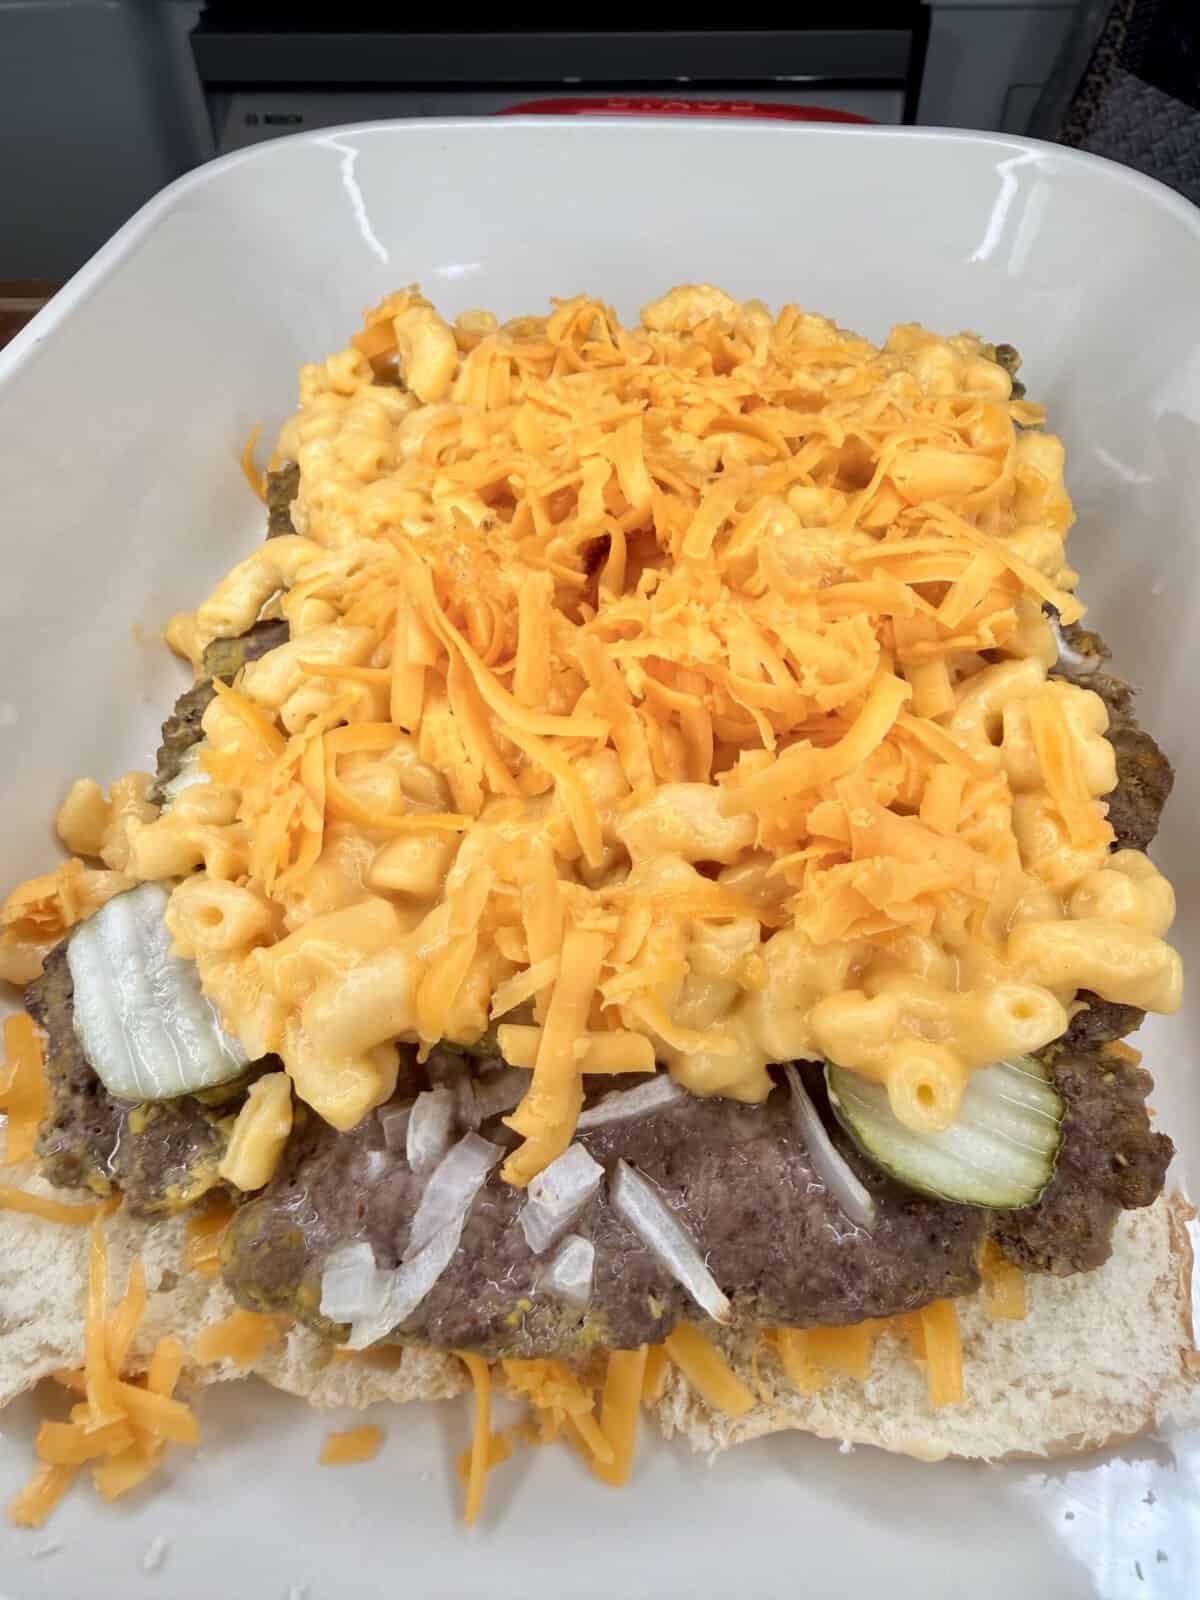
- Spread the prepared mac and cheese evenly over the burger layer.
- Top with shredded cheddar cheese.
- In a small bowl, combine ketchup and mayonnaise.
- Spread the sauce onto the cut side of the top half of the slider buns.
- Place the top buns over the sliders.
- In a small bowl, whisk together:
- ½ tablespoon melted butter
- 1 teaspoon Worcestershire sauce
- 1 teaspoon garlic powder
- Pinch of salt
- Pinch of black pepper
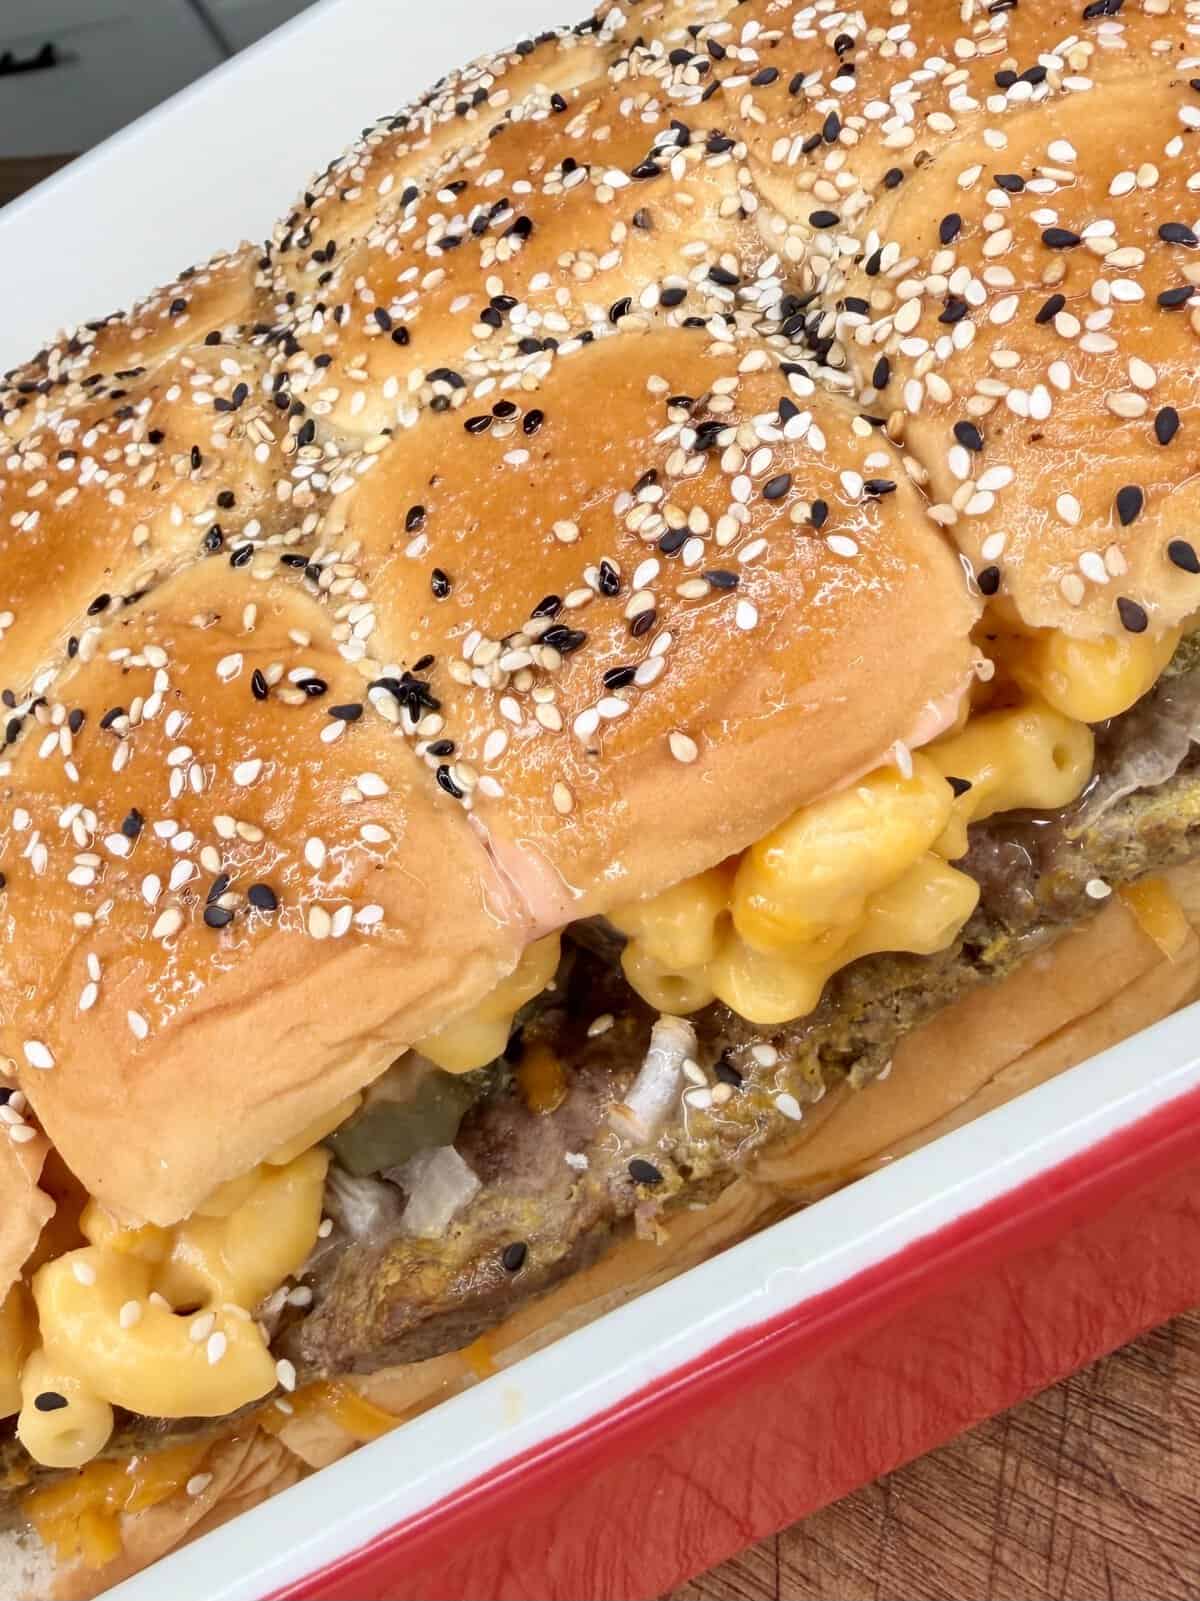
- Brush generously over the tops of the rolls.
- Cover the sliders with foil and bake for 10 minutes.
- Remove the foil and bake for an additional 10 minutes, or until the tops are golden brown and the cheese is melted.
- Slice into sliders and serve with extra ketchup and mayonnaise mixed together for dipping.
Want to make this later?
Tried this recipe?
Made this? Tap a star to rate it – it only takes a second and it means the world!👝 How to Store Leftovers
Store leftovers in an airtight container in the refrigerator for up to 3 days.
Reheat in a 350°F oven until warmed through or microwave individual portions.